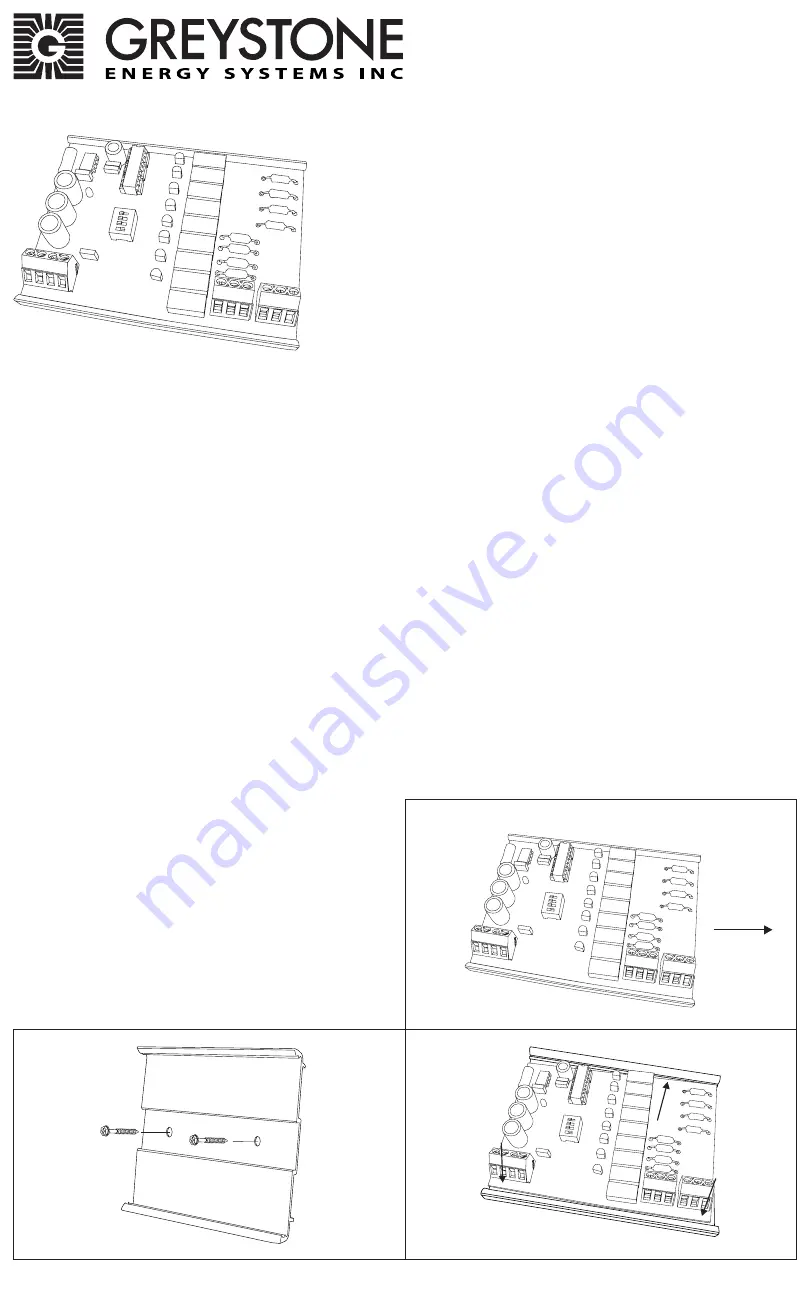
IN-GE-GTARESXXX-01-02 02/19
Page 1
Copyright © Greystone Energy Systems, Inc. All Rights Reserved Phone: +1 506 853 3057 Web: www.greystoneenergy.com
INTRODUCTION
The analog resistance module is an interface that accepts an
analog signal input (voltage or current) and uses that signal to
proportionally control a variable resistance output. The device
output simulates a 3 wire slide wire or rotary potentiometer. The
resistive output is electrically isolated from the input control
signal.
The input signal type is DIP switch selectable to one of several
factory calibrated standard ranges and the output has both ends
of the potentiometer and the wiper available on the terminal
connectors. The output resistance simulates a potentiometer
and does not wrap around at the end points.
The resistance module includes a regulated power output that can be used to power a current-loop
transducer and also features a failsafe input that will connect to the output terminals in case of power
loss or for manual output control. There is also an LED power indicator and a manual override jumper for
failsafe operation.
The product comes with standard snap-track for easy mounting or is available with various resistance
values. The potentiometer may be ordered with no offset value such as 0-135 Ω, or may be configured with
an offset resistance such as 20-30K Ω.
BEFORE INSTALLATION
Read these instructions carefully before installing and commissioning the signal interface. Failure to follow
these instructions may result in product damage. Do not use in an explosive or hazardous environment,
with combustible or flammable gases, as a safety or emergency stop device or in any other application
where failure of the product could result in personal injury.
Take electrostatic discharge precautions
during installation and do not exceed the device ratings.
MOUNTING
The snap-track device may be mounted in any position. Use only fingers to remove the PCB from the snap-
track, do not pry on the PCB with tools. Do not flex the PCB during removal or installation. Slide the PCB
out of the snap-track or push against one side of the snap-track and lift the PCB out. See Figure 1. Ensure
any metallic mounting hardware does not contact the underside of the PCB.
Avoid mounting in areas where the signal interface
is exposed to vibrations or rapid temperature
changes. Mount the snap track with the PCB
removed using two screws as shown in Figure 2.
Once the snap track is mounted, if there is no room
around the device to slide the PCB back into the
snap track, place the top part of the PCB into the
top track and pull the bottom edge of the snap
track down to place the bottom edge of the PCB
into the snap track, see Figure 3.
Analog Resistance Module
GT-ARES Series - Installation Instructions
Figure 1
Figure 3
Figure 2


