No maintenance is required.
Maintenance
Follow the procedure to replace a defective Microchip
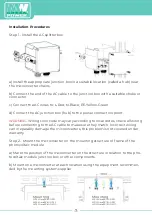
1. Disconnect the microinverter from the photovoltaic module in the order
shown below:
1.1. Disconnect the AC by turning off the branch circuit breaker.
1.2. Disconnect the AC connector of the microinverter.
1.3. Cover the module with the opaque cover.
1.4. Disconnect the DC cable connectors of the photovoltaic module from the
microinverter.
1.5. remove the microinverter from the photovoltaic cabinet.
2. Remove the opaque cover, install the replacement microinverter in the cabi-
net. Remember to watch the flashing LED light as soon as the new microinver-
ter is connected to the DC cables.
3. Connect the AC cable of the replacement microinverter.
4. Close the overcurrent circuit breaker and check the operation of the replace-
ment microinverter.
Microinverter replacement
Technical data
WARNING:
Make sure that the voltage and current specifications of the photo-
voltaic module match those of the microinverter.
Refer to the datasheet or user manual.
WARNING:
Match the DC operating voltage range of the photovoltaic module
with the allowable input voltage range of the microinverter.
WARNING:
The maximum open circuit voltage of the photovoltaic module must
not exceed the specified maximum input voltage of the inverter.
-13-


