


8-4
Chapter 8: Fisherman 216
Bilge Pump/Float Switch
Your boat is equipped with an automatic float switch adjacent to the bilge pump. The float
switch will enable the bilge pump to come on automatically if a significant amount of water
accumulates in the bilge. The float switch is wired directly to the battery. The battery must be in
good condition to ensure proper operation. The float switch functions independently of the battery
select switch and can activate the bilge pump with the battery select switch in the “off” position.
The bilge pump is also equipped with a switch at the helm. When the switch is in the “on” position,
the pump will run continuously. When the switch is in the “off” position, the pump is off unless
activated by the float switch. The bilge pump should not be left on unless someone is monitoring
the system and can turn the pump off when the bilge is dry.
C A U T I O N
To prevent damage to the bilge pump, do not run it dry for a prolonged period of time.
Bilge Pump Location
The bilge pump is located in the aft rigging compartment and can be accessed through the
access plate in the motorwell.
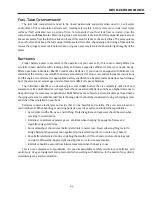
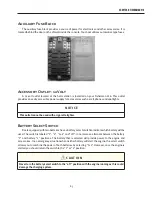
Compass
The compass is located at the helm station in direct view of the operator when navigating the
boat. Follow the instructions in the compass manual included in your “Owners Packet” to make
compensation adjustments.
Head
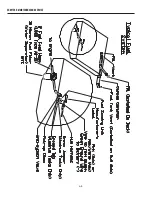
Portable Head Operation
1. The upper freshwater reservoir must be filled with water prior to use. Compress the
bellows pump located on the left corner of the toilet a few times to add water to the bowl.
2.
Flush
the toilet by pulling the slide valve handle out (located on the front of the toilet).
3. Compress the bellows pump until the bowl is rinsed.
4. Close the slide valve handle by pushing it in fully.
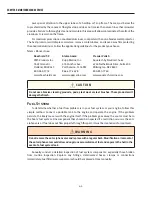
Summary of Contents for Fisherman 216
Page 2: ......
Page 10: ...1 4 Chapter 1 Consumer Information ...
Page 20: ...2 10 Chapter 2 Safety ...
Page 32: ...4 6 Chapter 4 Performance ...
Page 38: ...5 6 Chapter 5 Instrumentation ...
Page 45: ...6 7 Chapter 6 Maintenance and Service ...
Page 46: ...6 8 Chapter 6 Maintenance and Service ...
Page 68: ...9 4 Chapter 9 Warranty ...