Error
Error
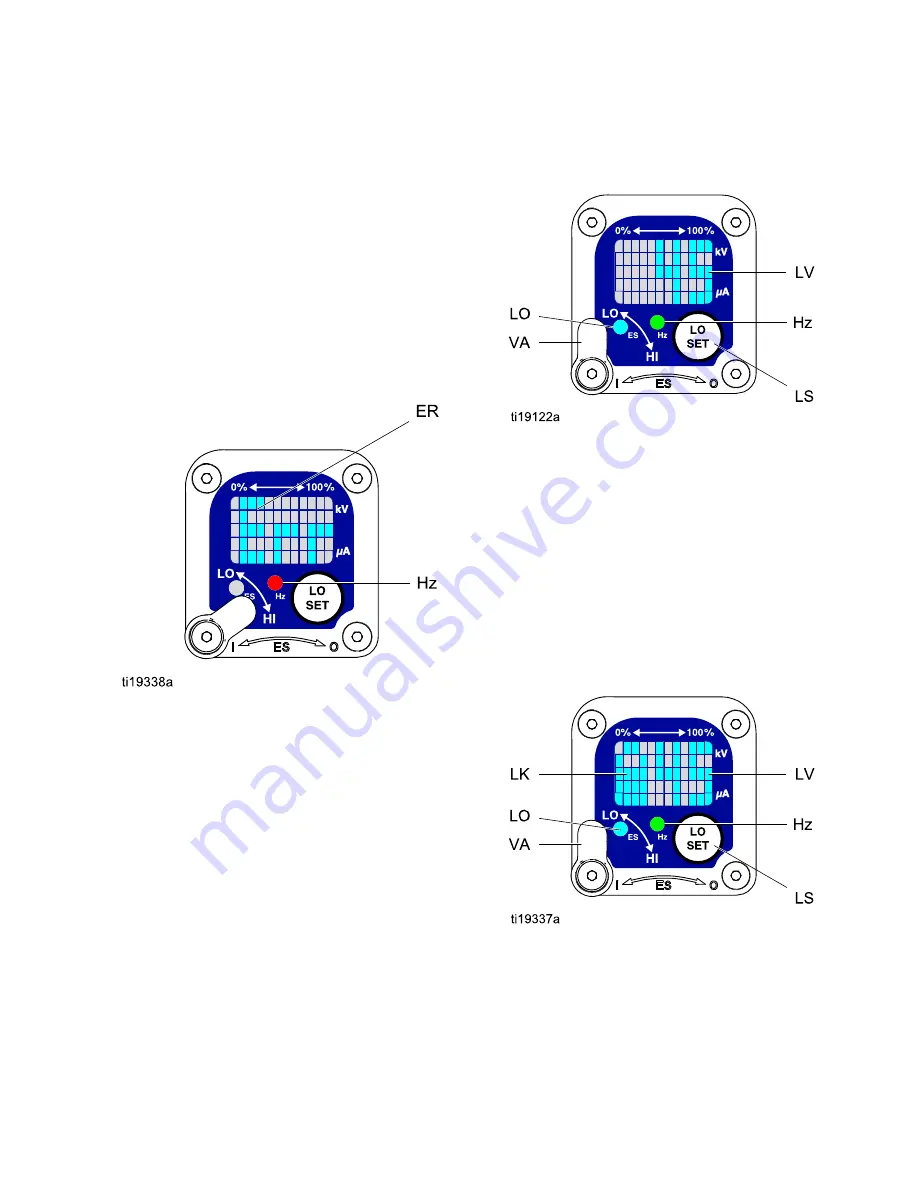
Error Display
Display
Display
If the Smart module loses communication with
the power supply, the Error display appears, the
Hz indicator turns red, and the Smart module is
disabled. See Fig. 3 and
.
This can occur in Operating Mode or Diagnostic
Mode. See
Electrical Troubleshooting, page 56
Communication must be restored to make the Smart
module functional.
NOTE:
NOTE:
NOTE: It takes 8 seconds for the Error display to
appear. If the gun has been disassembled, wait 8
seconds before spraying to ensure that an Error
condition has not occurred.
NOTE:
NOTE:
NOTE: If there is no power to the gun, the Error
display will not appear.
Figure 3 Error Display
Adjusting
Adjusting
Adjusting the
the
the Low
Low
Low Voltage
Voltage
Voltage Setting
Setting
Setting
The low voltage setting is user adjustable. To access
the low voltage setting screen when in Operating
Mode, press the LO SET button (LS) momentarily.
The screen will display the current low voltage
setting. See Fig. 4 and
The range is 30–60 kV.
Set the Voltage Adjustment switch (VA) to LO. Press
the LO SET button repeatedly to increase the setting
in increments of 5. When the display reaches the
maximum setting (60 kV) it will return to the minimum
setting (30 kV). Continue pressing the button until
you reach the desired setting.
NOTE:
NOTE:
NOTE: After 2 seconds of inactivity the display will
return to the Operating Screen.
NOTE:
NOTE:
NOTE: The low voltage setting may be locked. See
Figure 4 Low Voltage Setting Screen (Unlocked)
Lock
Lock
Lock Symbol
Symbol
Symbol
The low voltage setting may be locked. When locked,
an image (LK) appears on the screen. See Fig. 5
and
.
• When in HI mode, the low voltage setting is always
always
always
locked. The lock symbol will appear when the LO
SET button is pressed.
• When in LO mode, the lock symbol will
only
only
only appear if the lock is enabled. See
Low Voltage Lock Screen, page 14
, to lock or
unlock the low voltage setting.
Figure 5 Low Voltage Setting Screen (Locked)
3A2496H
11


