309303
17
Service
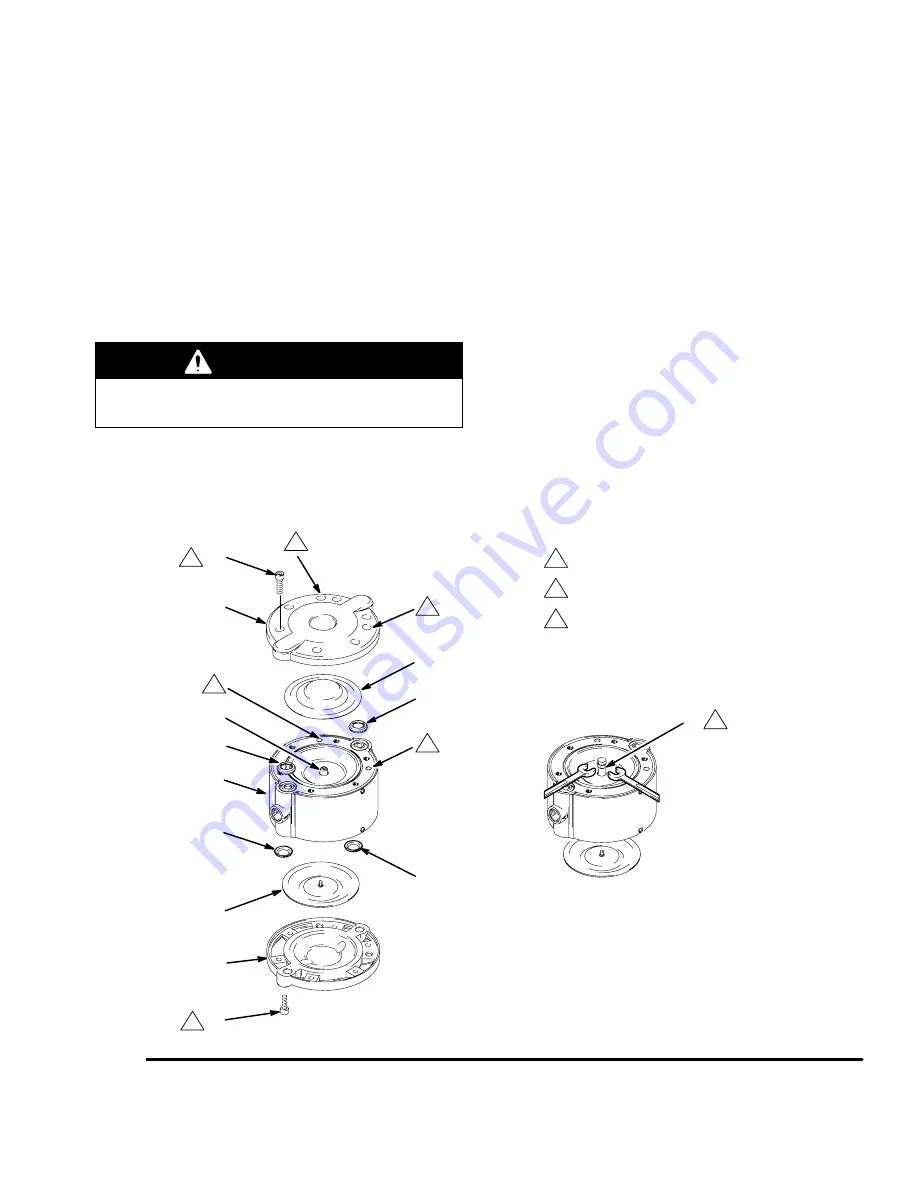
Diaphragm Repair
Tools Required
D
M8 bolt
D
M8 hexnut
D
Adjustable wrench, or vise
NOTE:
Diaphragm Repair Kit 245065 is available.
Parts included in the kit are marked with an asterisk,
for example (6*). Always replace both diaphragms for
the best results.
1.
Remove the fluid covers. See page 14.
WARNING
Wear gloves when removing the diaphragms to
reduce the risk of cuts.
2.
Unscrew one diaphragm (6) from the shaft (5) by
hand. See Fig. 5.
3.
Thread an M8 hexnut (A) onto an M8 bolt. Screw
the bolt into the shaft (5) until it bottoms out.
Thread the nut down to the shaft to lock it.
4.
Hold the nut with a wrench or vise to keep the
shaft from turning. Unscrew the other diaphragm
(6) by hand.
NOTE:
If you cannot remove the second diaphragm,
refer to
Shaft Repair Disassembly
on page 20.
Reassembly
1.
Screw the new diaphragms (6*) into the shaft (5)
handtight.
2.
Replace the ball check seals (24*) with the new
seals in the kit.
3.
Reinstall the fluid covers. See page 14.
Fig. 5
1
3
2
70 in-lb (8 N
S
m)
Align
1
1
2
2
Use M8 bolt and nut to keep shaft from turning.
2
2
5
*6
6*
*
24
*
24
24*
24*
A
3
1
32
38
32
38
ti1033a


