background image

Technical Specifications

3A8563B

27

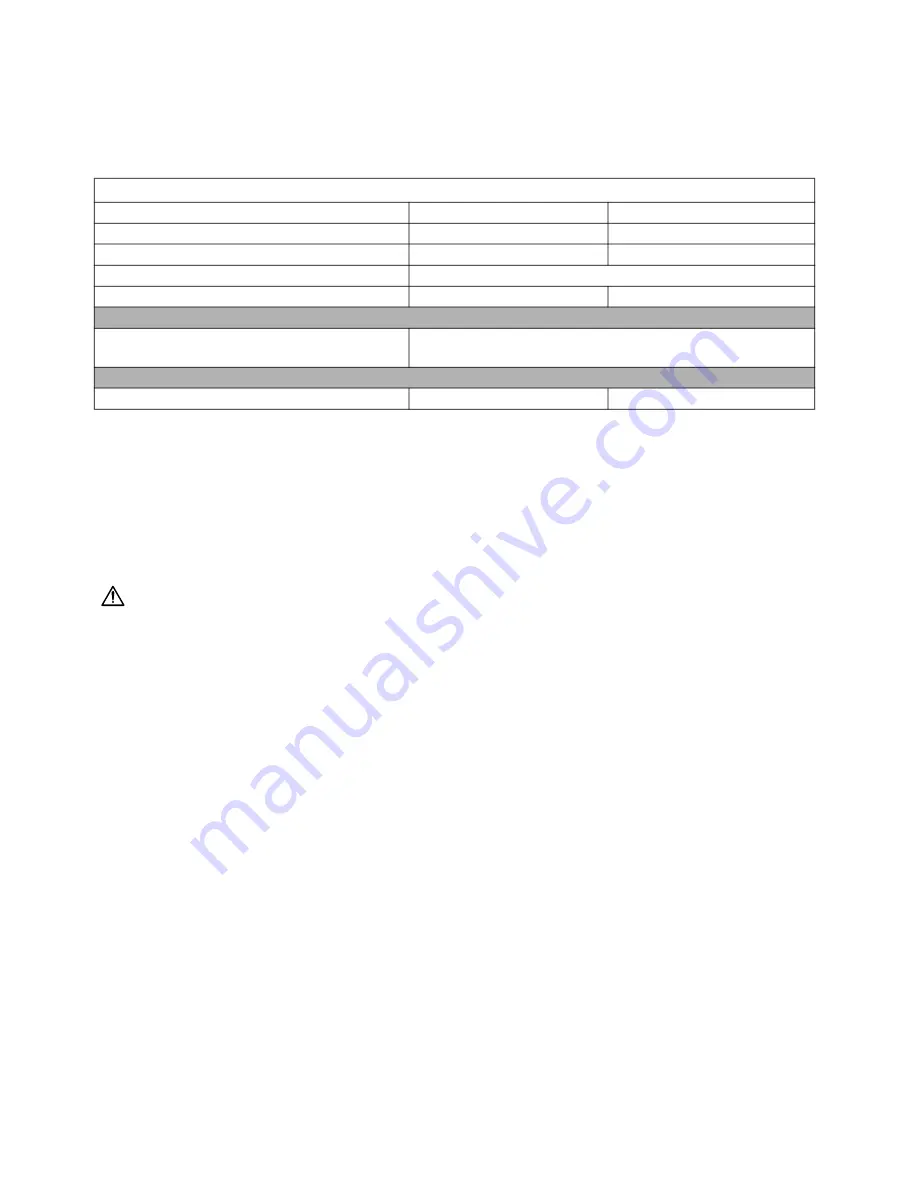
Technical Specifications

California Proposition 65

Z-Series Chemical Pumps High Wear

US

Metric

Maximum working pressure

3500 psi 

24 MPa, 241 bar

Maximum operating temperature

180°F

82°C

Maximum cycle rate

65 cycles per minute

Minimum feed pressure at inlet

50 psi 

0.35 MPa, 3.5 bar

Materials of Construction

Wetted materials on all models

SST, tungsten carbide, PEEK, PTFE, UHMWPE, silicon 

nitride

Weight

All models

30 lbs

13.6 kg

CALIFORNIA RESIDENTS

 WARNING:

 Cancer and reproductive harm – www.P65warnings.ca.gov.

Summary of Contents for L020S8

Page 1: ...rasive plural component materials For professional use only 3500 psi 24 MPa 241 bar Maximum Working Pressure See page 2 for model information Important Safety Instructions Read all warnings and instructions in this manual before using the equipment Save these instructions ...

Page 2: ...9 Flushing 9 Repair 10 Required Tools 10 Inlet Housing Disassembly 10 Inlet Housing Assembly 11 Pump Disassembly 13 Pump Assembly 15 Parts 18 Seal Kits 23 Displacement Rod Kits 24 Check Valve Kits 25 O Ring Inlet Kit 258775 258776 25 Dimensions 26 Technical Specifications 27 California Proposition 65 27 Graco Standard Warranty 28 Related Manuals Models Manual in English Description 3A6165 EFR 3139...

Page 3: ...ep work area free of debris including solvent rags and gasoline Do not plug or unplug power cords or turn power or light switches on or off when flammable fumes are present Use only grounded hoses Hold gun firmly to side of grounded pail when triggering into pail Do not use pail liners unless they are anti static or conductive Stop operation immediately if static sparking occurs or you feel a shoc...

Page 4: ...nufacturer s replacement parts only Do not alter or modify equipment Alterations or modifications may void agency approvals and create safety hazards Make sure all equipment is rated and approved for the environment in which you are using it Use equipment only for its intended purpose Call your distributor for information Route hoses and cables away from traffic areas sharp edges moving parts and ...

Page 5: ...rdous fluid in approved containers and dispose of it according to applicable guidelines PERSONAL PROTECTIVE EQUIPMENT Always wear appropriate personal protective equipment and cover all skin when spraying servicing equipment or when in the work area Protective equipment helps prevent serious injury including long term exposure inhalation of toxic fumes mists or vapors allergic reaction burns eye i...

Page 6: ...ticulates everyone in the work area must wear appropriate respiratory protection Always wear a properly fitting respirator which may include a supplied air respirator Ventilate the work area according to instructions in the fluid manufacturer s SDSs Avoid all skin contact with isocyanates Everyone in the work area must wear chemically impermeable gloves protective clothing and foot coverings as re...

Page 7: ...terials flush the equipment multiple times to ensure it is thoroughly clean Always clean the fluid inlet strainers after flushing Check with your material manufacturer for chemical compatibility When changing between epoxies and urethanes or polyureas disassemble and clean all fluid components and change hoses Epoxies often have amines on the B hardener side Polyureas often have amines on the B re...

Page 8: ...Tie Bolt G Inlet Housing H Inlet Cap J Fluid Outlet K Fluid Inlet bottom of inlet housing L Pump Mounting Holes M Pressure Transducer Port N Linear Transducer Mounting Hole P Identification Tag R Rod Adapter not on all models S Pump Coupler T Coupler Cover U Coupler Clamp FIG 1 Component Identification 40cc pump shown Outlet Housing D F C D E A H J G K L M N P R S B T U L L ...

Page 9: ...g equipment Flush at the lowest pressure possible Check connectors for leaks and tighten as necessary Flush with a fluid that is compatible with the fluid being dispensed and the equipment wetted parts This equipment stays pressurized until pressure is manually relieved To help prevent serious injury from pressurized fluid such as skin injection splashing fluid and moving parts follow the Pressure...

Page 10: ... 138 conical spring 139 ball housing retainer 140 ball 141 carbide seat 142 O ring 143 and retainer 144 5 Remove lower check BB including the spring retainer 137 check housing 138 conical spring 139 ball housing retainer 140 ball 141 carbide seat 142 O ring 143 and retainer 144 See FIG 3 6 Clean all parts in a compatible solvent Lay the parts in order for easier reassembly Inspect each ball and se...

Page 11: ... Apply anti seize lubricant to the check housing 138 spring retainer 137 and check valve retainer 144 2 Install the O ring 143 and then the carbide seat 142 into the check valve retainer 144 The check housing 138 then threads into the check valve retainer and is torqued to 50 ft lbs 67 5 N m NOTE The radius of the carbide seat 142 must face towards the check housing 138 and the ball 141 See FIG 6 ...

Page 12: ... threads of inlet valve cap 113 and install O ring 108 into the groove 2 Assemble lower check assembly DD Install O ring 108 into inlet housing 106 followed by the carbide seat 109 3 Place the ball 110 onto the carbide seat 109 followed by the ball check spring 111 and the ball cage housing 112 NOTE Confirm the orientation of the ball cage prior to installing The end with the larger opening must f...

Page 13: ...ly remove the tie bolts 105 See FIG 11 7 Remove inlet housing 106 from pump cylinder 103 Remove pump crossover tube 104 and o rings 102 See FIG 12 8 Pull pump cylinder 103 and displacement rod 115 away from outlet housing 107 9 Remove displacement rod 115 from pump cylinder 103 See FIG 13 10 Remove two o rings 101 from pump cylinder 103 See FIG 14 11 Place outlet housing 107 in vise so throat cart...

Page 14: ...seal end of pump rod bottom 124 in vise Remove piston retainer 114 piston bearing retainer 116 and two piston seals 117 See FIG 16 and FIG 17 For 20cc 40cc Pumps For 80cc 160cc Pumps 16 If the pump rod bottom 124 shows damage or wear on the surface below the piston seals 117 it should be replaced to prevent damage to new seals 17 Thoroughly clean all metal parts in a compatible solvent FIG 15 FIG ...

Page 15: ... See Torque Specification table for piston retainer 114 torque according to pump size Piston Retainer Torque Specifications NOTICE To prevent cross contamination and damage of the equipment s wetted parts never interchange component A isocyanate and component B resin parts Pump Size Torque 20 25 ft lbs 34 Nm 40 50 ft lbs 67 5 Nm 80 160 55 ft lbs 74 5 Nm NOTICE Specification sheets and Graco testin...

Page 16: ...housing 107 mounted securely in a vice Install the throat retainer O ring 120 onto the throat retainer 118 Place the retainer into the outlet housing 107 8 Apply anti seize to the threads on the throat retainer 119 and thread it into the outlet housing 107 When fully threaded together torque the throat retainer to 200 ft lbs 271 N m See FIG 21 9 Install cylinder o rings 101 on pump cylinder 103 an...

Page 17: ...rn see FIG 26 to 10 ft lbs 13 5 N m Then torque again to 50 ft lbs 67 5 N m Torque a final time to 200 ft lbs 271 N m 16 After torquing the four tie bolts 105 ensure the inlet housing 107 is evenly seated onto the pump cylinder 103 and pump crossover tube 104 17 For 20cc 40cc pumps only Clean rod adapter 121 threads with a wire brush and apply removable strength thread locker to displacement rod 1...

Page 18: ...eal faces throat retainer 119 Ensure spring side of one piston seal 117 springs face displacement rod 115 and piston bearing retainer 116 Fully assemble piston seals 117 and piston bearing retainer 116 onto pump rod bottom 124 before tightening piston retainer 114 Torque to 70 ft lbs 95 N m Torque to 30 ft lbs 41 N m Carbide seat 142 radius must face ball 141 NOTICE Specification sheets and Graco ...

Page 19: ...eal 126 faces throat cartridge 118 and spring side of other seal faces throat retainer 119 Ensure spring side of one piston seal 117 springs face displacement rod 115 and piston bearing retainer 116 Fully assemble piston seals 117 and piston bearing retainer 116 onto pump rod bottom 124 before tightening piston retainer 114 Torque to 70 ft lbs 95 N m NOTICE Specification sheets and Graco testing i...

Page 20: ...s throat retainer 119 Ensure spring side of one piston seal 117 springs face displacement rod 115 and piston bearing retainer 116 Fully assemble u cups 17 and bearing 16 onto displacement rod 15 before tightening piston retainer 14 Torque to 70 ft lbs 95 N m Not used on 160cc pump Used on 160cc pump only NOTICE Specification sheets and Graco testing indicate that anaerobic sealant requires three d...

Page 21: ...Table 4 CAP inlet valve 1 114 See Table 3 RETAINER piston 1 115 See Table 1 ROD displacement 1 116 See Table 2 and 3 BEARING piston retainer 1 117 See Table 2 and 3 SEAL piston 2 118 See Table 1 CARTRIDGE throat 1 119 See Table 1 RETAINER throat 1 120 117286 See Table 2 and 3 O RING throat cartridge 1 121 See Table 1 ADAPTER rod 1 124 See Table 3 ROD pump bottom 1 125 See Table 1 2 and 3 O RING th...

Page 22: ...n Kit 25R213 S6 Included in Kits 26B843 26B847 26B848 Table 1 Various Kits 146 130883 See Table 1 SCREW socket head ext tip M5 1 147 136249 See Table 1 FITTING grease M5 1 148 198241 PLUG port pressure 1 149 121399 See Table 2 O Ring 1 150 18C159 See Table 2 and 3 TOOL installation cylinder 1 Ref Part Part Kit Description Qty Pump Model Pump Sizes Adapter rod 121 Cylinder O ring Kits Cylinder Kits...

Page 23: ...it 101 102 108 116 117 120 125 126 145 143 149 150 L020S8 20 26B816 2 2 4 2 1 1 2 1 2 1 L040S8 40 26B822 2 2 4 1 2 1 1 2 1 1 L080S8 80 26B829 2 2 4 1 2 1 1 2 1 1 L100S8 100 26B835 2 2 4 1 2 1 1 2 1 1 L120S8 120 26B841 2 2 4 1 2 1 1 2 1 1 L160S8 160 26B847 2 2 4 1 2 1 1 2 1 1 1 101 102 116 117 108 120 125 126 145 149 143 150 ...

Page 24: ...1 102 125 145 101 102 125 145 150 Reference Number and Quantity Included in Kit Pump Model Pump Size Displacement Rod Kit 101 102 114 115 116 117 121 124 125 126 145 150 L020S8 20 26B817 2 2 1 2 2 1 1 1 2 1 L040S8 40 26B823 2 2 1 2 1 2 1 1 1 2 1 L080S8 80 26B830 2 2 1 2 1 2 1 1 2 1 L100S8 100 26B836 2 2 1 2 1 2 1 1 2 1 L120S8 120 26B842 2 2 1 2 1 2 1 1 2 1 L160S8 160 26B848 2 2 1 2 1 2 1 1 2 1 1 ...

Page 25: ...it Pump Model Pump Size Check Valve Kit 108 109 110 111 112 113 137 138 139 140 141 142 143 144 L020S8 20 25B123 3 1 2 2 2 2 2 2 2 2 25B124 3 2 2 2 2 2 L040S8 40 25R213 25R214 25R749 4 4 2 2 2 2 2 1 2 1 L080S8 80 L100S8 100 L120S8 120 L160S8 160 109 110 139 111 108 143 138 141 112 142 137 140 144 Ref Part Description Qty 201 258775 O RING inlet 4 202 258776 O RING inlet 8 201 202 ...

Page 26: ...ns All pump sizes have the same dimensions Outlet Housing Mounting Hole Layout All pumps have the same outlet housing mounting hole layout C B A A Length in mm B Inlet in npt f C Outlet SAE f 13 36 339 34 3 4 14 3 4 16 5 9 in 150 mm ...

Page 27: ...Pa 241 bar Maximum operating temperature 180 F 82 C Maximum cycle rate 65 cycles per minute Minimum feed pressure at inlet 50 psi 0 35 MPa 3 5 bar Materials of Construction Wetted materials on all models SST tungsten carbide PEEK PTFE UHMWPE silicon nitride Weight All models 30 lbs 13 6 kg CALIFORNIA RESIDENTS WARNING Cancer and reproductive harm www P65warnings ca gov ...

Page 28: ...made at a reasonable charge which charges may include the costs of parts labor and transportation THIS WARRANTY IS EXCLUSIVE AND IS IN LIEU OF ANY OTHER WARRANTIES EXPRESS OR IMPLIED INCLUDING BUT NOT LIMITED TO WARRANTY OF MERCHANTABILITY OR WARRANTY OF FITNESS FOR A PARTICULAR PURPOSE Graco s sole obligation and buyer s sole remedy for any breach of warranty shall be as set forth above The buyer...

Reviews: