background image

Repair 

10

3A5453D

Service

Air Motor

1. Follow the 

Pressure Relief Procedure

, page 8.

2. To remove the air motor for service, use a 3/16 hex 

to remove the three setscrews (9) on the bung 
adapter (4).

3. Lower the adapter (4) on the shaft (2) so coupler (3) 

is accessible.

4. Use a 1/8 hex to remove the top two setscrews (8) 

on the coupler (3).

5. Lift the air motor (1) straight up off the coupler (3).

If the air motor (1) requires more than installation of 
a service kit, it is usually quickest and easiest to 
send it to the Graco distributor for repair or 
replacement.

If the air motor blades need replacing or foreign 
material is present in the motor chamber, an 
experienced mechanic may remove the end plate 
opposite the drive shaft end. Do not pry with a 
screwdriver. It will dent the surface of the plate and 
body, causing leaks. Use a puller tool, which will 
remove the end plate while maintaining the position 
of the shaft.

Shaft and Agitator Blades

1. Remove the shaft (2) from the drum. Clean with a 

compatible solvent and inspect the shaft (2) and 
blades (6, 7) for wear or damage.

2. If parts need replacing, follow steps 1-4 under 

Air 

Motor

 to remove the air motor.

3. Use the 1/8 hex to remove the other two setscrews 

(8) on the coupler.

4. Slide the shaft off (2).

5. If needed, use a 3 mm (1/8 in.) hex to remove the 

setscrew (8) on the hub assembly (6 or 7). Slide the 
hub/blade assembly off of the shaft.

6. To install a new hub/blade assembly, slide it onto 

the shaft. The setscrew must always remain on the 
top, with the blades hanging down, so the blades 
will pass into and out of the bung hole.

NOTE:

 Air Motor Repair Kits are available. Order part 

224954 for Model 26C150 (high viscosity) or part 
207335 for Model 26C818 (low viscosity).

Reassembly

1. Slide the shaft (2) into the coupler (3). Use a 1/8 hex 

to tighten the setscrews (8). Torque to 65 in-lb
(7.3 N•m).

2. Raise the bung adapter (4) on the shaft (2) to 

reconnect to the air motor. Use a 3/16 hex to tighten 
the three setscrews (9) on the bung adapter. Torque 
to 80 in-lb (9 N•m).

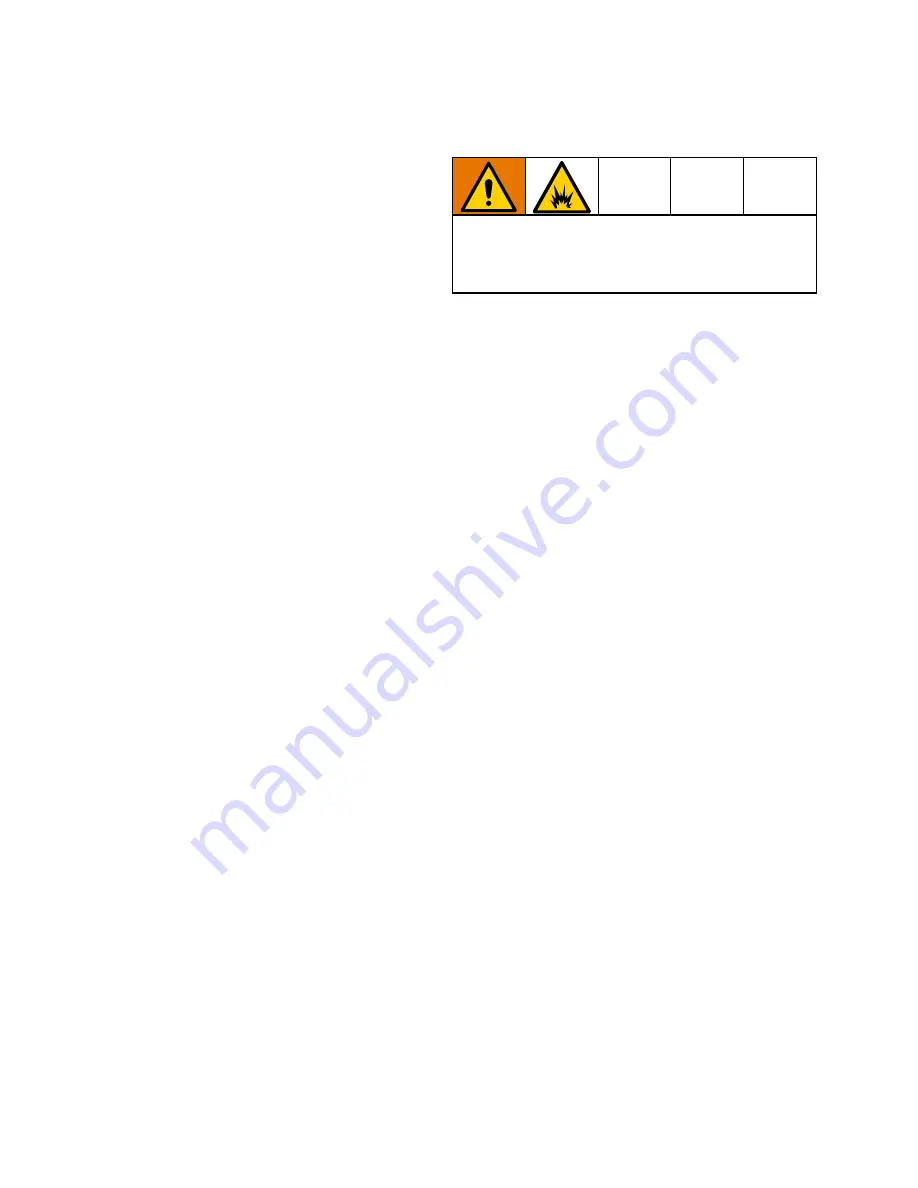
To prevent fire and explosions from sparks due to 
contact, clean only using non-flammable material or 
materials having a flash point lower than 140° F 
(60° C).

Summary of Contents for 26C150

Page 1: ...gh Viscosity up to 2000 centipoise Model 26C818 Low Viscosity up to 1000 centipoise 100 psi 0 7 MPa 7 bar Maximum Working Pressure Important Safety Instructions Read all warnings and instructions in this manual before using the equipment Save these instructions WARNING FIRE AND EXPLOSION HAZARD Use only non flammable or water based materials with this equipment Do not use materials having flash po...

Page 2: ...tor 6 Operation 8 Pressure Relief Procedure 8 Operate the Agitator 8 Check Fluid Viscosity 8 Maintenance 9 Lubricate the Air Motor 9 Repair 9 Flush the Air Motor 9 Service 10 Parts 12 Accessories 13 Dimensions 14 Technical Specifications 15 California Proposition 65 15 Graco Standard Warranty 16 Graco Information 16 ...

Page 3: ...oses Stop operation immediately if static sparking occurs or you feel a shock Do not use equipment until you identify and correct the problem Keep a working fire extinguisher in the work area EQUIPMENT MISUSE HAZARD Misuse can cause death or serious injury Do not operate the unit when fatigued or under the influence of drugs or alcohol Do not exceed the maximum working pressure or temperature rati...

Page 4: ... fluid connections before operating the equipment Check hoses tubes and couplings daily Replace worn or damaged parts immediately TOXIC FLUID OR FUMES HAZARD Toxic fluids or fumes can cause serious injury or death if splashed in the eyes or on skin inhaled or swallowed Read Safety Data Sheets SDSs to know the specific hazards of the fluids you are using Store hazardous fluid in approved containers...

Page 5: ...t Air regulator and gauge C to control air motor and agitator speed Air line lubricator D downstream from the filter install an air line lubricator for automatic air motor lubrication Set the lubricator feed rate at 1 drop of oil per minute for high speed or continuous duty usage Do not overfeed oil or exhaust air may become contaminated To manually lubricate the air motor see Lubricate the Air Mo...

Page 6: ...pter into the drum This motion will cause the blades to spin outward If the resistance does not change verify that the shaft is not contacting the base of the container 3 Position the air motor so the air line can be attached easily to the needle valve 1 8 npt inlet without obstructing any other system components 4 Attach an air line quick disconnect valve or ball valve for main air shutoff Order ...

Page 7: ... the bung until it bottoms out then back it out until the widest portion on of the adapter top is pointing just to the left of the center of the drum Fig 4 3 Turn down the locking ring until it contacts the drum Use an appropriately sized pipe wrench or adjustable wrench to tighten the adapter down until the widest portion of the adapter top is in line with the drum NOTE The locking ring 16H295 an...

Page 8: ...agitator the same agitator speed will be set each time the agitator is used 5 Operate the agitator continuously while supplying paints or other fluids to the system 6 To stop the agitator close the master air valve A or close the agitator needle valve 11 Check Fluid Viscosity If the agitator is in a closed drum remove the agitator to check fluid viscosity or siphon some fluid from the 3 4 npt drum...

Page 9: ...ilated area 1 Follow the Pressure Relief Procedure page 8 2 Add several teaspoons of solvent or spray the solvent directly into the motor 3 Rotate the shaft by hand in both directions for a few minutes 4 Reconnect the air line and slowly apply pressure until there is no trace of solvent in the exhaust air 5 Lubricate the motor with a squirt of lightweight oil in the chamber NOTICE Not lubricating ...

Page 10: ...ean with a compatible solvent and inspect the shaft 2 and blades 6 7 for wear or damage 2 If parts need replacing follow steps 1 4 under Air Motor to remove the air motor 3 Use the 1 8 hex to remove the other two setscrews 8 on the coupler 4 Slide the shaft off 2 5 If needed use a 3 mm 1 8 in hex to remove the setscrew 8 on the hub assembly 6 or 7 Slide the hub blade assembly off of the shaft 6 To...

Page 11: ...Repair 3A5453D 11 ...

Page 12: ...Parts 12 3A5453D Parts WL D Torque to 65 in lb 7 3 N m 1 Torque to 80 in lb 9 N m 2 ...

Page 13: ...cluded with Items 3 6 and 7 7 9 101679 SETSCREW 3 8 24 sst included with Item 4 3 11 206264 VALVE needle 1 12 169969 FITTING air line 1 13 113779 MUFFLER 1 15 116343 GROUND SCREW 1 16 113082 O RING 1 19 17E503 TAG safety agitator not shown 1 Air Motor Repair Kits may be purchased separately Order part 224954 for Model 26C150 high viscosity or part 207335 for Model 26C818 low viscosity Available in...

Page 14: ...818 low viscosity A 5 1 in 130 mm 4 2 in 107 mm C Minimum 33 in 838 mm 33 in 838 mm D Maximum 35 1 in 891 mm 35 1 in 891 mm Dimension Model 26C150 high viscosity Model 26C818 low viscosity B 5 6 in 142 mm 4 7 in 119 mm E Minimum 32 5 in 826 mm 32 5 in 826 mm F Maximum 34 6 in 879 mm 34 6 in 879 mm E ti32033b WL D D C E F ...

Page 15: ...Pa 7 bar Sound pressure measured 3 28 feet 1 meter from equipment Sound power measured per ISO 9614 2 Air Driven Expanding Blade Mixer Model 26C150 High Viscosity US Metric Maximum working pressure 100 psi 0 7 MPa 7 bar Maximum recommended agitator speed 500 rpm Air consumption at 400 rpm with 100 psi 0 7 MPa 7 bar air inlet pressure 22 scfm 0 62 m3 min Weight 13 3 lb 6 0 kg Bung adapter thread si...

Page 16: ...n material or workmanship repairs will be made at a reasonable charge which charges may include the costs of parts labor and transportation THIS WARRANTY IS EXCLUSIVE AND IS IN LIEU OF ANY OTHER WARRANTIES EXPRESS OR IMPLIED INCLUDING BUT NOT LIMITED TO WARRANTY OF MERCHANTABILITY OR WARRANTY OF FITNESS FOR A PARTICULAR PURPOSE Graco s sole obligation and buyer s sole remedy for any breach of warr...

Reviews: