Operation
12
3A5202G
Shutdown
1. Let the hopper run out of dry material.
2. Turn off the water supply while mixer is running to
relieve pressure.
3. Turn the unit off by flipping the switch to the OFF
position.
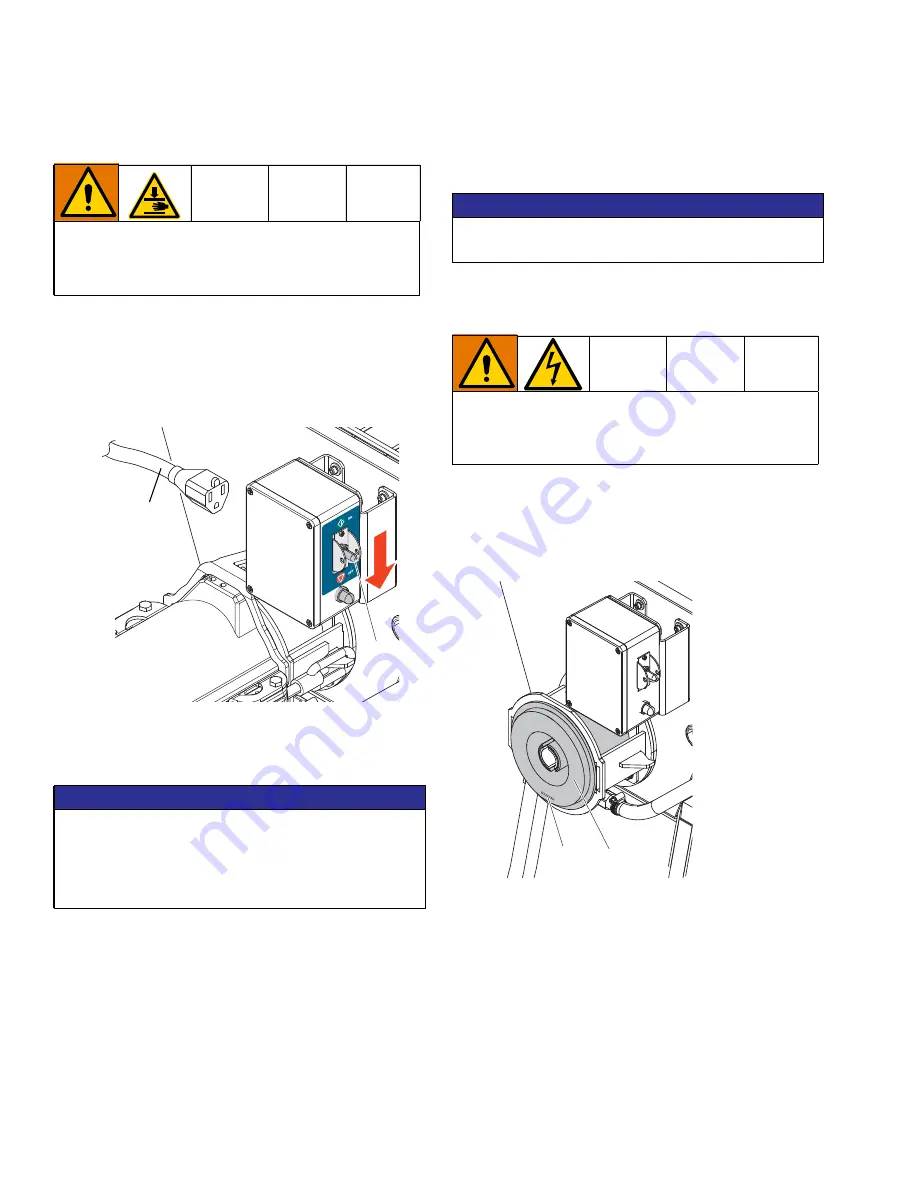
4. Unplug the power cord (PC) from the mixer.
5. Depressurize/drain water control assembly (D) by
opening water accessory ball valve.
6. Disconnect water supply.
7. Disconnect the motor power cable (CB).
8. Disengage both mix tube toggle latches (FAA) and
remove mix-head assembly (F).
9. Pull the mixing shaft (FB) out of the mixing tube (FA)
and flush both with water and a brush. Make sure all
of the mixing elements on the mixing shaft are
clean.
10. Clean the face of the throat insert (FC).
11. Clean out water dosing port (FCC).
Avoid contact with the discharge nozzle (FF), mix
shaft (FB), and material dosing auger shaft (FD)
during shut down. These parts can pull in, crush, cut,
or amputate fingers and other body parts.
NOTICE
To prevent damage to the water control assembly (D),
drain water from unit if it is to be stored for extended
periods of time or in freezing temperatures. Follow
Changing Material and Storing Equipment
WLD
($
PC
NOTICE
To prevent damage to mix-head assembly, do not
allow material to cure in mix-head assembly.
Do not use pressurized water jets to clean electrical
box, motor, capacitors, or wires. Use of pressurized
water jets can cause water to enter the electrical
controls and increase potential for electric shock.
WLD
)&&
)&


