


333233D
EN
Repair-Parts
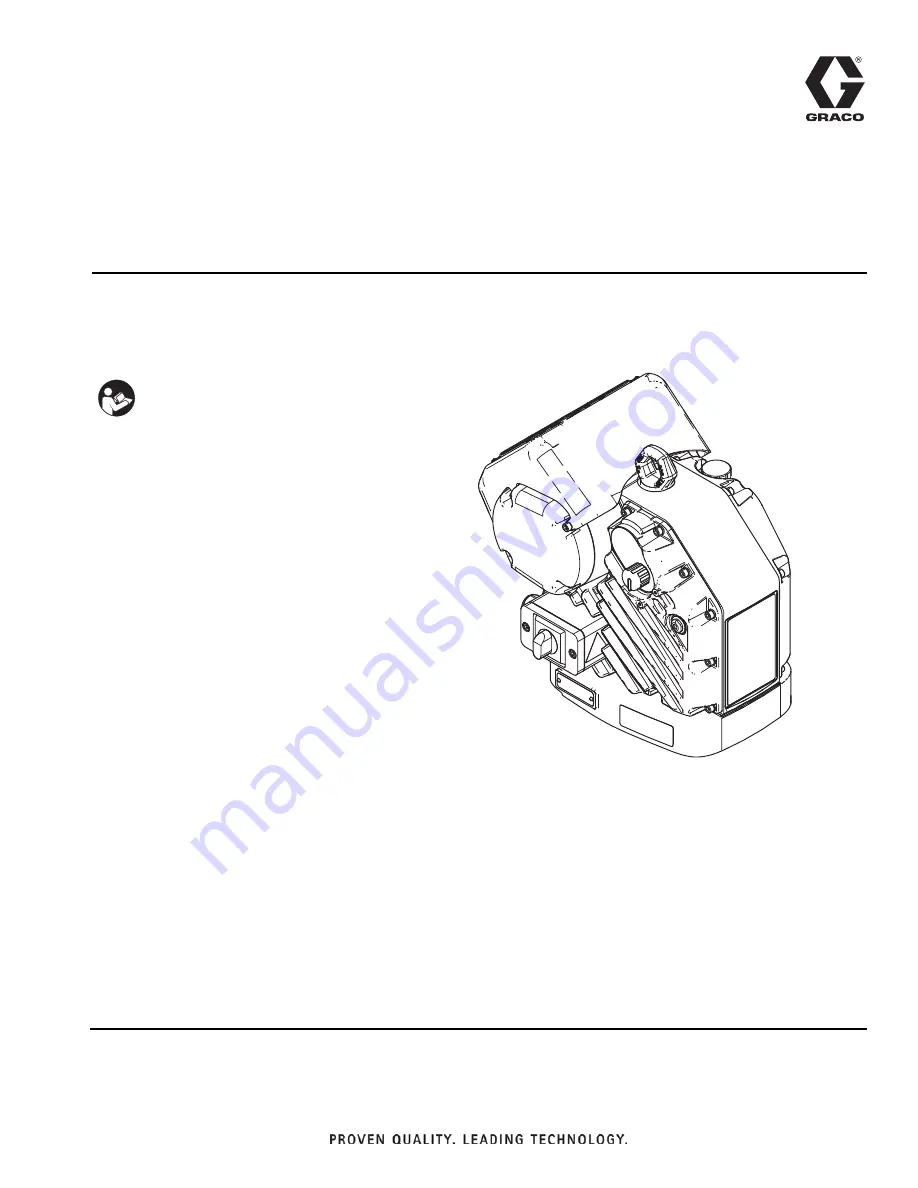
Electric Driver for
High Pressure Airless Sprayer
Electric driver for application of protective coatings. For professional use only.
Not approved for use in explosive atmospheres or hazardous locations.
Model 24V016
Important Safety Instructions
Read all warnings and instructions in this
manual. Save these instructions.
WLD


