background image

Flush the Equipment (Solvent-Based Materials)

313537E

5

Flush the Equipment 
(Solvent-Based Materials)

Flush before changing materials, before fluid can 
dry or cure in the equipment, at the end of the day, 
before storing, and before repairing equipment.

Flush with a fluid that is compatible with the fluid 
being dispensed and the equipment wetted parts.

Flush at the lowest pressure possible. Check con-
nectors for leaks and tighten as necessary.

Do not leave the applicator or any parts in water or 
cleaning solvents. 

1. Follow 

Pressure Relief Procedure

, page 4. 

2. Remove the spray tip and guard by loosening 

retaining ring (11).

3. Hold a metal part of the gun firmly to a grounded 

metal pail. Trigger the gun until clean solvent 
dispenses.

4. Store in a dry location. 

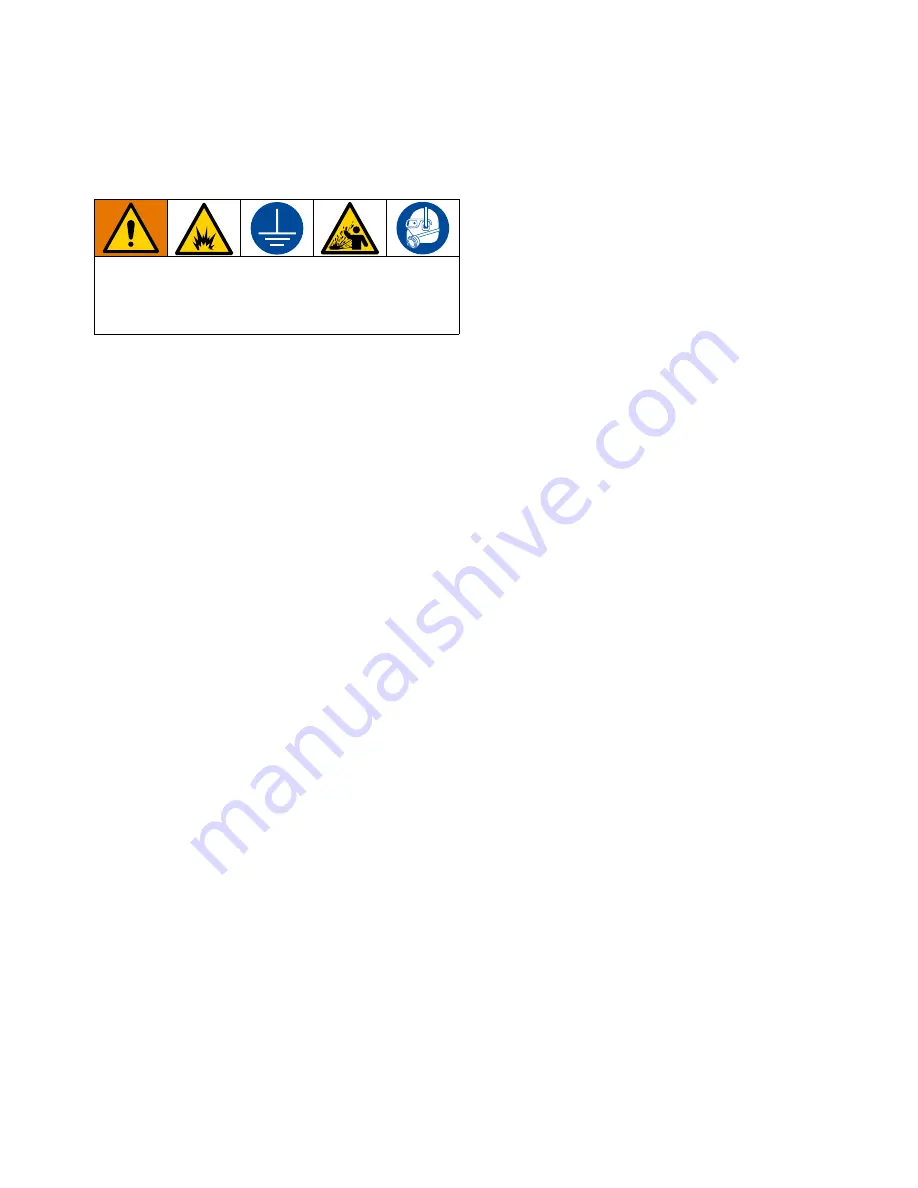
To avoid fire and explosion, always ground equipment 
and waste container. To avoid static sparking and 
injury from splashing, always flush at the lowest 
possible pressure.

Summary of Contents for 17Z128

Page 1: ...s are used For professional use only Not approved for use in European explosive atmosphere locations Models 24B327 17Z128 1000 psi 6 9 MPa 69 bar Maximum Fluid Working Pressure 250 psi 1 7 MPa 17 bar Maximum Air Working Pressure Important Safety Instructions Read all warnings and instructions in this manual and in the T Max operation manual before using the equipment Save these instructions Relate...

Page 2: ...area free of debris including solvent rags and gasoline Do not plug or unplug power cords or turn power or light switches on or off when flammable fumes are present Use only grounded hoses Hold gun firmly to side of grounded pail when triggering into pail Do not use pail liners unless they are anti static or conductive Stop operation immediately if static sparking occurs or you feel a shock Do not...

Page 3: ...vironment in which you are using it Use equipment only for its intended purpose Call your distributor for information Route hoses and cables away from traffic areas sharp edges moving parts and hot surfaces Do not kink or over bend hoses or use hoses to pull equipment Keep children and animals away from work area Comply with all applicable safety regulations PRESSURIZED ALUMINUM PARTS HAZARD Use o...

Page 4: ... b VERY SLOWLY loosen the retaining ring 11 hose end coupling 19 or pressure relief valve on the sprayer to relieve pressure gradually c Loosen the nut or coupling completely d Clear the obstruction in the hose or tip NOTE If pressure relief valve was used to relieve pressure be sure to disassemble and clean thoroughly This equipment stays pressurized until pressure is manually relieved To help pr...

Page 5: ... lowest pressure possible Check con nectors for leaks and tighten as necessary Do not leave the applicator or any parts in water or cleaning solvents 1 Follow Pressure Relief Procedure page 4 2 Remove the spray tip and guard by loosening retaining ring 11 3 Hold a metal part of the gun firmly to a grounded metal pail Trigger the gun until clean solvent dispenses 4 Store in a dry location To avoid ...

Page 6: ...tering air passage in housing 1 Install Applicator Tip and Guard 1 If equipment has recently been operated perform Pressure Relief Procedure page 4 2 Using a pencil or similar object insert seal 25 into back of guard 32 3 Insert guard 32 into end of applicator 4 Insert tip 31 in guard 32 Tighten retaining nut Air Spray Setup Connect Applicator to Sprayer 1 Attach supply hose to sprayer fluid outle...

Page 7: ...he tip wet and perform Pressure Relief Procedure page 4 Keep tip clean and free of material 1 Rotate SwitchTip to unclog position Aim applicator at floor and turn applicator ON When clog clears turn applicator OFF 2 Rotate SwitchTip back to spray position Turn applicator ON Spray test pattern Air Spray 1 Set material flow see sprayer instruction manual for additional information 2 Spray test patte...

Page 8: ...2521 SCREW machine 1 4 20 x 2 5 1 18 24B328 HANDLE applicator includes 17 1 19 289874 COUPLER female qd 1 19a 15G352 GASKET 1 20 289922 FILTER screen texture 18 mesh 1 20a 289923 FILTER screen texture 30 mesh 1 20b 15X791 PLUG air passage 1 21 277789 SUPPORT filter 2 22 15U687 SEAL adapter filter texture 1 23 15D727 ADAPTER ghd Rac 1 25 246453 KIT gasket and seat 5 sets 1 27 248525 NOZZLE 6mm rnd ...

Page 9: ...ng splined 1 12 124796 PACKING o ring 1 13 17Y920 SWIVEL assy htx 1 14 15U368 NUT cap 1 4 18 npsm 1 15 289919 KIT check valve 1 17 122521 SCREW machine 1 4 20 x 2 5 1 18 24B328 HANDLE applicator includes 17 1 19 289874 COUPLER female qd 1 19a 15G352 GASKET 1 19b 19A680 GASKET solvent compatible 1 27 248525 NOZZLE 6mm rnd 1 28 248526 NOZZLE 8mm rnd 1 29 248527 NOZZLE 10mm rnd 1 33 169967 FITTING ai...

Page 10: ...urfaces must be clean to prevent leaks and damage to equipment Technical Data Maximum fluid working pressure 1000 psi 6 9 MPa 69 bar Maximum air working pressure 250 psi 1 7 MPa 17 bar Air Requirements 30 scfm 0 84 m3 min Maximum Fluid Inlet Size 1 in m cam and groove Graco HP Air Inlet Size 1 4 npsm m Wetted Parts Aluminum stainless steel PE POM polyurethane nitrile nylon PVC tungsten carbide Wei...

Page 11: ...s of parts labor and transportation THIS WARRANTY IS EXCLUSIVE AND IS IN LIEU OF ANY OTHER WARRANTIES EXPRESS OR IMPLIED INCLUDING BUT NOT LIMITED TO WARRANTY OF MERCHANTABILITY OR WARRANTY OF FITNESS FOR A PARTICULAR PURPOSE Graco s sole obligation and buyer s sole remedy for any breach of warranty shall be as set forth above The buyer agrees that no other remedy including but not limited to inci...

Page 12: ...polis International Offices Belgium China Japan Korea GRACO INC AND SUBSIDIARIES P O BOX 1441 MINNEAPOLIS MN 55440 1441 USA Copyright 2008 Graco Inc All Graco manufacturing locations are registered to ISO 9001 www graco com Revision E April 2019 Graco Information For the latest information about Graco products visit www graco com For patent information see www graco com patents TO PLACE AN ORDER c...

Reviews: