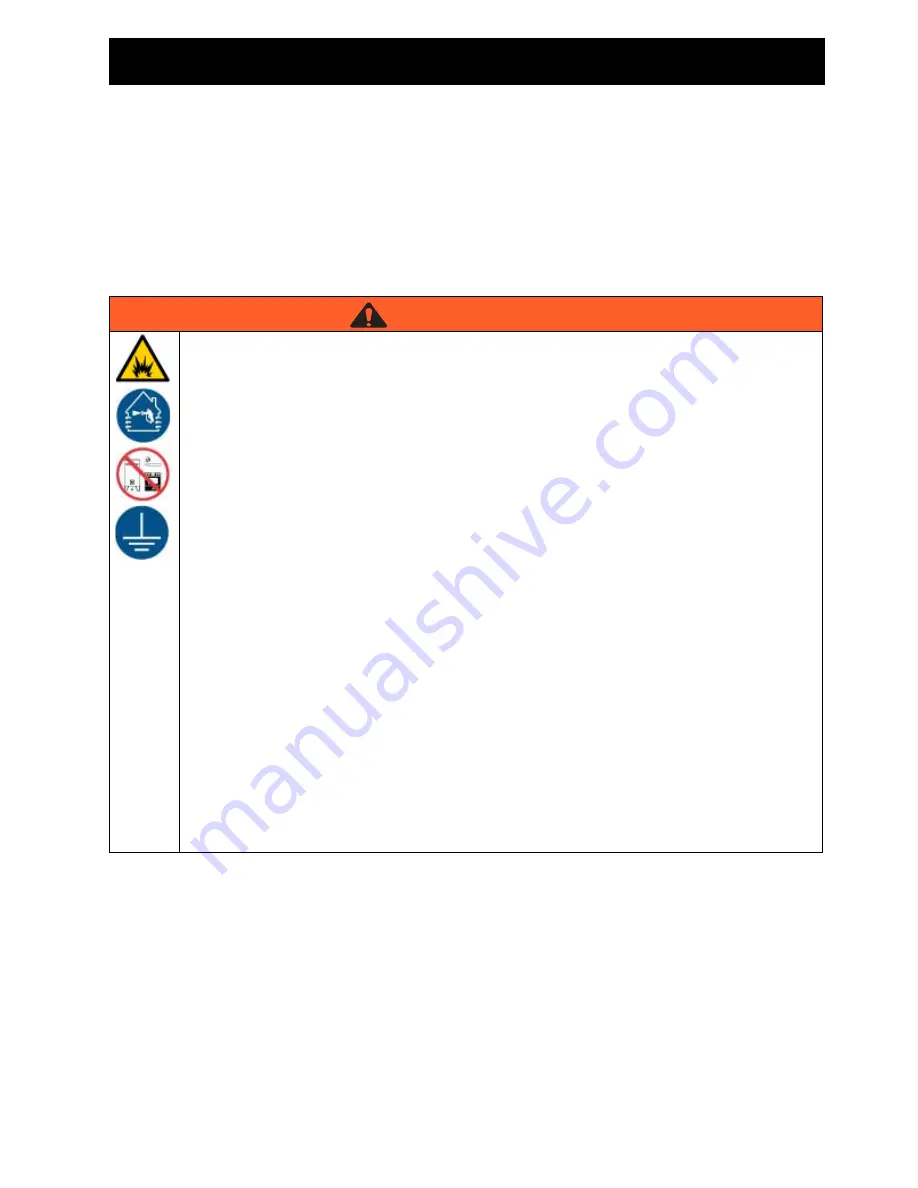
background image

Warnings

334599F

3

Warnings

The following warnings are for the setup, use, grounding, maintenance, and repair of this 

equipment. The exclamation point symbol alerts you to a general warning and the hazard 

symbols refer to procedure-specific risks. When these symbols appear in the body of this 

manual or on warning labels, refer back to these Warnings. Product-specific hazard symbols 

and warnings not covered in this section may appear throughout the body of this manual 

where applicable.

WARNING

FIRE AND EXPLOSION HAZARD

Flammable fumes, such as solvent and paint fumes, in work area can ignite or explode. To help 

prevent fire and explosion:

Do not spray flammable or combustible materials near an open flame or sources of ignition 

such as cigarettes, motors, and electrical equipment.

Paint or solvent flowing through the equipment is able to result in static electricity. Static 

electricity creates a risk of fire or explosion in the presence of paint or solvent fumes. All 

parts of the spray system, including the pump, hose assembly, spray gun, and objects in 

and around the spray area shall be properly grounded to protect against static discharge 

and sparks. Use Graco conductive or grounded high-pressure airless paint sprayer hoses.

Verify that all containers and collection systems are grounded to prevent static discharge. 

Do not use pail liners unless they are anti static or conductive.

Connect to a grounded outlet and use grounded extensions cords. Do not use a 3-to-2 

adapter.

Do not use a paint or a solvent containing halogenated hydrocarbons.

Do not spray flammable or combustible liquids in a confined area.

Keep spray area well-ventilated. Keep a good supply of fresh air moving through the area.

Sprayer generates sparks. Keep pump assembly in a well ventilated area at least 20 feet 

(6.1 m) from the spray area

 when spraying, flushing, cleaning, or servicing

. Do not spray 

pump assembly.

Do not smoke in the spray area or spray where sparks or flame is present.

Do not operate light switches, engines, or similar spark producing products in the spray 

area.

Keep area clean and free of paint or solvent containers, rags, and other flammable 

materials.

Know the contents of the paints and solvents being sprayed. Read all Safety Data Sheets 

(SDS) and container labels provided with the paints and solvents. Follow the paint and 

solvents manufacturer’s safety instructions.

Fire extinguisher equipment shall be present and working.

Summary of Contents for 17C487

Page 1: ...21 17M992 24Z731 Important Safety Instructions Read all warnings and instructions in this manual and related manuals Be familiar with the controls and the proper usage of the equipment Save these inst...

Page 2: ...Pressure Relief 5 Trigger Lock 5 Pressure Relief Procedure 5 Pump Removal 8 Repair 9 Dissemble Pump 9 Assemble Pump 11 Parts 16 Parts List 17 Pump Installation 18 Technical Specifications 19 Graco Sta...

Page 3: ...protect against static discharge and sparks Use Graco conductive or grounded high pressure airless paint sprayer hoses Verify that all containers and collection systems are grounded to prevent static...

Page 4: ...before operating the unit Know how to stop the unit and bleed pressure quickly Be thoroughly familiar with the controls PRESSURIZED ALUMINUM PARTS HAZARD Use of fluids that are incompatible with alumi...

Page 5: ...f Procedure 1 Engage the trigger lock ti24612a LineLazer ES 1000 This equipment stays pressurized until pressure is manually relieved To help prevent serious injury from pressurized fluid such as skin...

Page 6: ...or power to dissi pate 3 Unplug power cord or shut engine off For LineLazer ES 1000 unplug power cord and disconnect battery 4 Engage the trigger lock 5 Remove tip guard 6 Turn pressure control to the...

Page 7: ...rt of the gun firmly to a grounded metal pail Trigger the gun to relieve pressure 8 Engage the trigger lock 9 Open any fluid drain valves in system Leave drain valves open until ready to spray again t...

Page 8: ...and outlet and removing the pump 1 Use a hammer to loosen pump retaining nut 2 Turn pump retaining nut to free pump rod cover 3 Swing pump rod cover open 4 Disconnect outlet hose and suction hose from...

Page 9: ...uts are not removable and not sold separately 2 Unscrew cylinder from intake valve 3 Dissemble intake valve Clean and inspect O ring may require a pick for removal ti24863a Retaining Nuts ti24870a NOT...

Page 10: ...d inspect parts The piston has a special thread locking sealing patch Apply thread sealant to the threads Do not clean or wipe the piston valve threads Cleaning the piston valve threads could destroy...

Page 11: ...F 11 7 Remove and discard throat packing and glands from the cylinder Assemble Pump 1 Soak leather packings in SAE 30W oil for one hour before assembly ti24880a Leather Packings ti24890a Leather Packi...

Page 12: ...ant is applied to piston valve threads ensure that none gets on the ball 3 Torque to 27 3 ft lb 37 4 N m 4 Assemble leather throat packings soaked earlier 5 Loosely install packing nut with o ring ont...

Page 13: ...ackings Gently guide displacement rod up through throat packings Tap bottom of piston valve as necessary with a leather or plastic hammer 8 Grease o ring and place on outside diameter ring groove 9 Cl...

Page 14: ...Repair 14 334599F 10 Torque to 100 5 ft lb 136 7 N m 11 Install o ring onto packing nut Torque to 75 5 in lb 8 5 0 5 N m or addi tional 1 2 turn from hand tight ti24899a ti24900a...

Page 15: ...of additional operation before a repacking is required Packing nut can be tightened without o ring removal ti24901a This equipment stays pressurized until pressure is manually relieved To help prevent...

Page 16: ...Parts 16 334599F Parts 202 203 220 204 221 205 201 225 206 219 208 224 209 211 207 212 213 218 215 217 216 223 222 229 ti24903a...

Page 17: ...11 GUIDE ball 1 215 246429 KIT seat carbide includes 213 217 and 218 1 216 15B611 VALVE intake housing 1 217 15B112 PACKING o ring 0 941 in OD 1 218 105445 BALL sst 0 5000 in 1 219 17V093 O RING PTFE...

Page 18: ...es into the connecting rod when the pump is slid into the drive housing 3 Slide pump all the way into drive hous ing 4 Close pump rod cover Make certain that it is flush against drive housing 5 Use bo...

Page 19: ...fluid working pressure 3300 psi 228 bar 22 8 MPa Inlet Outlet Sizes Fluid inlet size 1 0 in diameter Fluid outlet size 1 4 in Wetted materials on all models stainless steel PTFE leather nylon zinc pla...

Page 20: ...Notes 20 334599F Notes...

Page 21: ...Notes 334599F 21 Notes...

Page 22: ...s of parts labor and transportation THIS WARRANTY IS EXCLUSIVE AND IS IN LIEU OF ANY OTHER WARRANTIES EXPRESS OR IMPLIED INCLUDING BUT NOT LIMITED TO WARRANTY OF MERCHANTABILITY OR WARRANTY OF FITNESS...

Page 23: ...nformation For the latest information about Graco products visit www graco com For patent information see www graco com patents TO PLACE AN ORDER contact your Graco distributor or call 1 800 690 2894...

Page 24: ...anges at any time without notice Original instructions This manual contains English MM 334599 Graco Headquarters Minneapolis International Offices Belgium China Japan Korea GRACO INC AND SUBSIDIARIES...

Reviews: