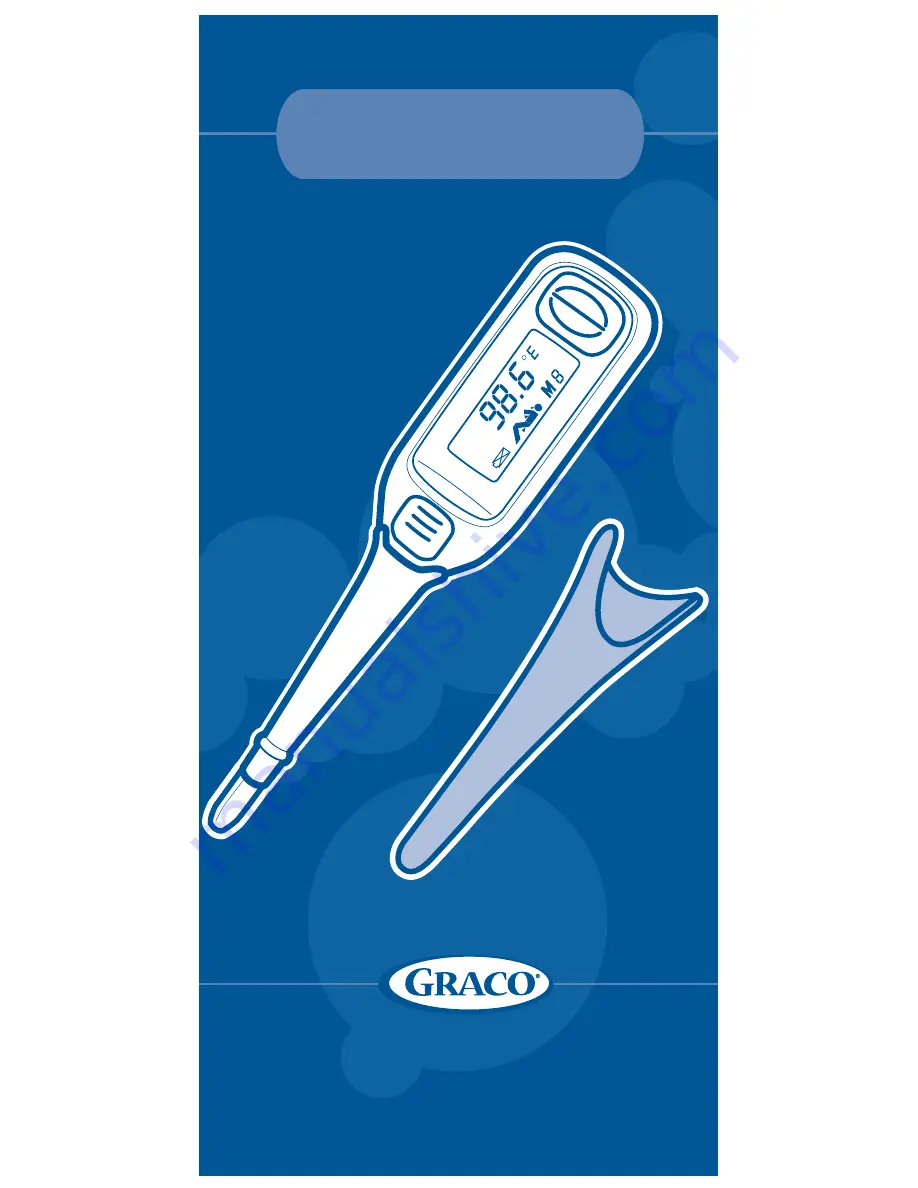
Digital Thermometerwith Lighted Display
OWNER'S MANUAL
KEEP INSTRUCTIONS FOR FUTURE USE.
©2010 Graco PD135573A 3/10
Page 1: ...Digital Thermometer with Lighted Display OWNER S MANUAL KEEP INSTRUCTIONS FOR FUTURE USE 2010 Graco PD135573A 3 10...
Page 2: ...RPHWHU LQ ZDWHU 2 127 SODFH XQLW QHDU ZDWHU DQG PRLVWXUH R QRW XVH WKH 7KHUPRPHWHU RXWGRRUV R QRW XVH WKH 7KHUPRPHWHU QHDU SRVVLEOH ZHW DUHDV VXFK DV D EDWKWXE VKRZHU ZDVK EDVLQ VLQN ODXQGU WXE VZLPPL...
Page 3: ...VH WKH 7KHUPRPHWHU LI W KDV EHHQ H SRVHG WR OLTXLGV W KDV EHHQ GURSSHG RU LV GDPDJHG 2 127 23 1 7 7 5020 7 5 1R XVHU VHUYLFHDEOH SDUWV LQVLGH R QRW GURS WKH WKHUPRPHWHU 3URWHFW LW IURP VHYHUH LPSDFW D...
Page 4: ...W SH LI LQVHUWHG LQFRUUHFWO SXW LQ EDFNZDUGV RU LI EDWWHU LV QRW UHSODFHG RU UHFKDUJHG DW WKH VDPH WLPH Q EDWWHU PD OHDN EDWWHU DFLG RU H SORGH LI GLVSRVHG RI LQ UH RU DQ DWWHPSW LV PDGH WR FKDUJH D E...
Page 5: ...GLVSRVH RI WKHP LQ WKH SURSHU PDQQHU DFFRUGLQJ WR RXU VWDWH DQG ORFDO UHJXODWLRQV 5HPRYH EDWWHU EHIRUH VWRULQJ SURGXFW IRU D SURORQJHG SHULRG RI WLPH DWWHU OHIW LQ WKH XQLW PD OHDN DQG FDXVH GDPDJH 5...
Page 6: ...LQVWDOODWLRQ 7KLV HTXLSPHQW JHQHUDWHV XVHV DQG FDQ UDGLDWH UDGLR IUHTXHQF HQHUJ DQG LI QRW LQVWDOOHG DQG XVHG LQ DFFRUGDQFH ZLWK WKH LQVWUXFWLRQV PD FDXVH KDUPIXO LQWHUIHUHQFH WR UDGLR FRPPXQLFDWLRQV...
Page 7: ...URP WKDW WR ZKLFK WKH UHFHLYHU LV FRQQHFWHG RQVXOW WKH GHDOHU RU DQ H SHULHQFHG UDGLR 79 WHFKQLFLDQ IRU KHOS 7KLV GHYLFH FRPSOLHV ZLWK SDUW RI WKH 5XOHV 2SHUDWLRQ LV VXEMHFW WR WKH IROORZLQJ WZR FRQGL...
Page 8: ...lower than a rectal reading and 0 9 F 0 5 C higher than an axillary reading When using after a bath If reading is lower than 89 6 F 32 0 C the LCD will display 4 dashed lines A If reading is higher th...
Page 9: ...electricity BATTERY INSTALLATION The thermometer includes one CR1225 3 volt lithium battery already installed The approximate life of this battery is 3 years When the low battery symbol appears on th...
Page 10: ...For First Time Use Please follow these instructions to insure the most accurate reading possible Remove and discard the protective cover on the front of the thermometer How to use 1 The thermometer de...
Page 11: ...s shown below After 8 seconds the thermometer will enter the ready for measuring mode automatically or you can turn off the thermometer and turn it back on again and you will hear a beep the thermomet...
Page 12: ...e tongue down over the tip and close your mouth Hold the thermometer steady keeping the tip in the same position for 5 seconds After approximately 5 seconds you will hear a ve short beeps indicating t...
Page 13: ...efore taking a measurement Make sure the underarm is dry and there is no material between the side and the arm Hold the arm close to the side for 5 minutes before taking a temperature reading Point th...
Page 14: ...s before taking a measurement Gently slide the tip no more than 3 4 inch 19 mm into the rectum DO NOT push thermometer past the over insertion marker Hold the thermometer in place for 5 seconds After...
Page 15: ...your preferred mode 3 Turn off the thermometer after use by pressing the Power button If you forget to turn it off it will automatically shut off after 3 minutes 4 Clean the tip with isopropyl alcoho...
Page 16: ...appears on the LCD display Pressing the Mode button again will provide you with the last temperature reading followed by a beep If you continue to press on the Mode button you can cycle through up to...
Page 17: ...b moistened with isopropyl alcohol after every measurement and before each use Clean the body of the thermometer with a soft dry cloth Never use an abrasive 3 Avoid touching the probe with your ngers...
Page 18: ...e temperature reading When the low battery symbol appears on the LCD Take a new reading and wait for the beep before removing the thermometer Take a new reading and wait for the beep before removing t...
Page 19: ...104 F 10 C 40 C Storage Environment 25 C to 60 C humidity of 15 to 95 noncondensing Requires one CR1225 3 volt lithium battery included Applied Standards and Approvals Device standard Device correspo...
Page 20: ...Q V 3URGXFWV OHQODNH 3DUNZD WODQWD ZZZ JUDFREDE FRP RU 7R UHJLVWHU RXU UDFR SURGXFW IURP ZLWKLQ WKH 8 6 YLVLW XV RQOLQH DW ZZZ JUDFREDE FRP SURGXFWUHJLVWUDWLRQ H FXUUHQWO GR QRW DFFHSW SURGXFW UHJLVWU...
Page 21: ...MANUAL DEL PROPIETARIO GUARDE LAS INSTRUCCIONES PARA USO FUTURO 2010 Graco PD135573A 3 10 Term metro digital con pantalla iluminada...
Page 22: ...en agua NO ponga el term metro cerca del agua o humedad No use el Term metro a la intemperie No use el Term metro cerca de posibles lugares h medos tales como una ba era ducha lavadero fregadero lava...
Page 23: ...metro si Ha entrado en contacto con l quidos Se ha ca do o ha resultado da ada NO ABRA EL Term metro No hay partes que el usuario pueda arreglar en el interior No deje caer el term metro Prot jalo con...
Page 24: ...pila diferente si se la coloca de manera incorrecta puesta al rev s o si todas las pilas no se cambian o recargan al mismo tiempo Cualquier pila puede perder cido o explotar si se la desecha en el fue...
Page 25: ...charla de la manera correcta seg n las disposiciones locales y de su estado Saque la pila antes de guardar el producto durante un largo per odo de tiempo La pila que quede en el term metro puede perde...
Page 26: ...WHV GH XQ GLVSRVLWLYR GLJLWDO ODVH VHJ Q OD 3DUWH GH ODV QRUPDV GH OD 6H KDQ HVWDEOHFLGR HVWRV OtPLWHV SDUD SURSRUFLRQDU XQD SURWHFFLyQ UD RQDEOH FRQWUD OD LQWHUIHUHQFLD SHOLJURVD HQ XQD LQVWDODFLyQ U...
Page 27: ...WHQD GHO UHFHSWRU XPHQWH OD VHSDUDFLyQ HQWUH HO HTXLSR HO UHFHSWRU RQHFWH HO HTXLSR D XQ WRPDFRUULHQWH HQ XQ FLUFXLWR GLIHUHQWH DO FLUFXLWR HQ HO TXH HVWi FRQHFWDGR HO UHFHSWRU RQVXOWH DO YHQGHGRU R D...
Page 28: ...iental y la hora del d a Las temperaturas normales orales pueden variar entre 95 9 F 35 5 C a 99 5 F 37 5 C La temperatura oral tambi n puede ser un 0 9 F 0 5 C m s baja que una lectura rectal y un 0...
Page 29: ...DE LAS PILAS El term metro incluye una pila de litio de 3 voltios tama o CR1225 ya instalada La vida til de esta pila es aproximadamente 3 a os Cuando aparece el s mbolo de la pila descargada en la pa...
Page 30: ...IONES Para el uso por primera vez Por favor use estas instrucciones para asegurar la lectura m s precisa posible Saque y deseche la funda protectora de adelante del term metro C mo usarlo 1 La escala...
Page 31: ...ndica a continuaci n Despu s de 8 segundos el term metro pasar autom ticamente al modo listo para medir o apague el term metro y vuelva a oprimir el bot n de encendido y escuchar un sonido el term met...
Page 32: ...atr s posible Ponga la lengua sobre la punta y cierre la boca Mantenga el term metro jo con la punta en el mismo lugar durante 5 segundos Despu s de aproximadamente 5 segundos escuchar cinco sonidos b...
Page 33: ...l durante 8 segundos antes de completar una medici n Aseg rese de que la axila est seca y que no haya material entre el costado y el brazo Mantenga el brazo cerca del costado durante 5 minutos antes d...
Page 34: ...segundos antes de completar una medici n Deslice suavemente la punta no m s de 3 4 pulgada 19 mm en el recto NO empuje el term metro m s all del marcador que indica una inserci n excesiva Mantenga el...
Page 35: ...do que pre ere 3 Apague el term metro despu s de usarlo oprimiendo el bot n de encendido Si se olvida de apagarlo se apagar autom ticamente despu s de 3 minuto 4 Limpie la punta con alcohol isoprop li...
Page 36: ...a que aparezca el icono M en la pantalla de cristal l quido Oprimir el bot n Mode Modo de nuevo le brindar la ltima lectura de la temperatura seguida por un sonido Si contin a oprimiendo el bot n Mode...
Page 37: ...n humedecida con alcohol isoprop lico despu s de cada medici n y antes de cada uso Limpie el cuerpo del term metro con un trapo seco y suave Nunca use un abrasivo 3 Evite tocar la sonda con los dedos...
Page 38: ...aparece el s mbolo de la pila descargada en la pantalla de cristal l quido Realice una nueva medici n mientras mantiene el term metro en una posici n estable Realice una nueva medici n mientras manti...
Page 39: ...peraci n 50 F 104 F 10 C 40 C Ambiente de almacenamiento 25 C a 60 C humedad del 15 al 95 sin condensaci n Requiere una pila CR1225 de litio de 3 voltios incluida Normas aplicadas y aprobaciones Norma...
Page 40: ...RGXFWV OHQODNH 3DUNZD WODQWD ZZZ JUDFREDE FRP R 3DUD UHJLVWUDU VX SURGXFWR UDFR GHVGH GHQWUR GH ORV 88 YLVtWHQRV HQ OtQHD HQ ZZZ JUDFREDE FRP SURGXFWUHJLVWUDWLRQ FWXDOPHQWH QR DFHSWDPRV UHJLVWURV GH O...