background image

14

USING 

YOUR BREAKF

AST MAKER

14

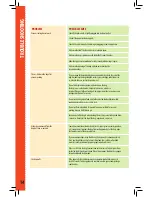
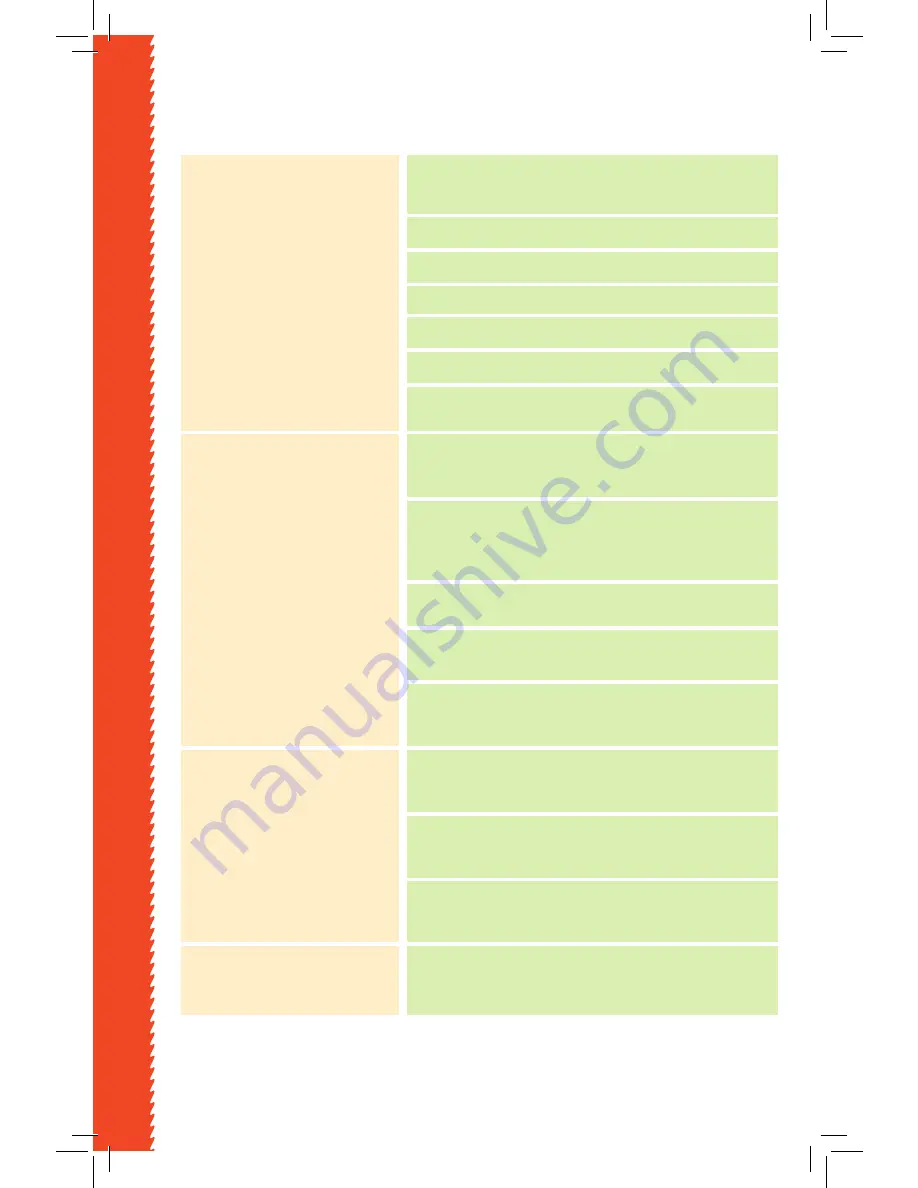
Vacuum sealing doesnt work.


There is still air in the bag after 

vacuum packing. 


Air has been removed from the 

bag, but then re-entered.


The bag melts

Check if the power cord is tightly plugged into electrical outlet. 


 Check if the power cord is damaged.

Check if the electrical outlet is working by plugging in another appliance.

Make sure the lid of the Vacuum Sealer is locked in place.

Make sure the bag is placed correctly inside the Vacuum Chamber.

Allow the appliance to cool down for forty seconds before using it again.

Make sure the opening of the bag is placed entirely inside the  

vacuum chamber.

 If you use one of the included bags in a customized size, check the seal of the 

bag. A wrinkle in the bag along the seal may cause leakage and allow air to 

re-enter. In this case, just cut bag and reseal.

Do not attempt to make your own side seams on the bag.  

The bags are manufactured with special side seams, which are  

sealed all the way to the outer edge. Making your own side seams may cause 

leakage and allow air to re-enter.

Do not seal the bag when food is hot, otherwise the food will shrink while 

cooling down and it may cause air to leak.

Do not seal fermented food. Fermented food is not suitable for vacuum 

packing, because it will release gas.

Examine seal of the bag. A wrinkle along the seal may cause leakage and allow 

air to enter. Simply cut the top of the bag, wipe down, and reseal.


Sometimes moisture or food material (such as juices, grease, crumbs, powders, 

etc.) along the seal prevents the bag from sealing properly. Cut the bag, wipe 

the top inner part of the bag and reseal.

If you vacuum package sharp food items, the bag may have been punctured. 

Use a new bag if there is a hole. Cover sharp food items with a soft padded 

material, such as parchment paper or paper towels, and reseal.

If there is still air in the bag, fermentation or the release of natural gases from 

inside the foods may have occurred. When this happens, food may have begun 

to spoil and should be discarded.

If the bag melts, the rubber rim may have become too hot. Always wait at 

least 40 seconds  for the appliance to cool down before you vacuum package 

another item.

PROBLEM


POSSIBLE CAUSE

TROUBLESHOO

TING

Summary of Contents for GVS-455

Page 1: ...VacuumSealer Cancel Pickling USERMANUAL Model GVS 455...

Page 2: ...nsibility for errors or omissions Nor is any liability assumed for damages resulting from the use of the information contained herein Although every effort has been made to ensure that the information...

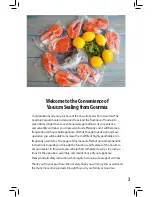
Page 3: ...sy operation you will be able to increase the shelf life of highly perishable or in frequently used items The pages of this manual offer full and comprehensive instructions to guide you through the fu...

Page 4: ...ty for repair 6 Accessories or attachments that were not provided by the manufacturer should not be used They may result in fire electric shock or injury 7 Do not use outdoors 8 Do not let the cord ha...

Page 5: ...TABLEOFCONTENTS 5 TABLE OF CONTENTS WhyVacuumSealing 6 KnowYourVacuumSealer 7 UsingYourVacuumSealer 8 VacuumSealingTips 12 Cleaning Maintenance 13 Troubleshooting 14 Warranty Services 15...

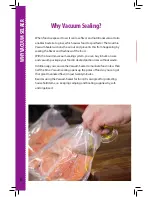
Page 6: ...the food With the Gourmia vacuum sealing system you can buy in bulk on sale and vacuum package your food in desired portion sizes without waste Additionally you can use theVacuum Sealer to marinate f...

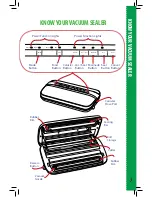
Page 7: ...t Dry Roll Storage Vacuum Nozzle Sealing Bar Release Button Rubber Rim Canister Hose Port Rubber Rim Cutter Gentle Normal Moist Dry Mode Food Canister Vac Seal Marinade Seal Cancel Mode Button Food Bu...

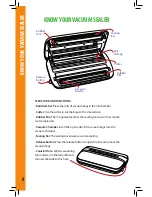
Page 8: ...d Vacuum Chamber Insert the open side of the vacuum bags into the vacuum chamber Sealing Bar The sealing bar ensures accurate sealing Release Button Press the release button to open the lid and remove...

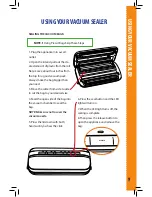
Page 9: ...he bag bigger than you need 3 Move the cutter from side to side to cut the bag to your desired size 4 Feed the open side of the bag into the vacuum chamber to seal the bag NOTE Makesurenottocoverthe v...

Page 10: ...anister button to start the vacuuming cycle and the LED light will turn on 9 The vacuum will begin to draw the air from the canister and create a tight seal 10 You can press the stop button at any tim...

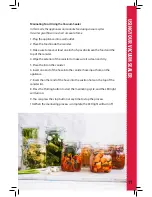
Page 11: ...e top of the canister 4 Wipe the exterior of the canister to make sure it is clean and dry 5 Place the lid on the canister 6 Insert one end of the hose into the canister hose input hole on the applian...

Page 12: ...chamber Hold it there until the sealing begins 7 When you are vacuum sealing items with sharp edges dry spaghetti sil verware etc protect the bag from punctures by wrapping the item in a soft padded...

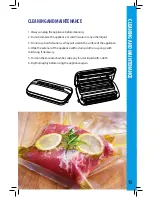
Page 13: ...ot use harsh cleaners as they will scratch the surface of the appliance 4 Wipe the exterior of the appliance with a damp cloth or a sponge with mild soap if necessary 5 To clean the vacuum chamber wip...

Page 14: ...ngyourownsideseamsmaycause leakageandallowairtore enter Donotsealthebagwhenfoodishot otherwisethefoodwillshrinkwhile coolingdownanditmaycauseairtoleak Donotsealfermentedfood Fermentedfoodisnotsuitable...

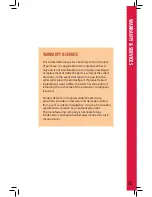
Page 15: ...er will replace the product part If product repair replacement won t suffice the seller has the option of refunding the cash value of the product or component returned Product defects not covered unde...

Page 16: ...USING YOUR BREAKFAST MAKER FORCUSTOMERSERVICE QUESTIONSORCOMMENTS VISITUS GOURMIA COM INFO GOURMIA COM ORCALL888 552 0033...

Reviews: