


16
Part 6. Goscam widget introduction
1
.
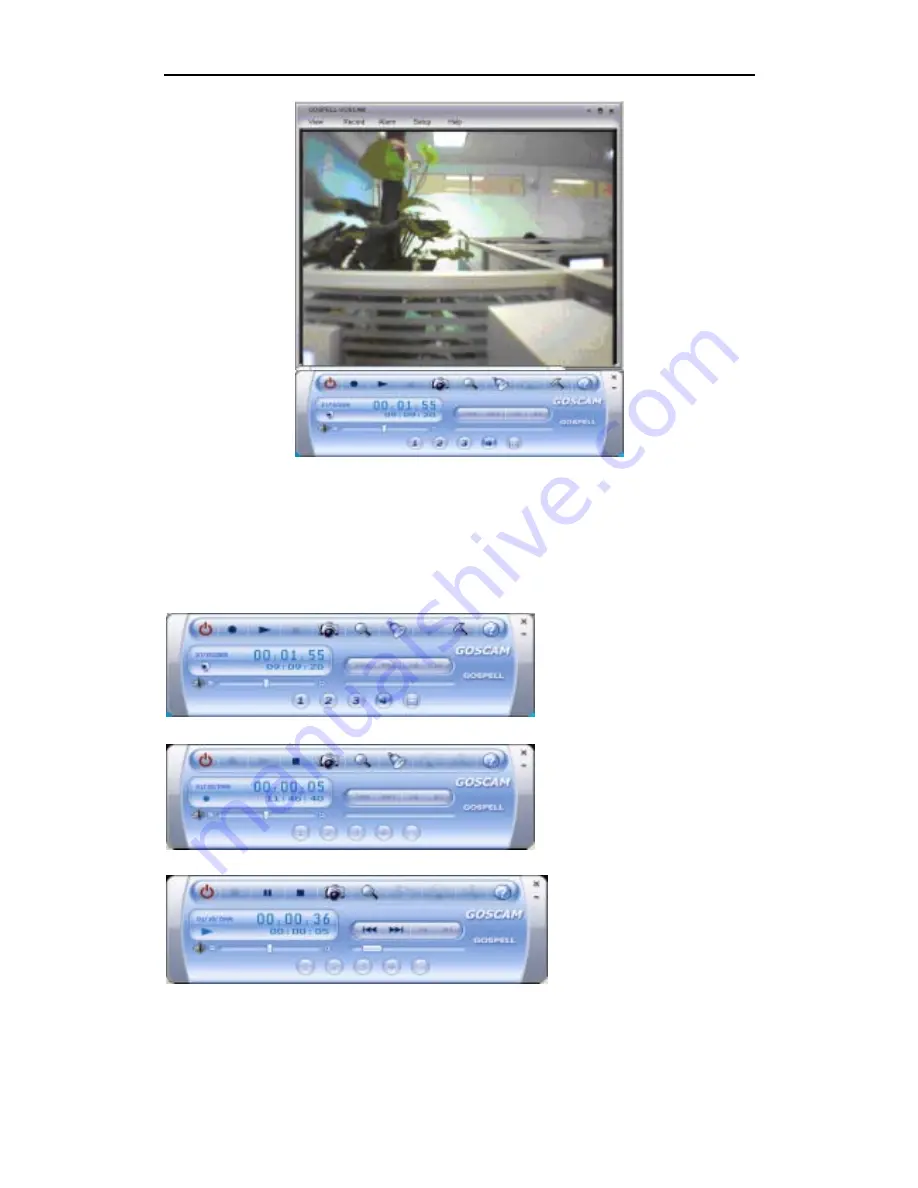
Goscam Control Panel
z
In normal state, Goscam Control Panel is as followed, all usual functions are available.
z
In record state, Goscam Control Panel is as followed:
z
In playback state, Goscam Control Panel is as followed:
2
.
Explanation of the function of Goscam control panel
Buttons


