


14
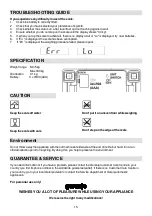
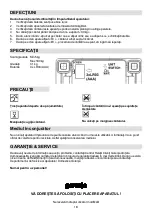
Never attempt to charge non-rechargeable batteries.
The electronic components inside the appliance may be affected by other devices used in close proximity, such
as mobile phones or microwave ovens. If this happens, the display will show erroneous data.
To remedy this, either switch the interfering device off, or move the appliance away from it.
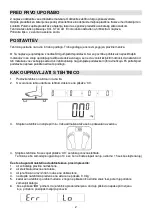
BEFORE USE
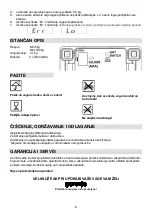
Remove all packaging materials from the appliance. Remove the protective foil from the display.
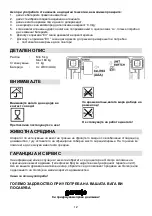
Open the battery compartment on the underside of the scales and remove the small plastic strips which are
clamped between the batteries and the contacts.
Close the battery compartment afterwards, such that the battery compartment cover audibly engages.
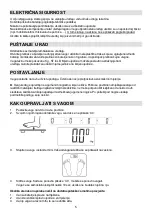
The scale can display weights in Kg,LB or ST. You can set the unit on the rear of the appliance.
Press switch to set the desired unit.
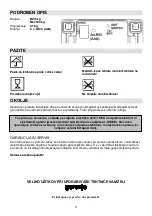
SETUP
Place the scales on a level and heat-resistent surface. A firm standing is the prerequisite
for correct measurement.
NOTICE
This appliance is equipped with non-slip rubber feet. As furniture surfaces may be made of a variety of
materials and are treated with many different types of cleaning agents, it cannot be completely ruled out
that some substances contain ingredients which may corrode the rubber rests and soften them. If possible
place an anti-slip material under the feet of the appliance.
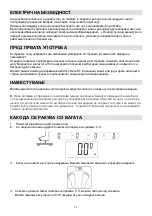
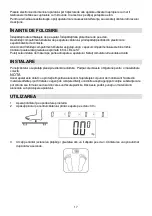
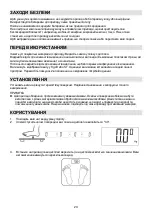
HOW TO OPERATE
1.
Place the scale on a hard and even floor.
2.
With your foot, firmly tap the centre of the scale until "0.0" displayed .
3. Step on the scale (the display will flicker) and your weight measurement will be shown on the screen.
The scale will automatically shut off after 10-15 seconds.
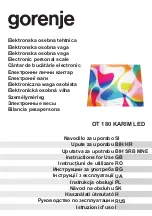
Summary of Contents for OT 180 KARIM LED
Page 11: ...10 10 C 30 C 2012 19 EU waste electrical and electronic equipment WEEE...
Page 12: ...11 KG LB ST BA 1 2 0 0 3 4 0 0 10 15...
Page 20: ...19 BG 2 2 EU 10 C 30 C...
Page 21: ...20 Kg LB ST 1 2 0 0 3...
Page 23: ...22 UA 10 C 30 C 2 2 EU u p EEE...
Page 24: ...23 Kg LB ST 2 1 2 0 0 3...
Page 25: ...24 1 2 st 3 4 0 0 5 L 6 Err 7 Err 5 180 0 1 Battery 3 x LR03 AAA G r G r D st A s...
Page 38: ...37 RU 2 2 EU EEE 10 C 30 C...
Page 39: ...38 K ST 1 2 0 0...
Page 40: ...39 3 1 2 k st lb 3 4 0 0 k 5 L 6 Err 7 Err 180 0 1 3 x LR03 AAA...
Page 41: ...40 G r G r D st A s 119180 4 1...