GoMax Electronics MA-5188C User Manual Download Page 19

~ 18 ~ 


The EDID learning function is only necessary whenever you encounter any display on the HDMI output 

port  that  cannot  play  audio  and  video  properly.  Because  the  HDMI  source  devices  and  displays  may  have 
various level of capability in playing audio and video, the general principle is that the source device will output 
the  lowest  standards  in  audio  format  and  video  resolutions  to  be  commonly  acceptable  among  all  HDMI 
displays. In this case, a 720p stereo HDMI signal output would be probably the safest choice. Nevertheless, 
the user can force the matrix to learn the EDID of the lowest capable HDMI display among others to make sure 
all displays are capable to play the HDMI signals normally by performing the procedures stated below. 


SW1-SW8 Pin#1 and Pin#2 must be set “ON” & “OFF” for EDID Learning Mode 


Method 1: Manually connect HDMI displays to HDMI input ports


1.


Power up the matrix master unit. Connect the HDMI display that its EDID needs to be learned to any of the 
HDMI


INPU1-INPU8

 port where your source device has trouble to show the picture normally. 

2.


To learn the display

s EDID for source device


connected to respective HDMI 

INPU1-INPUT8

 port, pull 

both pins of respective DIP switch


SW1-SW8


up-and-down to stay at ON[

]-OFF[

] and wait for 

about 5 seconds 

to complete the EDID learning process. You DON’T NEED to pull up the DIP switch again 

unless you want to learn another display

s EDID by pulling both DIP switch pin-1 & pin-2 of 

SW1-SW8


up-and-down one more time. 

3.


Repeat step1 & step2 if you want to learn the EDID of this HDMI display on any other HDMI input ports 
that have same trouble playing the audio/video properly. 
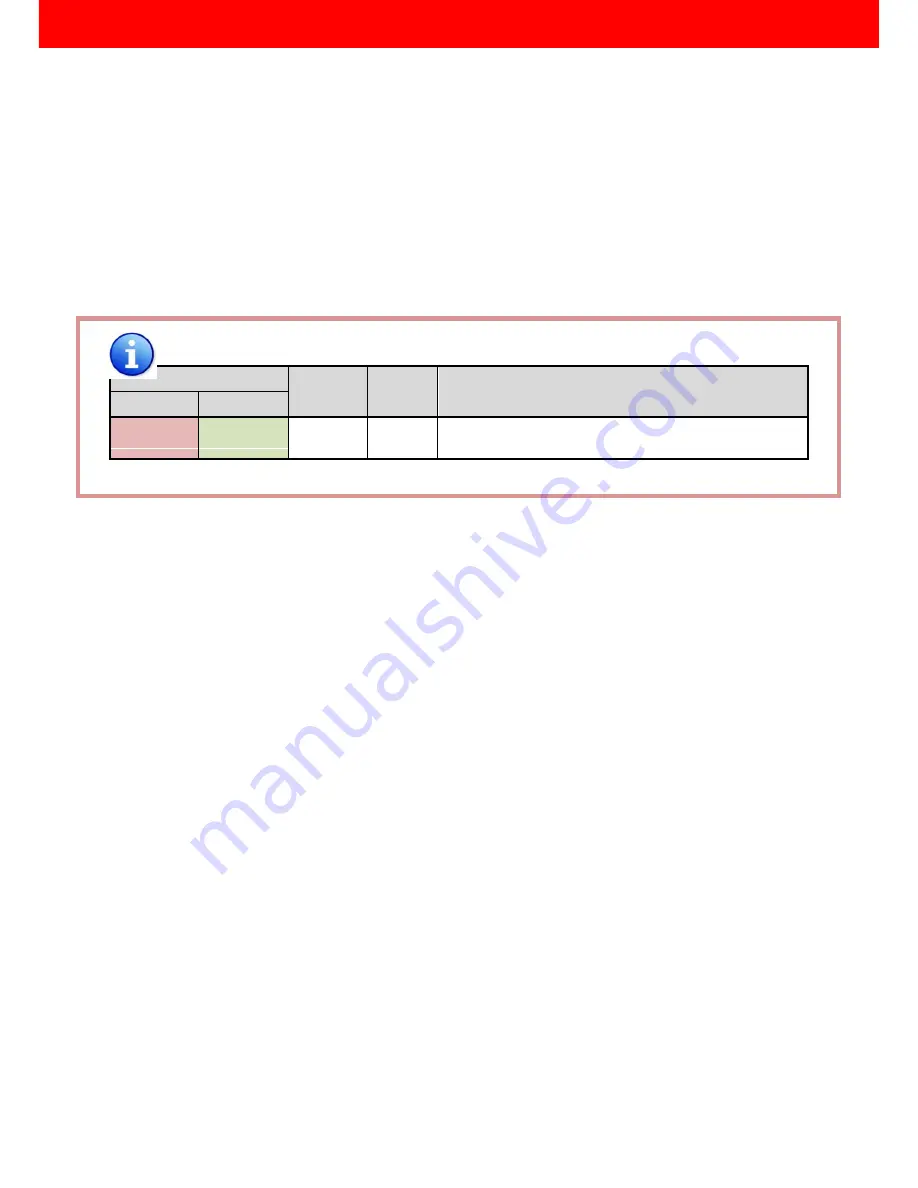


DIP Switch Position 

Video 

Audio 

Description 

Pin#1 

Pin#2 

ON

 [

]


OFF [

Bypass 

Bypass 

EDID Learning 

 for learning EDID from the receiver 

EDID Learning


Summary of Contents for MA-5188C

Page 1: ...MA 5188C 8x8 HDMI over CAT5 Matrix with IR Pass through User Manual To avoid EMI issue complete STP Cat6 cable is strongly recommended Made in Taiwan...

Page 2: ...ry and to minimize the risk of damage to the unit Follow all instructions and warnings marked on this unit Do not attempt to service this unit yourself except where explained in this manual Provide pr...

Page 3: ...ites but also users can switch among eight HDMI sources using the push in button or remote control With single power design at the source site each remote module is easily installed without power supp...

Page 4: ...ith rack mounting and wall mounting designs for master and receiver respectively Fast response time 2 5 seconds for channel switch The length depends on the characteristics and quality of the cables H...

Page 5: ...eration firmware update Mechanical MA 5188 MA 5188RX Enclosure Metal case Dimensions L x W x H Model 440 x 290 x 44mm 1 5 x 11 4 x 1 7 85 x 90 x 25mm 3 3 x 3 5 x 1 Package 528 x 398 x 130mm 1 9 x 1 4...

Page 6: ...232 control port 7 USB USB control port 8 SW Main DIP switches see DIP Switch section in p 8 9 SW 1 8 DIP switch see DIP Switch section in p 8 10 INPUT 1 8 HDMI inputs 11 IR PASS THROUGH 1 8 3 5mm IR...

Page 7: ...ies from 0 strongest to 7 weakest for respective transmission length from longest possible range to short distance Please adjust the signal level from 7 to 0 and stop turning the rotary switch wheneve...

Page 8: ...y issue among different kinds of HDMI sources and displays If you cannot get the audio and or video output normally at the system installation please change the DIP switch setting to default mode or e...

Page 9: ...update WARNING Firmware update only can be done via RS 232 port and connection to PC set at COM1 1 Power off the MA 5188 Execute the firmware update program on your PC via COM1 port connection to the...

Page 10: ...ommand signals from the remote receivers that are setting at respective input channel from 1 to 8 MA 5188RX IR RECEIVER IR receiver connected here can receive all IR command signals from the IR remote...

Page 11: ...ecommended NEC RC5 TOSHIBA MICOM CODE GRUNDIG CODE SONY 12 BIT CODE SONY 15 BIT CODE SONY 20 BIT CODE RCA CODE RCM CODE MATSUSHITA CODE MITSUBISHI CODE ZENITH CODE JVC CODE M50560 001P MN6125H MN6125L...

Page 12: ...IR receiver of the sources 5 Connect the 5V 6A DC power supply to the MA 5188 6 Power on all HDMI sources 7 Power on the MA 5188 MA 5188RX as receiver 1 Connect each HDMI output to HDMI displays 2 Con...

Page 13: ...please push one of the INPUT buttons to choose which HDMI input source you are going to setup After that you can have multiple outputs playing the same content from the selected INPUT 1 8 by pushing t...

Page 14: ...tring Table assign the captions for each input and output port for easy recognition For example Rename the Input1 to Blu ray player Input2 to Sat receiver input3 to Game console input4 to AV receiver...

Page 15: ...ble back to default setting turn effective after program restart 2 Scan button Serial Port Scan Click Scan button the machine will scan the all COM port and show them Select the RS232 serial port conn...

Page 16: ...utput selection Select Input1 8 Output Select Input Source Then select the output port icon For example Select input source 1 Then select output ports one and two The video and audio will be sent to p...

Page 17: ...elect Input 2 F8 Output F select Input 8 A5 Output A select Input 5 D3 Output D select Input 3 G1 Output G select Input 1 A6 Output A select Input 6 D4 Output D select Input 4 G2 Output G select Input...

Page 18: ...t the remote site to input port 1 SOURCE SEL 2 Switch the display channel at the remote site to input port 2 SOURCE SEL 3 Switch the display channel at the remote site to input port 3 SOURCE SEL 4 Swi...

Page 19: ...ID Learning Mode Method 1 Manually connect HDMI displays to HDMI input ports 1 Power up the matrix master unit Connect the HDMI display that its EDID needs to be learned to any of the HDMI INPU1 INPU8...

Page 20: ...l at the same time for 2 seconds 3 Release these two buttons The EDID will be read from the receiver unit connected to the display and sent the Output Port then written to the chosen Input Channel 4 I...

Page 21: ...ceiver showing U Step3 Then press the button 1 Default A 1080P 7 1ch audio 2 Default B 1080P stereo audio 3 Default C 720P stereo audio 4 Default D DVI Mode 5 Learning EDID from this display to the se...

Page 22: ...0xD5 0xE5 0xF5 0x15 0x25 Source 6 0xA6 0xB6 0xC6 0xD6 0xE6 0xF6 0x16 0x26 Source 7 0xA7 0xB7 0xC7 0xD7 0xE7 0xF7 0x17 0x27 Source 8 0xA8 0xB8 0xC8 0xD8 0xE8 0xF8 0x18 0x28 Function 0x17 0x0A 0x0C POWE...

Page 23: ...B 0xCB 0xDB 0xEB 0xFB 0x1B 0x2B Source 5 0xAA 0xBA 0xCA 0xDA 0xEA 0xFA 0x1A 0x2A Source 6 0xA9 0xB9 0xC9 0xD9 0xE9 0xF9 0x19 0x29 Source 7 0xA8 0xB8 0xC8 0xD8 0xE8 0xF8 0x18 0x28 Source 8 0xA7 0xB7 0x...

Page 24: ...for better performance 6 To reduce the interference among the unshielded twisted pairs of wires in Cat 5 5e 6 cable one can use shielded STP cables to improve EMI problems which is worsen in long tra...

Page 25: ...ce is necessary 5 What should I do to learn EDID for the matrix Due to the limitation of HDMI the source device can only output one format of video and audio In other words the source device cannot ou...

Page 26: ...ideo and one audio format to play which can be either 1080p and 7 1ch or 1080p and stereo audio It means when the user sets the matrix at 1080p and 7 1ch the source will only play the content under th...

Page 27: ...ume the risk of loss or damage in transit Under no circumstances will a unit be accepted without a return authorization number The warranty is in lieu of all other warranties expressed or implied incl...

Reviews: