Golden Media Wizard HD 780 User Manual Download Page 2

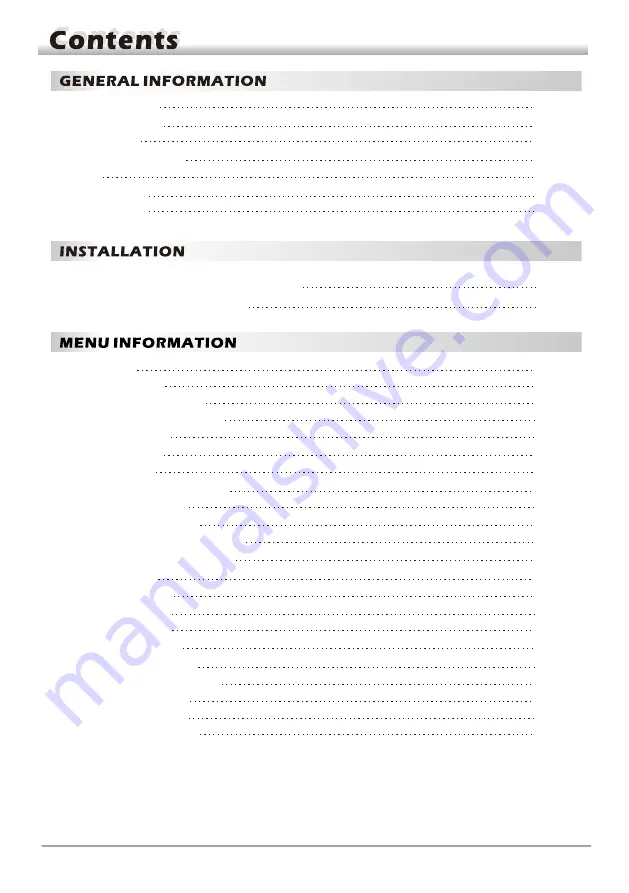
    Main Features

    For Your Safety

    Unpacking

    General Operation

    RCU

    Front Panel

    Rear Panel


4

5

6

6

7

8

8


    Connecting to TV using SCARTsupport

    Connecting to Digital Amplifier


9

9

   Main Menu

   1. Edit Channel

        1.1 TV Channel List

        1.2 Radio Channel List

        1.3 Delete All

        1.4 


Favorite

   2. Installation

       2.1 Antenna Connection

       2.2 

Satellite List  

       2.3 

Antenna Setup

       2.4 

Single Satellite Search


Multi Satellite Search

2.5 

       2.6 

TP List


2.7 Fast Scan     

   3. System Setup

       3.1 Language

       3.2 TV System

       3.3 

Display Setting

       3.4 Local Time Setting

       3.5 

Timer Setting

       3.6 Parental Lock

       3.7 OSD Setting


10

11

12

14

14

14

14

14

15

15

16

16

17

17

18

18

18

18

19

19

19

20

3

9

10

Summary of Contents for Wizard HD 780

Page 1: ......

Page 2: ...1 2 Radio Channel List 1 3 Delete All 1 4 Favorite 2 Installation 2 1 Antenna Connection 2 2 Satellite List 2 3 Antenna Setup 2 4 Single Satellite Search Multi Satellite Search 2 5 2 6 TP List 2 7 Fas...

Page 3: ...e 7 9 Pause 7 10 OK 7 11 Audio 7 12 Recall 7 13 Fav 7 14 Teletext 23 23 24 24 24 25 25 25 26 26 26 26 26 26 26 26 27 27 27 27 5 Internet 5 1 Network Local Setting 5 2 Wifi Manager 5 3 USB 3G Dongle 5...

Page 4: ...ering such possibilities we strongly recommend you to use Galvanic Isolator during the system installation and not remove the isolator Note Applying an isolator causes a little signal loss Equipment c...

Page 5: ...io programmable 32 different favorite groups selectable Multi language OSD English French German Italian Spanish Portuguese Russian Turkish Arabic Polish etc Fully support to 7 days Electronic Program...

Page 6: ...r an extended period Do not touch the receiver during thunder since that might create electric shock hazards Do not block ventilation holes of the receiver so that air can circulate freely Do not expo...

Page 7: ...out using the buttons on the RCU and some of the functions can also be carried out using the buttons on the front panel The receiver is easy to use always at your command and adaptable for future adv...

Page 8: ...n TV and AV modes EPG L R TV AV PAUSE FIND Display the Find window ZOOM Enter into the zoom in mode SLEEP Enter into the sleep in mode TXT Play and stop the program Press to fast forward or fast backw...

Page 9: ...e the object as the standard CONNECT TO A DIGITAL AMPLIFIER CONNECT TO TV AND VCR USING A SCART CABLE CONNECT TO TV SET DV OUT INPUT CONNECT TO A PC FOR S W UPGRADE POWER ON OFF CONNECT TO THE INTERNE...

Page 10: ...g SCART support The picture is only for reference please make the object as the standard Satellite Dish IN TV SCART DSR Connecting to Digital Amplifier DIGITAL AUDIO CONVERTOR OR AMPLIFIER SPEAKER Sat...

Page 11: ...downwards from one line to another line and use key to move from main menu to sub menu and move from left side to right side or versa If you want to escape the menu system please press MENU or EXIT k...

Page 12: ...ager USB 3G Dongle Weather Forecast RSS Reader Upgrade By Network Sudoku Othello System Setup Tools Language TV System Local Time Setting Timer Setting Parental Lock OSD Setting Other Internet HDD Med...

Page 13: ...Select the program and press OK key to mark this program with the Lock mark You can cancel this mark by pressing OK key once more Press red colour key again to exit from the lock mode and you will fin...

Page 14: ...rambled programs are listed last Lock all locked programs are listed at the last i Sort red colour key Press green colour key to move the Edit button upward Select the program and press OK key to pop...

Page 15: ...o exit without saving 1 2 Radio Channel List Same operation as 1 1 TV Channel List here we don t explain any more iii Delete blue colour key 1 3 Delete All Move cursor to the Delete All item and press...

Page 16: ...please refer to the down table Press yellow colour key to save and exit or press blue key to cancel and exit 2 Press green colour key to pop up the Add TP window Since the same operation as the above...

Page 17: ...2 4 Single Satellite Search 2 5 Multi Satellite Search...

Page 18: ...Frequency Symbol rate Press keys to add or reduce by step one Or press numeric keys 0 9 to input the desired value The range of the frequency is 3000 13500 while the range of the symbol rate is 1000...

Page 19: ...30 1080p_50 and 1080p_60 2 Aspect Mode Select among 4 3LetterBox 4 3PanScan 16 9 and Auto 3 2 TV System 3 Video Output Select between RGB and YUV 4 Digital Audio Out Select among LPCM Out Auto and BS...

Page 20: ...up Date On Time Use numeric keys to input the valid date Duration Set the gap time After waking up system will power off automatically after the duration time Press MENU or EXIT key to save and exit B...

Page 21: ...n Off and On 5 Clock In Standby Select between On and Off 6 Card Initial clock Press key to select 7 AV Sync type Select between On and Off If select Off AV Sync value item turn gray 8 AV Sync value p...

Page 22: ...N Maturity Level CA Slot Insert the smart card with the golden chip facing down Push the smart card into the CA slot Only a few millimetres of the card should be visible outside the slot 1 Upgrade Fil...

Page 23: ...ue key to edit channel RSS Channel list is on the left side of window RSS News list is on the right side of window Press PR PR key to select channel you want 5 6 Upgrade by Network 1 Protocol Select b...

Page 24: ...Red key Press red key to enter the rename window you can rename the file by press number 0 9 on RCU Green key Press green key to enter the copy window press key to select the place you want to copy t...

Page 25: ...ress yellow key to format the disk Blue key Press blue key to pop up DVR Set windw 6 2 Storage Information 6 3 Remove USB Safely Press OK on this item it will pop up a dialogue You can safely remove U...

Page 26: ...e detail information of the current program Press OK key at this button to move the cursor to the current time line Press OK key to push the time forward or backward by half an hour Press OK key to pu...

Page 27: ...the picture by pressing PAUSE key once again 7 9 Pause Press keys to change the volume Press keys to decrease the volume while press keys to increase the volume 7 7 Left Right Volume Press key to tur...

Page 28: ...is no teletext system will inform No Teletext Data Press EXIT key to exit 7 14 Teletext Press key to switch the current channel to the previous channel 7 12 Recall 1 Press FAV key to pop up the favou...

Page 29: ...other equipment connected between the LNB and the receiver or adjust the dish Bad picture blocking error The satellite dish is not pointing at the satellite Adjust the dish Signal is too strong Conne...

Reviews: