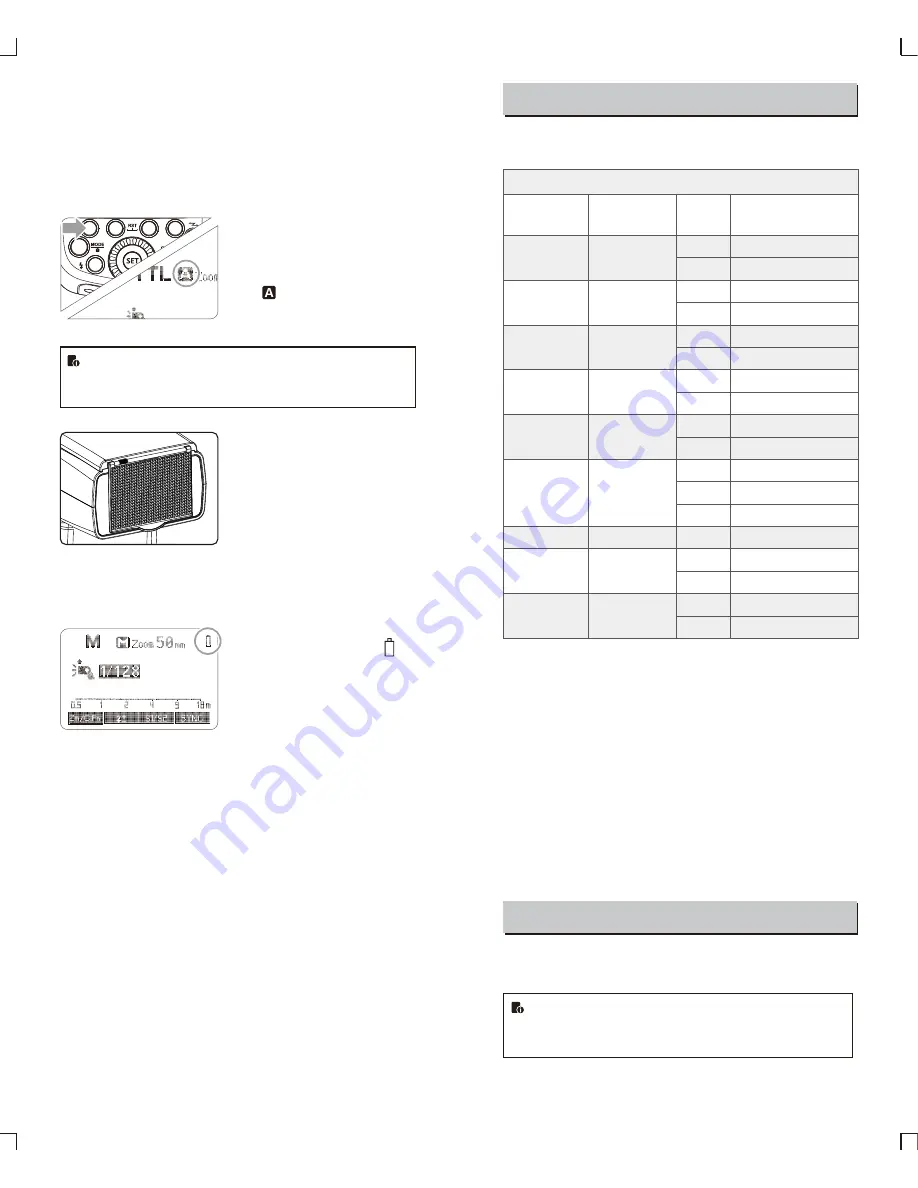
ZOOM: Setting the Flash Coverage and Using
the Wide Panel
The flash coverage can be set automatically or manually. It can be set
to match the lens focal length from 10 mm to 100mm (4/3 system).
Also, with the built-in wide panel, the flash coverage can be expanded
for 7mm wide-angle lenses.
Choose 4/3 or 135 system in the C.Fn-ZOOM.
In Manual Zoom mode, press the
<ZOOM/C.FN> button.
●
Turn the Select Dial to change
the flash coverage.
●
If <
> is displayed, the flash
coverage will be set
automatically.
If you set the flash coverage manually, make sure it covers
the lens focal length so that the picture will not have a dark
periphery.
Using the Wide Panel
Pull out the wide panel and place it
over the flash head as shown. The
flash coverage will then be extended
to 7 mm.
●
The catchlight panel will come out
at the same time. Push the
catchlight panel back in.
●
The <
ZOOM/C.FN
> button will not
work.
Low Battery Warning
If the battery power is low, <
>
will appear and blink on the LCD
panel. Please replace the battery
immediately.
C.Fn: Setting Custom Functions
The following table lists the available and unavailable custom
functions of this flash.
m/ft
APO
ZOOM
Sv APOT
BEEP
LIGHT
LCD
ID
Sv LED
m
ft
ON
OFF
4/3
135
60min
30min
ON
OFF
12sec
OFF
ON
0~9
OFF
01-99
OFF
ON
Distance indicator
Auto power off
Lens system
Slave auto power
off timer
Beeper
Backlighting time
LCD contrast ratio
Wireless ID
Wireless LED Lamp
C
.
Fn
Custom
Functions
Custom Function
Signs
Function
Setting No
.
Settings & Description
m
feet
ON
OFF
4/3 system
135 system
60min
30min
ON
OFF
Off in 12 sec.
Always off
Always lighting
10 levels
Off
Choose any figure from 01-99
Off
on
1
.
Press
<
Zm
/
C
.
Fn
>
Backlight
/
Custom
Setting Button
for
2
seconds
or
longer
until
C
.
Fn
menu
is
displayed
.
The
“
Ver
x
.
x”
in
the
top
-
right
corner
refers
to
the
software
version
.
2
.
Select
the
Custom
Function
No
.
●
Turn the Select Dial to
select
the
Custom
Function
.
3
.
Change
the
Setting
.
●
Press
<
SET
>
button
and
the
Setting
No
.
blinks
.
●
Turn
the
Select
Dial
to
set
the
desired
number
.
Pressing
<
SET
>
button
will
confirm
the
settings
.
●
After you set the Custom Function and press <MODE> button,
the camera will be ready to shoot.
4. In the C.Fn states, long press the “Clear” button for 2 seconds
until “OK”is displayed on the panel, which means the values in
C.Fn can be reset.
Firmware Upgrade
This flash supports firmware upgrade through the USB port. Update
information will be released on our official website.
USB connection line is not included in this product. The USB
port is a standard Micro USB socket. Common USB
connection line is applicable.
- 47 -
- 48 -


