Getting Started
2-2
Normally the
JP8MK retransmit’s all MIDI received at the MIDI in to the MIDI Out (it
is a
MIDI thru port), and the JP8MK transmits its own data as well. Jupiter 8 Morph will
manage this
MIDI data and stop MIDI data being retransmitted back to your DAW.
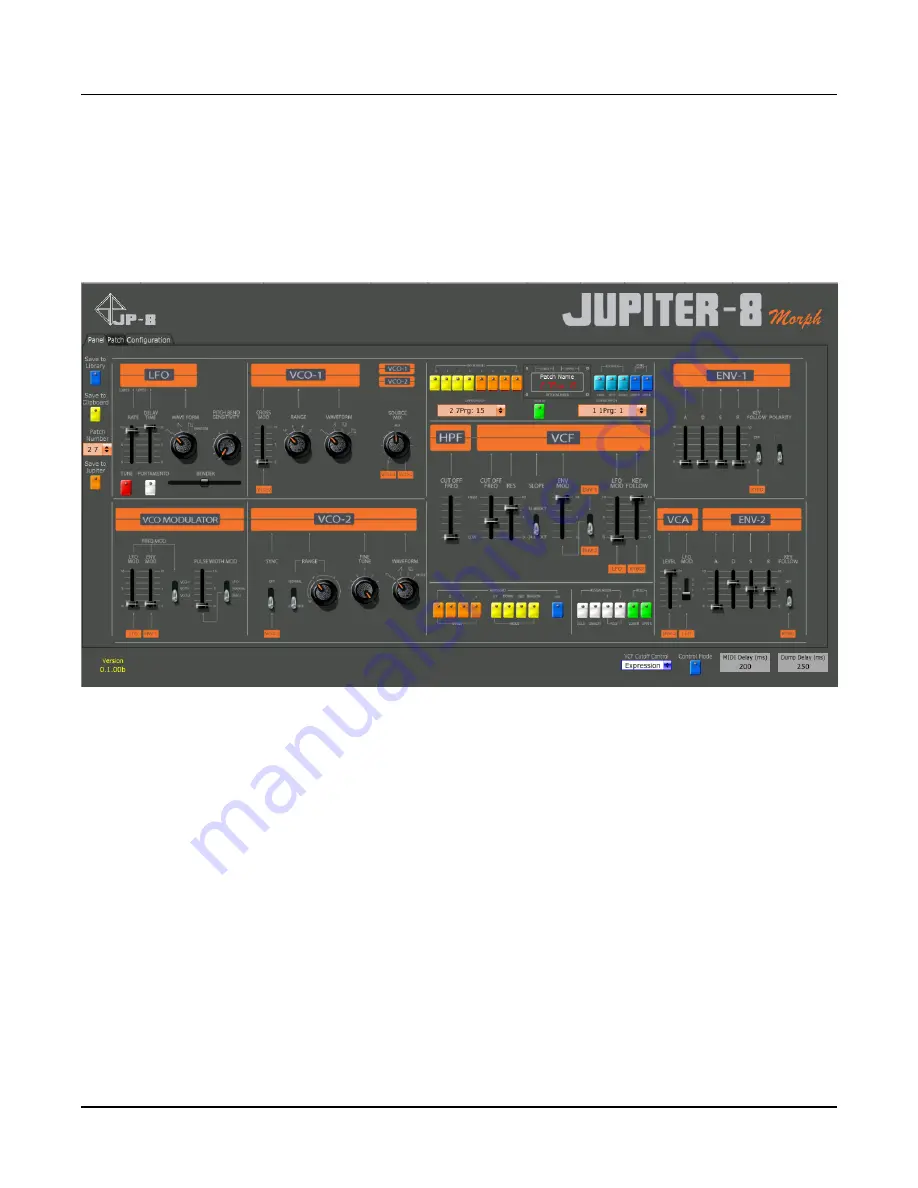
MIDI information will only be received (for Sysex Dumps, for example), while the Control
Mode button is switched off. When this is off, none of the panel controls will tranmit data
to the Jupiter 8.
We need to enable communication with the Jupiter 8. There are 2 ways to accomplish this.
The first way is direct communication. This is required for the standalone version. In
windows, ensure that the MIDI in and out is disabled in your DAW. Jupiter 8 Morph
will take over these
MIDI ports, and unfortunately Windows will not MIDI ports to be
addressed by 2 different applications at the same time.
Load up the Jupiter 8 plugin and under the MIDI menu and set the MIDI in, control and
out devices. The MIDI control device should be set to the same as your MIDI out device.
Select your output channel. Notes will be sent from Jupiter 8 Morph on this channel. If
you wish to use Presets, or Splits, you will need to ensure MIDI input is set to all channels,
in which case Jupiter 8 Morph will send notes received on Channel 2 to whatever channel
you have selected in the output, and whatever notes are received on channel 1 to the output
channel - 1.


