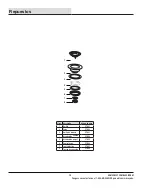
Instalación del conjunto de drenaje
. Ajustar la línea de corte si es necesario.
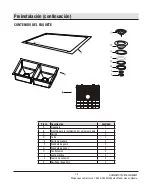
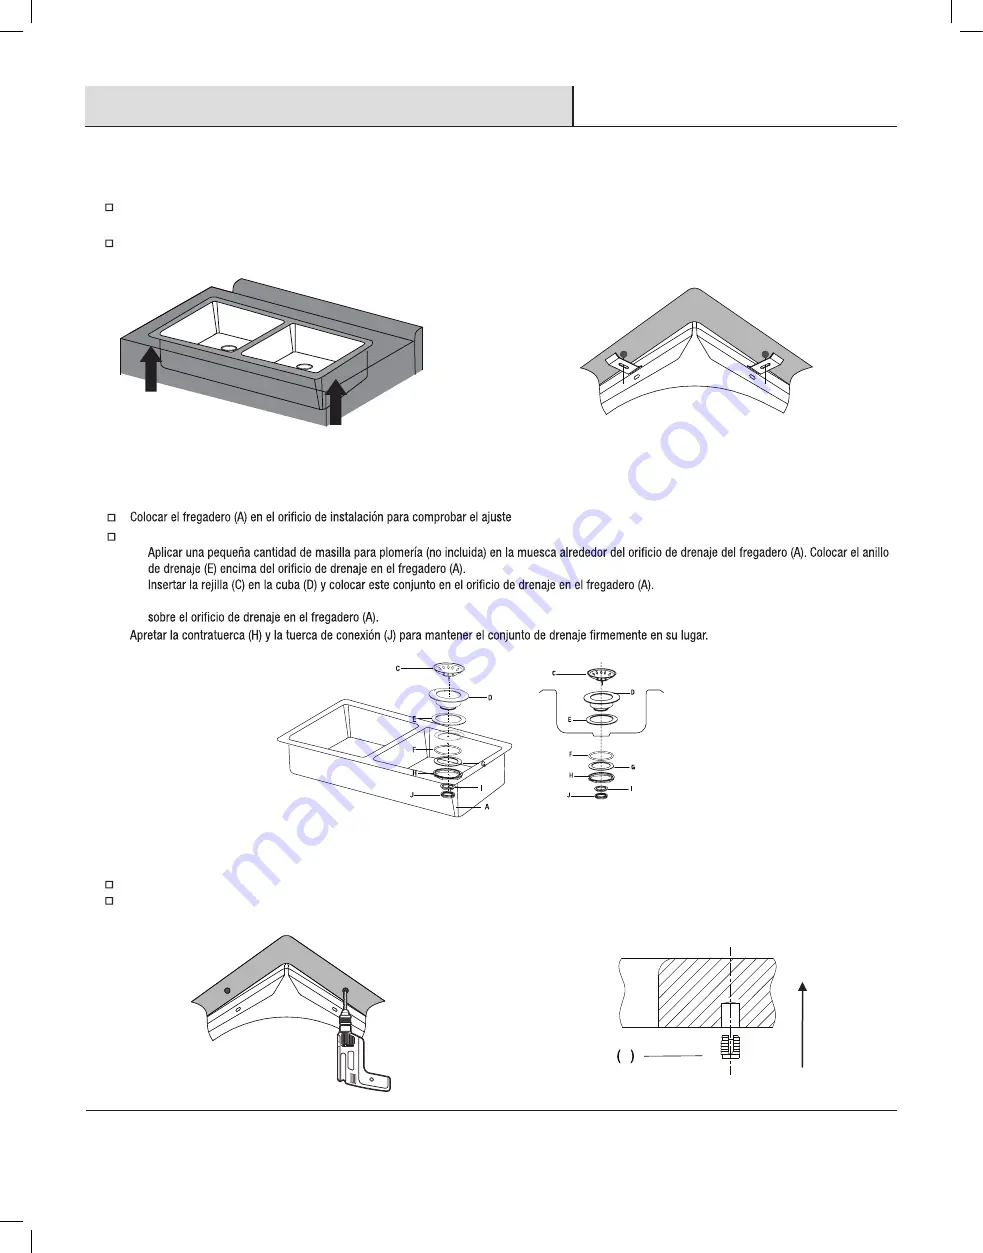
Instalar el conjunto de drenaje como se describe en estos pasos. Es más fácil instalar el conjunto de drenaje antes de instalar el fregadero en el armario.
1)
2)
3) Desde abajo del fregadero (A), colocar la arandela de goma (F), arandela de papel (G), contratuerca (H), junta plástica (I) y la tuerca de conexión (J)
4)
HOMEDEPOT.COM/GLACIERBAY
Póngase en contacto con 1-855-HDGLACIER para obtener más asistencia.
12
3
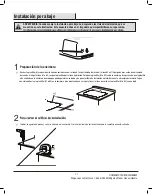
Preparación del fregadero
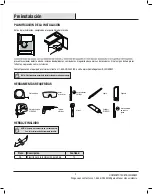
Colocar el fregadero debajo del hueco cortado de la encimera; y comprobar que el hueco es apropiado para el fregadero; ajustar el corte si es necesario.
Coloque un soporte debajo del fregadero para facilitar la instalación y evitar que se caiga.
Colocar las presillas de montaje como se muestra en la plantilla adjunta y marcar los centros de las presillas en la encimera.
the sink accessories to the sink before installing the
sink to the cabinet.
step 3.
1
1
HOMEDEPOT.COM/GLACIERBAY
Undermount Installation (continued)
Place the mounting clips (not included) as shown in the attched template and mark the centers of the clip on the countertop.
Installing the accessories to the sink
Attaching the mounting clips (not included)
4
5
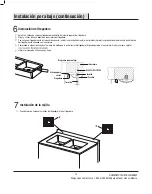
Colocación de las presillas de montaje
Taladrar los orificios de montaje en la marca central de la presilla del paso 3.
Introducir los insertos (1) en los orificios de modo que queden completamente dentro del orificio. Si es necesario, golpee suavemente el inserto.
the sink accessories to the sink before installing the
sink to the cabinet.
step 3.
1
1
Undermount Installation (continued)
Place the mounting clips (not included) as shown in the attched template and mark the centers of the clip on the countertop.
Installing the accessories to the sink
Attaching the mounting clips (not included)
Instalación por abajo (continuación)
Summary of Contents for 1005403617
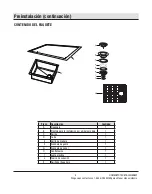
Page 5: ...Part Description Quantity Topmount Undermount template 5 ...
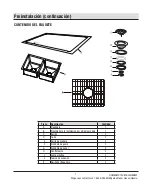
Page 6: ...Part Description Quantity Topmount Undermount template 1 1 1 6 ...
Page 7: ...Part Description Quantity 2 2 2 2 2 2 2 2 2 Topmount Undermount template 7 ...
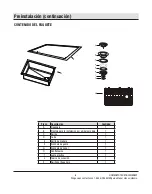
Page 8: ...Part Description Quantity Topmount Undermount template 8 ...
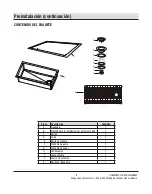
Page 9: ...Part Description Quantity Topmount Undermount template 1 1 1 9 ...
Page 10: ...Part Description Quantity 2 2 2 2 2 2 2 2 2 Topmount Undermount template 10 ...
Page 13: ...HOMEDEPOT COM GLACIERBAY Undermount Installation continued 13 ...
Page 14: ...14 ...
Page 16: ... Monday Friday ...


