


26
3.5 Data Management
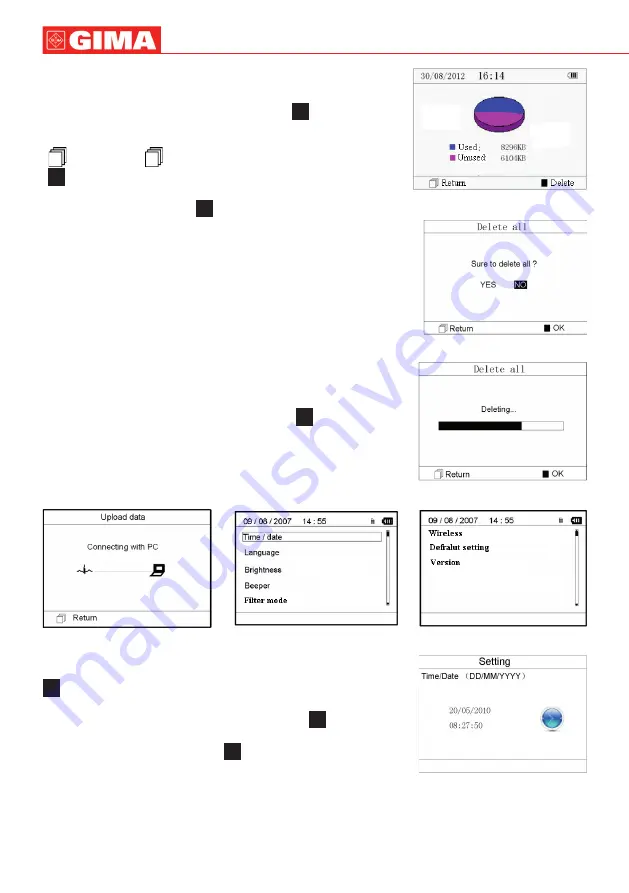
3.5.1 Data Deletion
Select “Memory” on main menu screen, then press “
OK” button to enter
memory screen, as shown in Figure 3-18.
“
Return”: press “
Return” button to return to main screen.
“
Delete”: press this key to delete all the records. Prior to deletion, a dialogue
box “Sure to delete all?” will be presented on the screen, as shown in Figure
3-19. If choose “YES” and press “
OK” button, all the records will be deleted,
as shown in Figure 3-20.
Note
: The operation of data deletion carried out in the memory screen means all
the data in the device will be deleted; if you only want to delete one record, please
do that on waveform review screen.
3.5.2 Upload Data
Connect the device to PC with USB data cable, the device will automatically enter
the upload display as shown in Figure 3-21. The data can be dumped to PC for
data management, review and analysis.
Note
: Ensure there is sufficient battery power when deleting or uploading the
data since insufficient power may cause the interruption of operation.
3.6 System Setting
On the main menu screen, select “Setting”, then press “
OK” button to enter
system setting screen, as shown in Figure 3-22 and Figure 3-23
3.6.1 Time/Date Setting
1.On system setting screen, select “Time/date” with Navigation Key, then press “
OK” button to enter time and date setting screen (date format: dd/mm/yyyy),
as shown in Figure 3-24.
2. Use Navigation Key to adjust the value, and then press “
OK” button to shift
black cursor and adjust another value.
3. When finishing the settings, press “
OK” button to save the setting and
return to the upper level menu screen.
ENGLISH
Figure 3-18 Memory Screen
Figure 3-19
Figure 3-20 Records Deleting
Figure 3-22
Figure 3-21 Upload Data Screen
Figure 3-23
Figure 3-24 Time/date Setting


