


English
5
The computer employs hotkeys or key combinations to access most of the computer’s controls like
screen brightness and volume output.
To activate hotkeys, press and hold the <Fn> key before pressing the other key in the hotkey
combination.
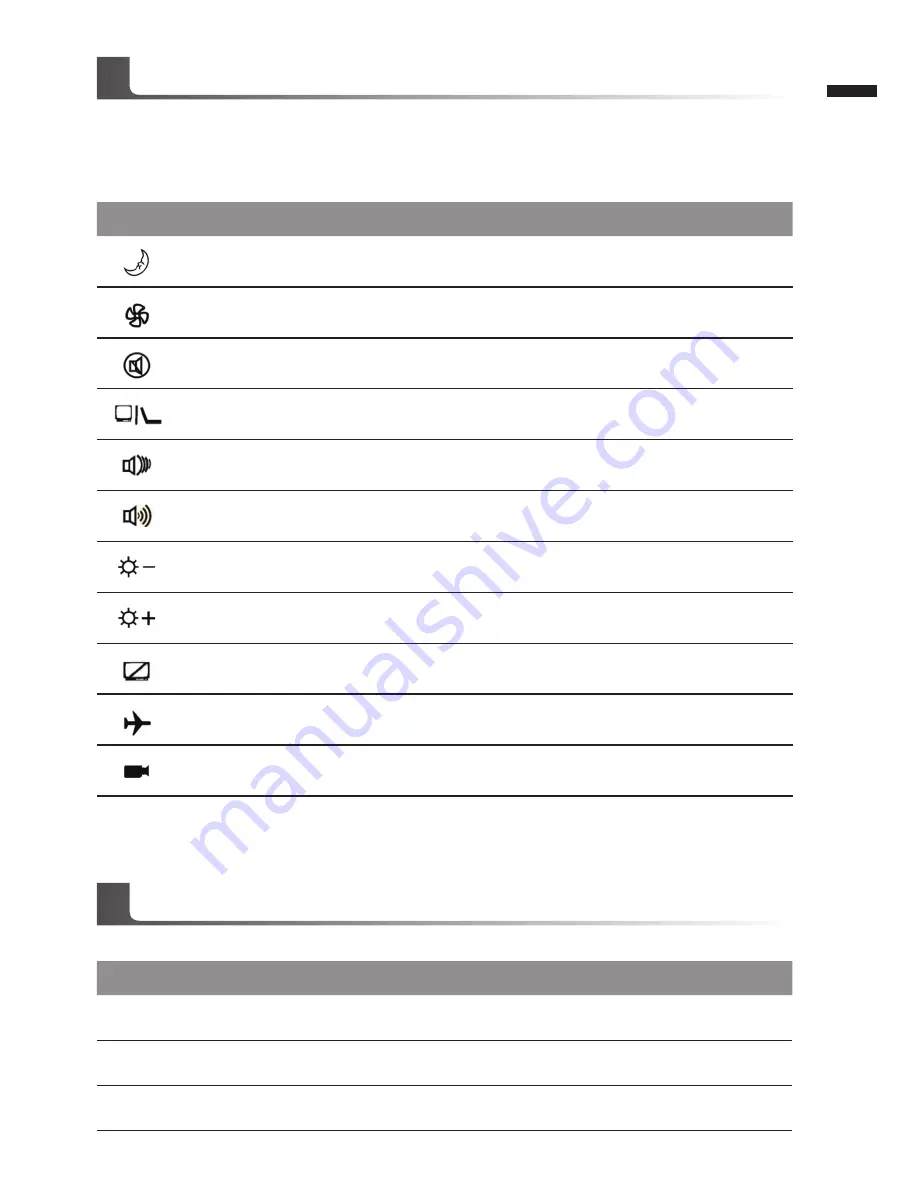
Hotkey
Function
Description
Fn + F1
Suspend
Enter Suspend Mode
Fn + F2
Silent Mode
Enable/Disable Silent mode
(Power Management)
Fn + F3
Mute on/off
Mute On/Off
Fn + F4
Display Toggle
Switch display output between the display
screen,external monitor (if connected) and both
Fn + F5
Volume Down
Decrease the sound Volume
Fn + F6
Volume Up
Increase the sound Volume
Fn + F7
Brightness down
Decrease the screen brightness
Fn + F8
Brightness Up
Increase the screen brightness
Fn + F9
Touch Pad
disable/enable
Enable/Disable Touchpad
Fn + F10
Airplane mode
Enable/Disable Airplane Mode
Fn + F11
Webcam on/off
Enable/Disable webcam
Pressing the hot keys to adjust BIOS setup, system recovery and boot option menu.
Hotkey
Function
Description
F2
BIOS setup
Enter BIOS setup
F9
system recovery
Enter system recovery
F12
boot option
Enter boot option menu
Hotkeys
System Setup


