


- 26 -
Gaming Monitor User Guide
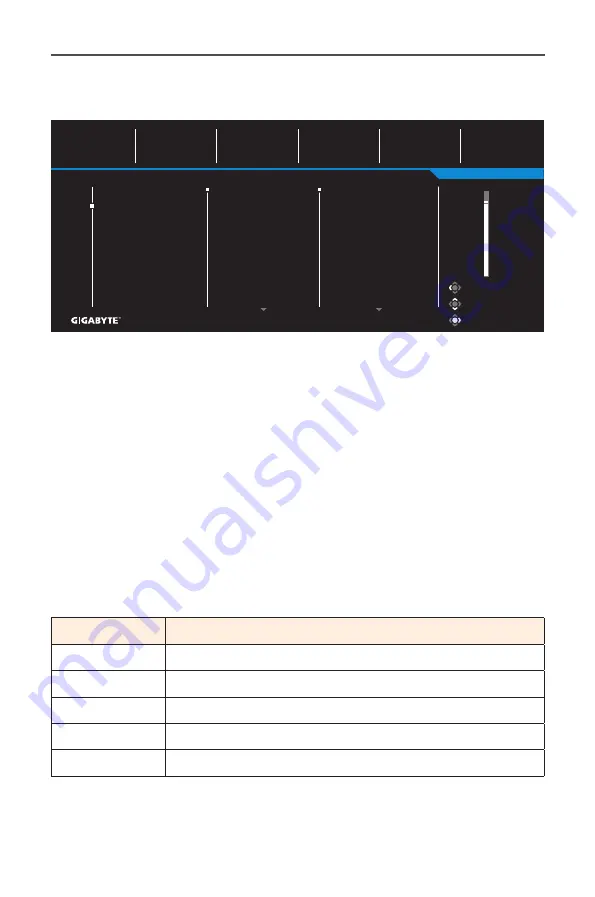
Picture
Configure the image related settings.
Exit
Move/Adjust
Enter/Confirm
Gaming
Picture
Display
System
Language
Save Settings
Reset All
Standard
FPS
RTS/RPG
Movie
Reader
sRGB
Custom 1
Picture Mode
Standard
Brightness
SDR
85
Contrast
50
Sharpness
5
Gamma
Gamma 3
Color Temperature
Normal
Brightness
Contrast
Color Vibrance
Sharpness
Gamma
Color Temperature
DCR
Low Blue Light
85
Select the one of the preset picture mode.
• Standard: For editing documents or browsing websites.
• FPS: For playing FPS (First Person Shooting) games.
• RTS/RPG: For playing RTS (Real-Time Strategy) or RPG (Role-Playing
Game) games.
• Movie: For watching movies.
• Reader: For viewing documents.
• sRGB: For viewing photos and graphics on the computer.
• Custom 1: Customized picture mode settings.
• Custom 2: Customized picture mode settings.
• Custom 3: Customized picture mode settings.
Then you can configure the following image settings.
Item
Description
Brightness
Adjust the brightness of the image.
Contrast
Adjust the contrast of the image.
Color Vibrance Adjust the intensity of the more muted colors.
Sharpness
Adjust the sharpness of the image.
Gamma
Adjust the middle level of luminance.


