INFORMATION WHEN STARTING TO USE THE CK4W
1
AND CK4
2
KEYBOARDS
3. SETTING THE SENSITIVITY LEVEL
The touch sensitivity of capacitive keyboards may vary for different users. We
therefore recommend individual settings for each person.
!
Press the sensitivity key.
!
The more LEDS that are displayed, the greater the touch sensitivity of the
keys will be.
!
When you let go of the key, the setting will be taken over after about 2
seconds; this has taken place when the LEDs are no longer lit up.
!
Test the different settings and select the one that best suits you.
4. SETTING THE KEY SOUNDS
The volume of acoustic feedback when you touch the keys varies greatly in
people’s perception. We therefore recommend that you adopt a personal setting.
!
Press the volume key.
!
The more LEDS that are displayed, the greater the volume (CK4W) or the
tone length (CK4) will be.
!
When you let go of the key, the setting will be taken over after about 2
seconds; this has taken place when the LEDs are no longer lit up.
!
Test the different settings and select the one that best suits you.
5. CHECKING THE BATTERY STATUS
!
Press the battery status key to check the battery’s state of charge.
!
The fewer LEDs that are displayed in the sequence of eight, the lower the state
of charge.
6. LOCKING/UNLOCKING KEY
!
The key function can be locked so that the keyboard can be cleaned.
!
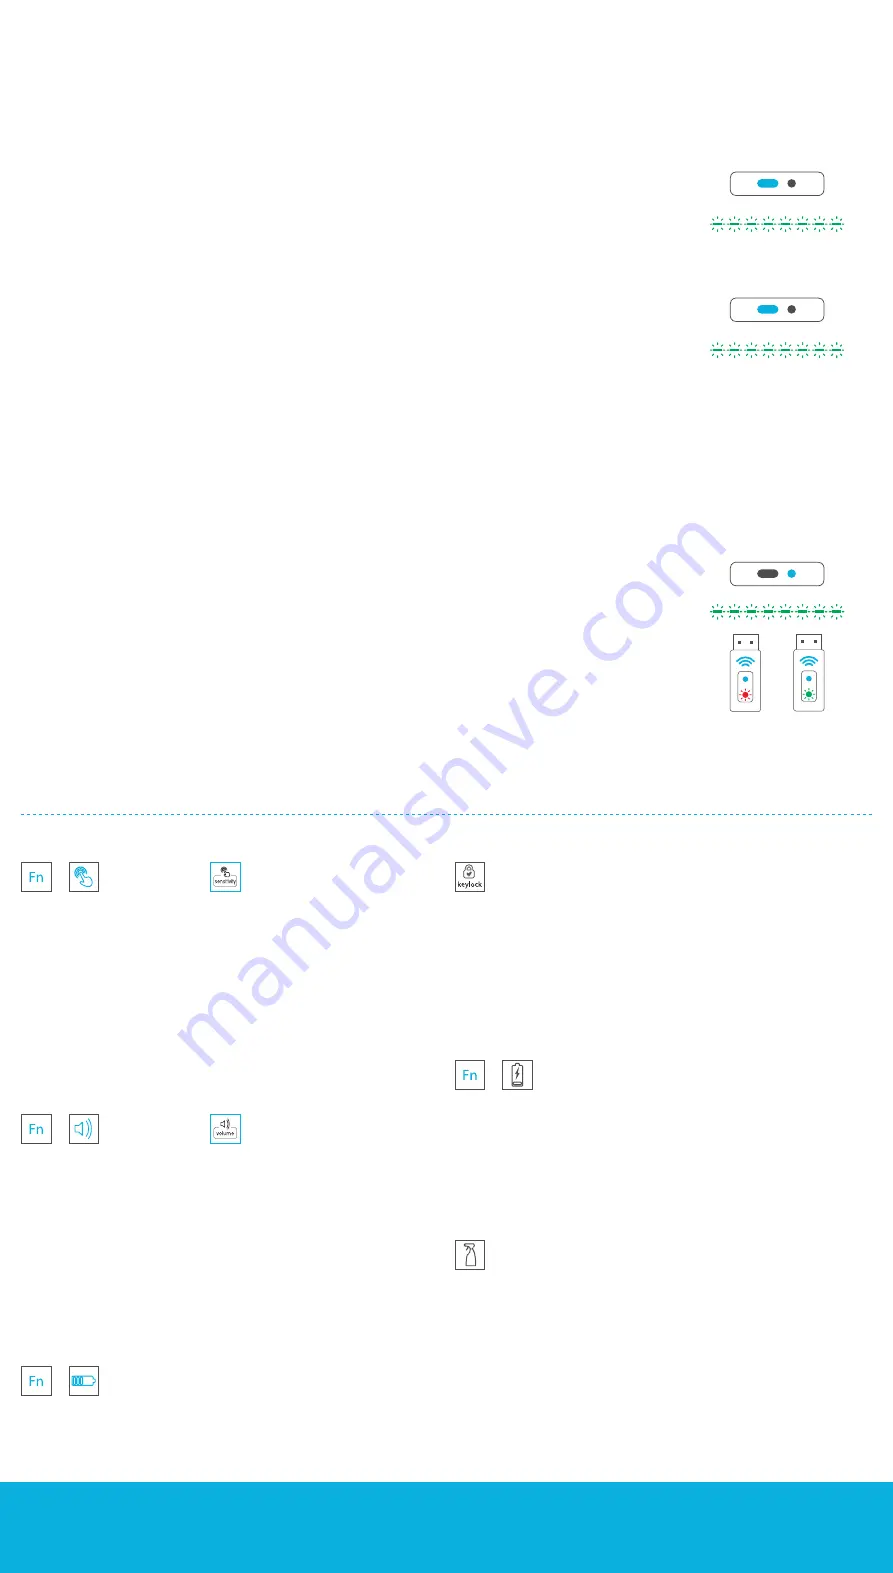
Press the Keylock key until all the green LEDs in the row are lit up.
!
This process takes about two seconds.
!
Press the Keylock key again to unlock the keyboard and wait until all the
green LEDs are no longer lit up.
7. WARNING LED FOR THE BATTERY STATUS
!
If the battery has less than 25 percent of its charge left, a warning is given.
!
The red LED on the relevant symbol is lit up.
!
You can then only use the keyboard for about four hours.
!
The more the LED flashes, the lower the state of charge is in the battery.
!
Once the battery has been sufficiently charged again, the LED goes off.
8. WARNING LED FOR CLEANING STATUS
!
If the keyboard has been touched more than 10,000 times, a warning is
given.
!
The signal indicates that the surface needs to be cleaned.
!
The red LED on the relevant symbol is lit up.
!
To reset the LED, lock the keyboard (para. 6), wipe the keyboard clean and
unlock it again.
1. CHARGING THE BATTERY – CK4W
!
First charge the keyboard after removing it from the carton.
CHARGING FROM THE MAINS SUPPLY:
1.
Please use the enclosed USB cable and connect it to the keyboard and a standard USB charging unit.
2.
Press the “Power on” key.
!
The chase effect in the row of eight LEDs above the keys indicates that charging is taking place.
!
The unit normally needs at least eight hours to fully charge.
!
Charging has been completed when all eight LEDS are permanently on.
CHARGING WITH A PC:
1.
Please use the enclosed USB cable and connect it to the keyboard and a USB port on your PC.
2.
Press the “Power on” key.
!
The chase effect in the row of LEDs shows that charging is taking place.
!
The unit normally needs at least eight hours to fully charge.
!
If the PC is operating, the keyboard is in a normal wired operating mode and can be fully used. The charging status bar
is then not visible.
!
Press the battery status key to show the state of charge.
If the PC is not operating and if a USB port is being used to charge the unit, the keyboard will behave as if it were
connected to the charging unit.
2.CONNECTING TO A PC
2.1. Wireless keyboard -
CK4W
1.
Place the USB receiver in a free port on your PC or terminal device.
2.
Press the connect button on the receiver; then press the connect key on the keyboard.
!
Make sure that the keyboard is switched on.
!
If the keyboard is not connected to a PC, the receiver will emit a red light and the row of LEDs on the keyboard will all be
green.
!
If the keyboard is connected to a PC, the receiver will emit a green light and the row of LEDs on the keyboard will go off.
!
If the keyboard is permanently connected to the PC by the charging cable, data transfer will take place via the USB
cable, while the battery is being charged.
We do not recommend this, as it can reduce the working life of the battery.
2.2. Wired keyboard -
CK4
1.
Connect the keyboard to the USB port on your PC or terminal device.
2.
Wait until the computer has recognized the keyboard as a HID unit.
!
No keyboard driver is required as a plug-and-play unit.
CK4W
CK4W & CK4
CK4W & CK4
1
CK4W = wireless version
2
CK4 = wired version
CK4W
CK4W
CK4W
+
+
+
+
CK4
CK4
Power on
Power on
Connect
GETT Gerätetechnik GmbH
Mittlerer Ring 1
08233 Treuen / GERMANY
Phone:
+49 37468 - 660-0
Fax:
+49 37468 - 660-66
Email:
gett.de
gett-group.com
Product:
gett.de/ck4w
Manual: gett.de/ck4w-manual


