6
Fitting the Spikes
Lay the loudspeaker on its side. Unscrew and remove the four shipping supports. Take four spikes and
ensure that the locking nuts (B figure 5) are screwed all the way down the screw threads as shown, then
screw each spike fully into base of the loudspeaker.
Adjusting the Spikes
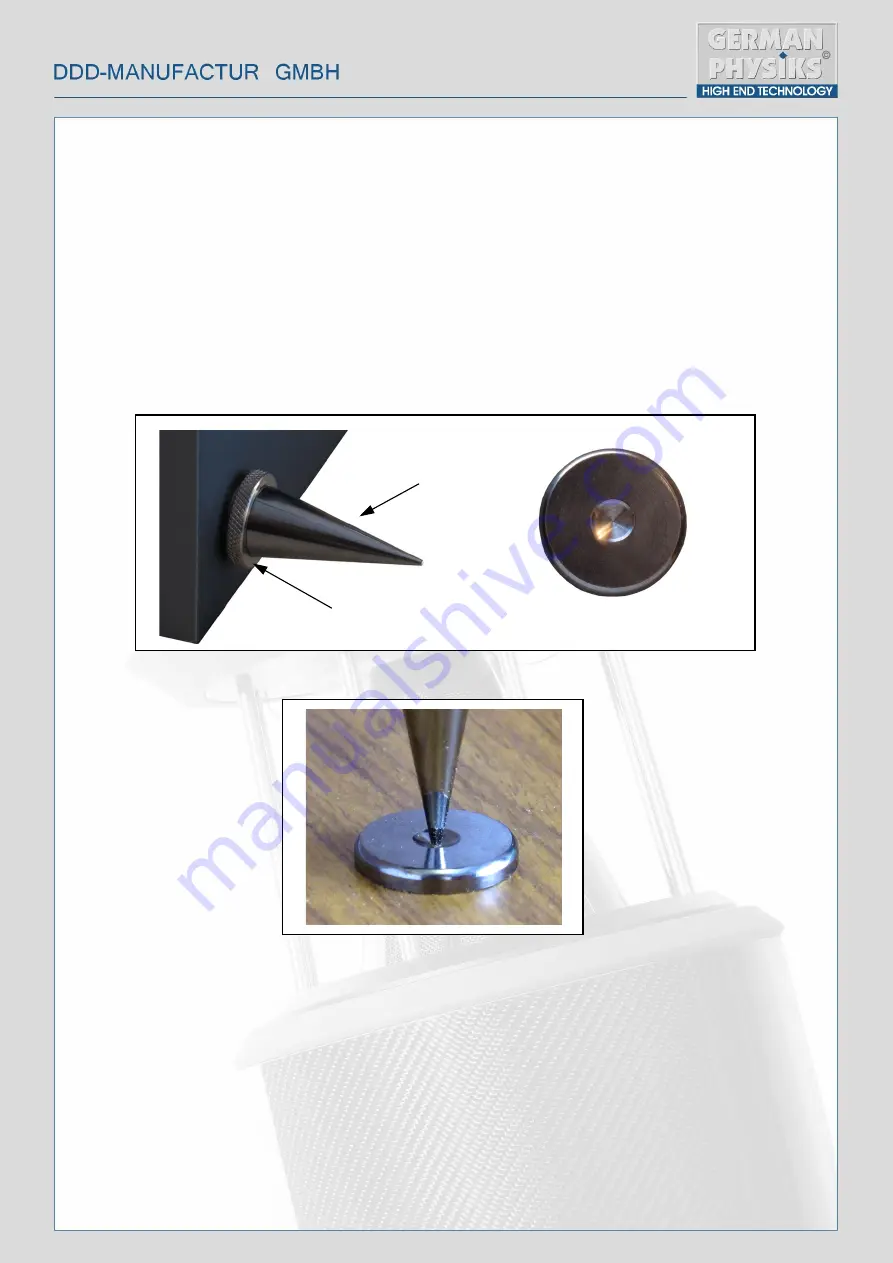
The spikes are supplied with a special foot, (C figure 5). This is flat on one side and has a recess
machined into the other side. It is intended to be placed under the spike, flat side down and used
where the user does not want the spike to come into direct contact with the floor, for example when the
loudspeakers are to be placed on a polished wooden floor. Self-adhesive felt pads are supplied which
may be fixed to the flat side of the foot to give further protection from scratches. They also make it
easier to move the loudspeaker. When the foot is used, make sure that the tip of the spike is located in
the centre of the recess as shown in figure 6.
Set the loudspeakers in their initial position in the listening room. Please refer to figure 7 for guidance
on positioning. Screw all the spikes fully in. The spikes should turn easily by hand if the loudspeaker
is tilted slightly to take the weight off while they are being adjusted.
To check that the stand is sitting squarely on the spikes:
1.
If the loudspeaker can be rocked in the 10 o’clock to 4 o’clock direction
, lean
the loudspeaker to the left and screw
out
the right hand front spike by the amount of
movement you saw. Set the loudspeaker back upright and repeat the process until it is
Figure 5. Spike with Locking Nut and Foot (shown enlarged)
B
A
B
C
Figure 6. Correct Positioning of Foot


