Quick Start Guide
When you start your notebook for the first time, please follow these important steps described in this
guide. We strongly recommend you to install all the drivers enclosed in the DVD-ROM/Combo Drive.
Do not download the drivers from other companies as this may hinder proper operation of the system.
Packing List
•
Notebook computer
•
Driver CD
•
Quick Start Guide
•
Adaptor
•
Power cable
•
Phone cable
Step 1: Getting Started
Unpacking the Notebook
The Notebook comes securely packaged in a sturdy
cardboard shipping carton. Save the packing materials in
case you need them later.
Charging the Battery
1.
To charge the battery, plug the AC adapter into both the
unit and a standard wall outlet.
The battery is packed separately in the accessories box.
Connect the AC adapter to the AC connector on the rear
of the notebook.
3.
Charge the battery before turning the unit on. The LED
will turn off when the battery is fully charged.
Step 2: Installing the Operating System
Before installing the OS, you need to set the CD-ROM as the
boot device. Follow the instructions to set CD-ROM as the
boot unit.
Turn on the computer, when the text appears, press [F2] key
until the system enters the BIOS Setup screen, you may now
make the necessary changes.
Setting the boot device
After entering the BIOS Setup screen, use the [PgUp] or
[PgDn] keys on the keyboard to select the Boot Menu, then
use the PgDn key to move the cursor to the CD-ROM Drive
field, type a plus key (+) sign to change the order of the kind
of boot device in your system.
Once you have made all of your selections from the various
menus in the
Setup program, you should save your changes
and exit Setup. Select Exit from the menu bar.
Step 3: Activating the Computer
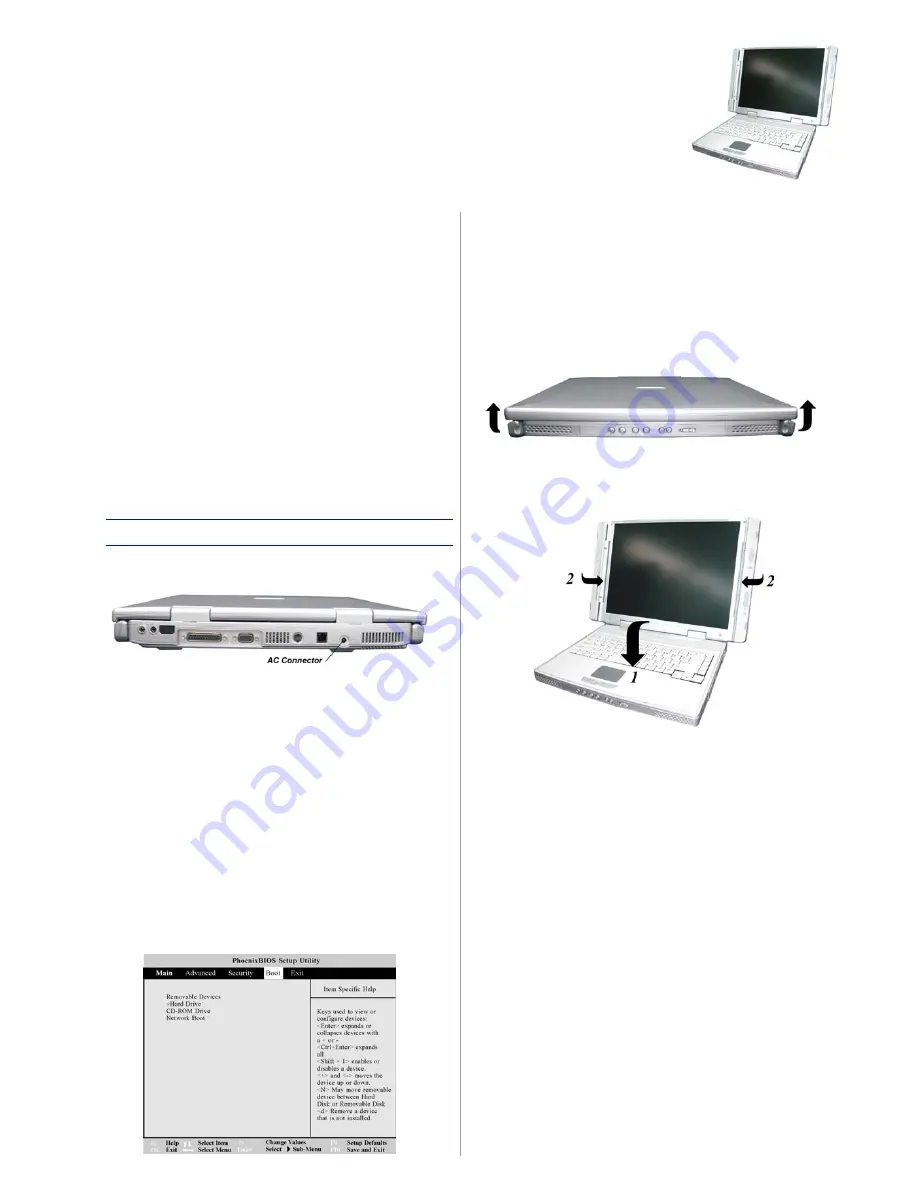
Opening the Display
1.
Pull up the two external speaker at both sides to make it
adjacent to the LCD panel.
2.
3.
Raise the LCD panel.
At any time you can tilt the display toward or away from
you to a comfortable viewing position.
4.
1.
2.
To close the LCD panel, raise down the panel and pull
down the external speakers.
Turning On your notebook
Press and hold the power button for 1-2 seconds will
turn on the system or press this button when the
computer is in Suspend mode will resume normal
operation.
Locate the two LED at the left of the notebook
computer. The left indicator [1] shows when the battery
is in charging status.
It also indicates when the system enter suspend mode.
Note:
2.
Summary of Contents for G732E
Page 7: ......


