6
3.4.3 LogView Workspaces
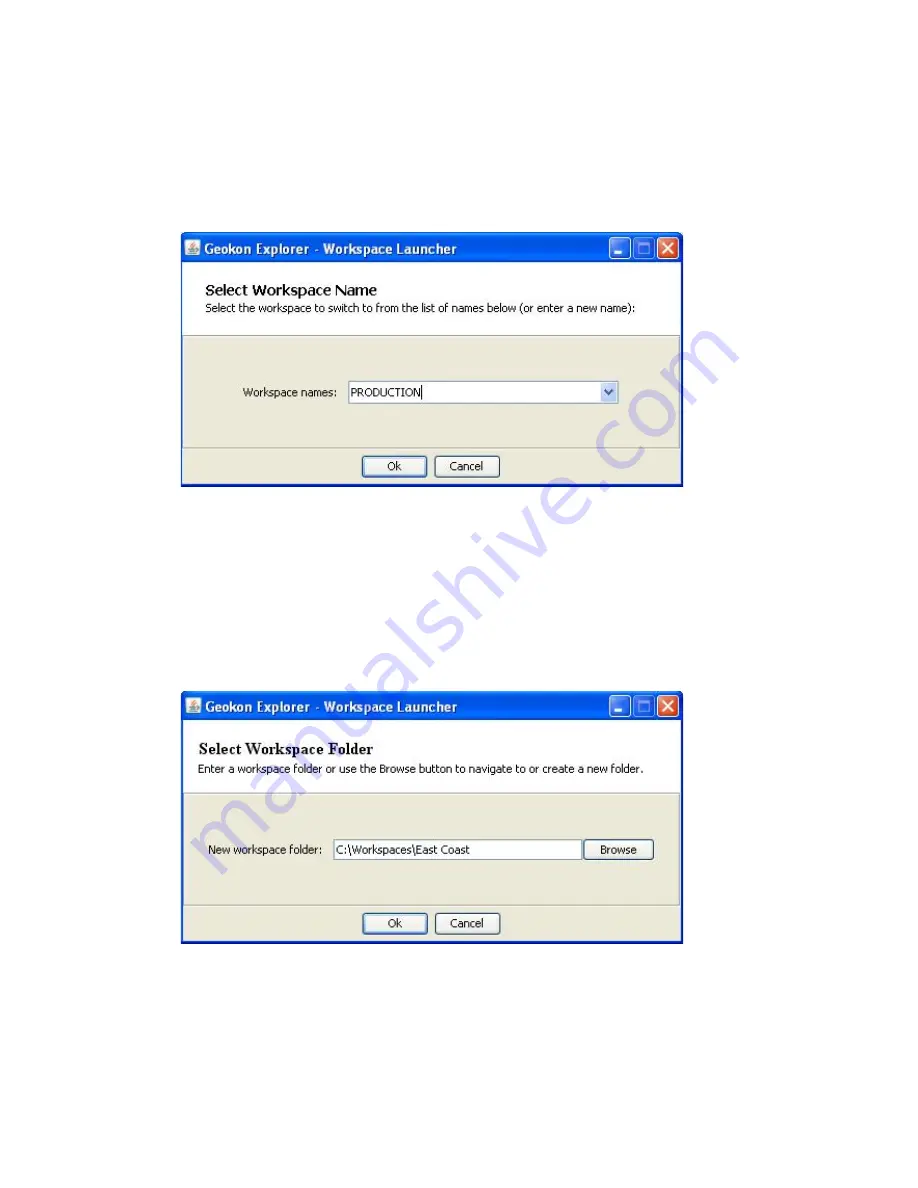
When opening LogView for the first time, the user will be prompted to create a
workspace name (see Figure 3). The workspace name can be any combination of letters
and numbers and, ideally, will be descriptive in nature. See the LogView User’s Guide
for more information on workspaces.
Figure 3 - Select Workspace Name
Once the workspace name has been selected, clicking on “
Ok
” causes LogView to
prompt the user to choose or create a folder where all the workspace elements will be
stored (see Figure 4). The folder location may be entered directly, e.g.,
C:\Workspaces\East Coast
or the
Browse
button may be used to navigate to a folder
location or to create a new folder (see below). This workspace location will be stored in
the LogView configuration for subsequent application access. Once workspaces are
created, future user access is always by name.
Figure 4 - Select Workspace Folder
If no other is specified, a default folder path is displayed based on the system default
workspace path combined with the new workspace name. After the folder path has been
specified, either the default or user selected (see Figure 4), clicking on “
Ok
” will display
the main window of LogView (see Figure 5). On the left-hand side of the main window is
the Project Explorer displaying the newly created workspace. The user can now add new
project(s), datalogger(s), and sensor configurations to the workspace by right-clicking on
the workspace and using the menu tools.


