


20
EN
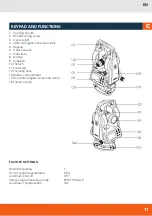
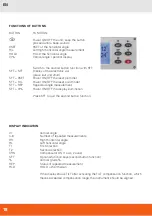
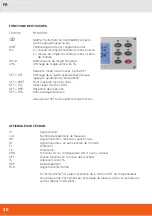
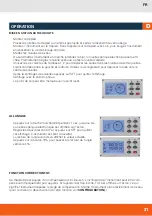
PARAMETER SETTING
Keep 0SET pressed and power on the instrument
- >Display indication = parameter 1 (with the current setting)
Set parameter
1. with R/L (OFF / 1-AX / 2x-AX) set the tilt correction
Select parameter 2 with 0SET
2. with R/L (OFF / ON) select the verticle angle indication OFF (zenith 0), ON (horizontal 0)
Select parameter 3 with 0SET
3. with R/L (OFF / ON) select automatic shut-off ON/OFF (automatic shut-off after 20 minutes)
Select parameter 4 with 0SET
4. with R/L (1“ / 5“ / 10“) set the minimum angle reading
Select parameter 5 with 0SET
5. with R/L set the angle unit (OFF = DEG / ON = GON)
Confirm the setting with SFT and quit this mode.
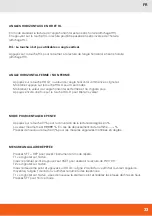
VERTICAL ANGLE SET
· Keep R/L pressed while powering on the instrument with
.
· Display indication: SETUP
· Display indication: F1
· Press O-SET
· Display indication: STEP 1 - first rotation (A)
· Confirm the adjustment via collimator with O-SET
· Rotate
· Display indication STEP 2 - second rotation (B)
· Confirm the adjustment via collimator with O-SET
HORIZONTAL ANGLE 0SET (0SET)
· Aim at the target.
· Press 0SET; the reading of the horizontal angle starts flashing.
· Keep 0SET pressed for 3 seconds. Now the horizontal angle reading is 0°00’ 00”:
The 0SET key is only effective for the horizontal angle.
The horizontal angle can be set 0 at any time except in the HOLD mode (HOLD key).