Rev A
Instructions
Procedure
Part No. 1258800
Software Update
7
Application Software Installation
SCON Software Update
Note: The key switch must be in the off
position, and the red Emergency Stop Button
pushed in before disconnecting the the
harness from the SCON.
1
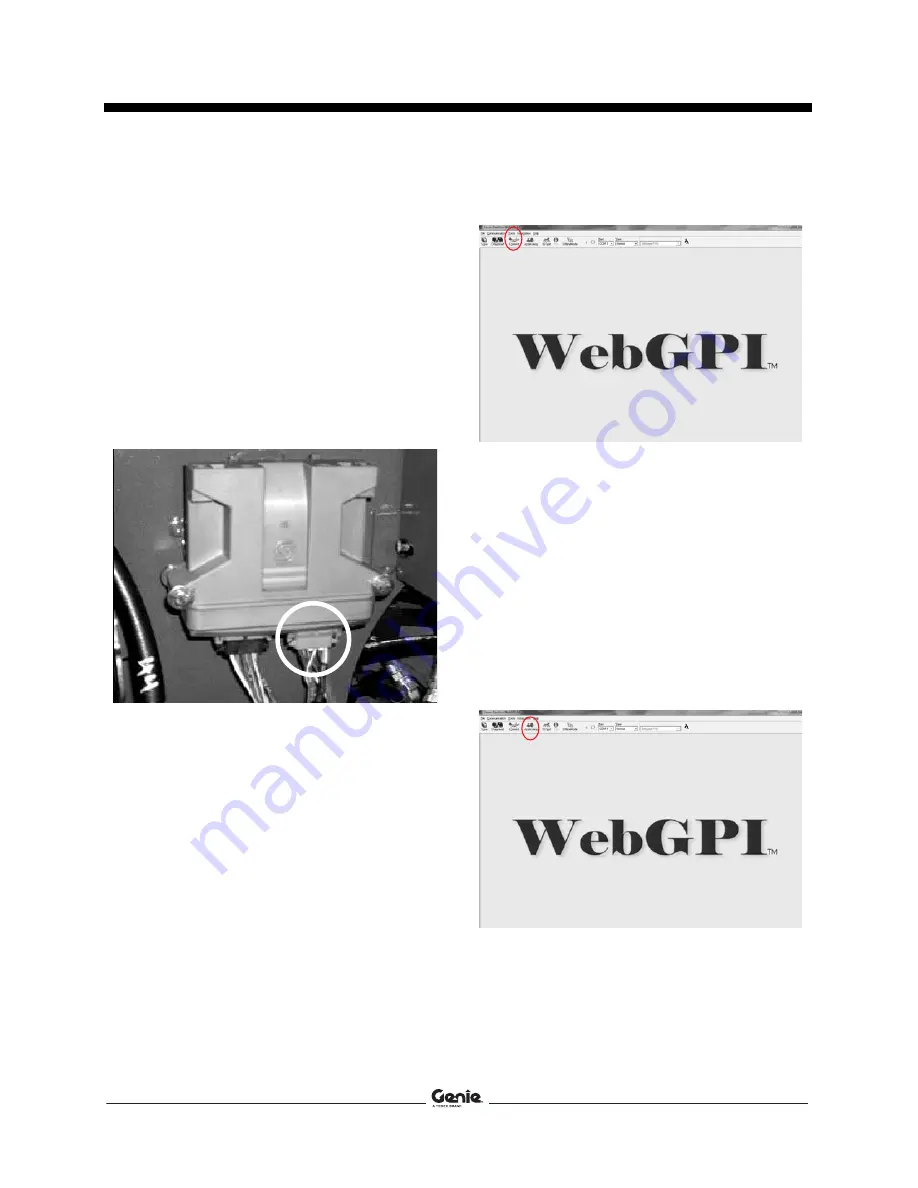
Locate the SCON mounted on the frame
behind and to the right of the function manifold
on the ground controls side of the machine.
2
Disconnect the gray J121 connector from the
SCON.
3
Connect the SCON Tee-Harness (Genie part
number 107647) between the gray connector
and the SCON.
4
Connect the laptop DB9 cable to the
Tee-Harness.
5
At the TCON, turn the key switch to ground
controls and pull out the red Emergency Stop
button.
6
Open WebGPI™ and click on the
Connect
icon.
Note: The current application software file will be
shown at the top of the screen. (example:
S0677100 for older software)
Note: If
Check power and serial connection
is
displayed, confirm power is on at the TCON and
check the connection between the computer and
SCON.
Note: If
Attempting to establish connection
is
displayed, check your serial port COM settings.
The COM port settings can vary between
computers.
7
Click on the
Application
icon.


