GENERAL SAFETY
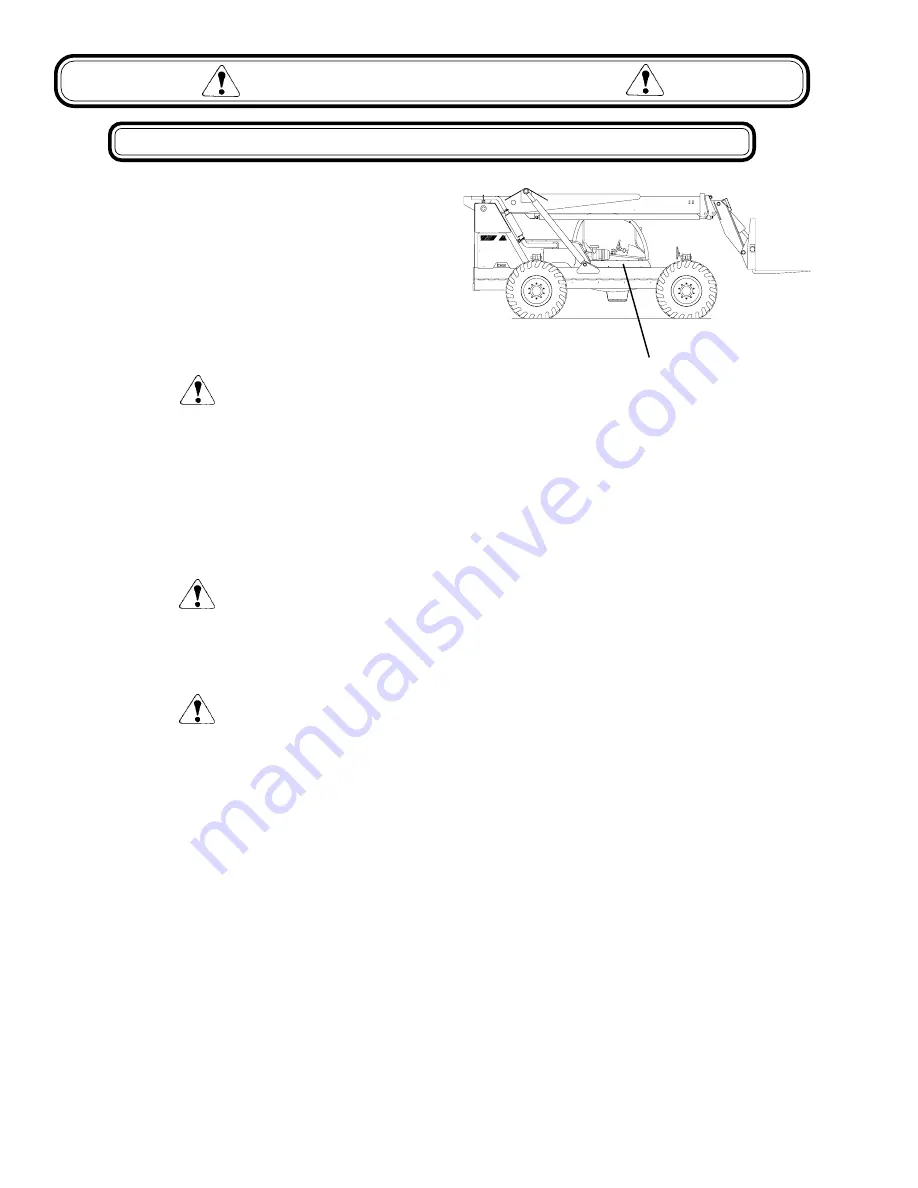
Location: The battery is located under the fuel tank / battery
box cover (A).
JUMP STARTING
Jump starting at the battery or battery replacement is required
when the battery is discharged to the point where the battery
will not crank the starter.
WARNING
Battery posts, terminals, and related accessories contain lead
and lead compounds, chemicals known to the State of California
to cause cancer and reproductive harm.
Batteries also contain other chemicals known to the State of
California to cause cancer.
Wash hands after handling.
WARNING
Never jump start the machine directly to the starter or the starter
solenoid. Serious injury or death could result from the machine
moving forward or backward.
WARNING
To avoid personal injury when jump starting with another
machine, be certain that the machines are not touching. Never
jump start a frozen battery as it will explode. Keep sparks and
flames away from the battery. Lead acid batteries generate
explosive gases when charging. Wear safety glasses when
working near batteries.
The booster battery must be a 12 volt type. The machine used
for jump starting must have a negative ground electrical system.
To jump start the machine, proceed as follows:
1. Connect the positive (+) jumper cable to the positive
(+) post of the discharged battery.
2. Connect the other end of the same jumper cable to the
positive (+) post of the booster battery.
3. Connect one end of the second jumper cable to the
negative (-) post of the booster battery.
4. Make the final cable connection to the engine block or
the furthest ground point away from the battery.
5. Start the engine.
6. Remove the jumper cables in the reverse order of their
connection (i.e. negative cable ground connection first, etc.)
2 - 8
JUMP STARTING
A
Summary of Contents for GTH-644
Page 3: ...SECTION 1 ROUGH TERRAIN FORK LIFT SAFETY 1 1 ...
Page 14: ...ROUGH TERRAIN FORK LIFT SAFETY NOTES 1 12 ...
Page 15: ...SECTION 2 GENERAL SAFETY 2 1 ...
Page 26: ...GENERAL SAFETY NOTES 2 12 ...
Page 27: ...SECTION 3 CONTROLSAND INSTRUMENTS 3 1 ...
Page 38: ...CONTROLS AND INSTRUMENTS 3 12 NOTES ...
Page 39: ...SECTION 4 OPERATION 4 1 ...
Page 54: ...OPERATION 4 16 NOTES ...
Page 55: ...SECTION 5 MAINTENANCE PROCEDURES 5 1 ...


