Note: Unlike in Setup mode, pressing and holding the
or
pad of the joystick will
not
increase
the increment of change in Code Nos. However, as in Setup mode, you
can
use the
and
pads to “wrap around” the low or high end of the code range. Specifically, pressing the
pad
with Code No. 1 selected will change the selected code to Code No. 48, and pressing the
pad
with Code No. 48 selected will change the selected code to Code No. 1.
MAKING MEASUREMENTS
To measure the surface moisture level of a wood sample
, first select its species using the
instructions in the previous section. Then carefully remove the cover protecting the test pins at
the top of the meter. Take care not to stab yourself with the sharp points.
Read the moisture level on any of the four screens described above as Display Options
1 through 4.
General recommends that you check the calibration of the MMD8P prior to every measurement
session. To check the calibration: 1) Select the Douglas Fir Species (Code No. 1); 2) Make sure
that the Compensation Temperature is set to the default value of 70°F (see page 9); 3) Remove
the pin cover, turn it over and insert the test pins into the holes on the top of the cap. A reading of
15.9% ±3%WME indicates a properly calibrated meter.
STORING RECORDS
If you enabled the meter’s memory as part of the Advanced Setup procedure, you can store and
recall up to 100 moisture measurement records. During Advanced Setup, you can also choose
how much memory to allocate for record storage. As mentioned earlier, as a practical matter
there is no reason not to enable memory storage, and no reason not to select the maximum
memory capacity available—100 records.
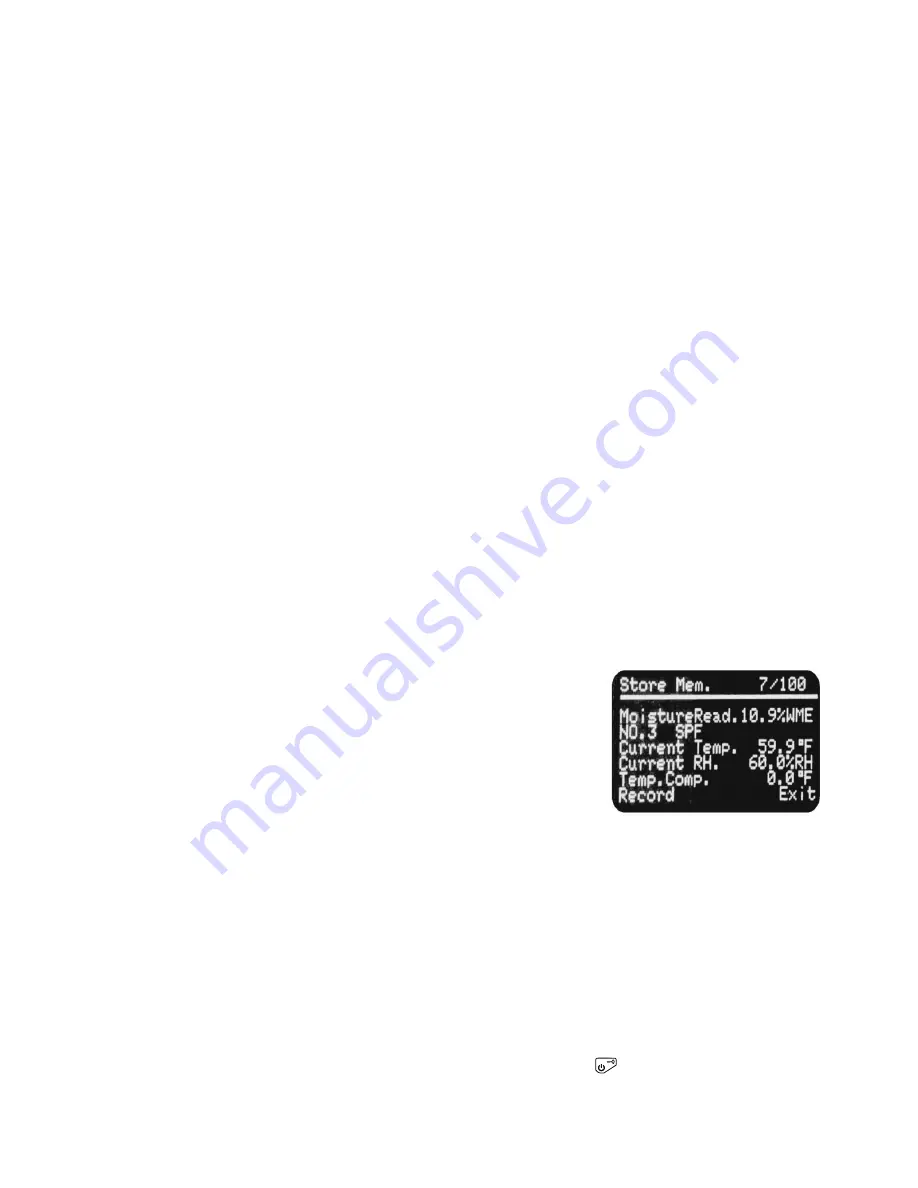
Each moisture-measurement record (see example below right) contains the following
information:
• The record number (7 out of 100 available locations) on the top line
• The moisture level measurement itself (
MoistureRead.
in the example below)
• The number and name of the wood species tested (
No. 3 SPF
)
• The ambient temperature and relative humidity at the time
of measurement (
59.9°F
and
60.0%RH
)
• Any temperature compensation applied (
0.0°F
)
• An indication (
Record
at lower left) that the record is available
for storage.
If you have enabled memory storage, the Store Mem. Screen
shown above is added to the sequence of screens made available
by pressing the
MODE
button. It follows the Moisture-Hygrometer
Screen in the sequence.
There are two different procedures for storing moisture
measurement records, depending on whether you choose manual or automatic storage.
To store a record in manual mode:
1. Make a measurement and view it on any of the four display screens.
2. If necessary, press the
MODE
button until you see the Moisture-Hygrometer Screen.
3. Press the
MODE
button once to display the Store Mem. Screen. The terms
Record
and
Exit
on the bottom line will both flash.
4. Assuming that you have enabled manual storage, press the
(
MR MC
) button—
directly under
Record
— once. This stores the record in memory. Note that pressing
the button increments the record number counter at the upper right of the OLED.
8
A typical moisture
measurement record,
ready for storage


