11Mbps Wireless LAN Mini-PCI Card
User's Manual
11Mbps Wireless LAN Mini-PCI Card
Page
17
4.4. Installation Procedure for Windows 2000 / Windows ME
Please follow the following steps one by one in order to install the
11Mbps Wireless LAN Mini-PCI Card Card successfully.
1. Power on your computer and allow
Windows 2000 / ME
to load fully.
2. Be sure that there is no
mini-PCI Card
inserted yet.
3. Insert the given
Installation CD
in the
CD-ROM
and then click on the
Setup.
4. Accept the license agreement.
5. Select the
SSID.
Default ESSID is Default. You can change this later also using the configuration
utility or network configuration. Click on
Next.
6. Select network mode and click on
Next.
Default is
Infrastructure.
7. Give the path of the destination folder. To set the path of your choice click on
Browse
and then
click
Next.
8. Setup will add program icon to the Program Folder. You may type a new folder name, or select one
from the existing Folder list.
9. It takes a few seconds for copying the utility files and then click on Finish.
10 Then insert
11Mbps Wireless LAN Mini-PCI Card Card
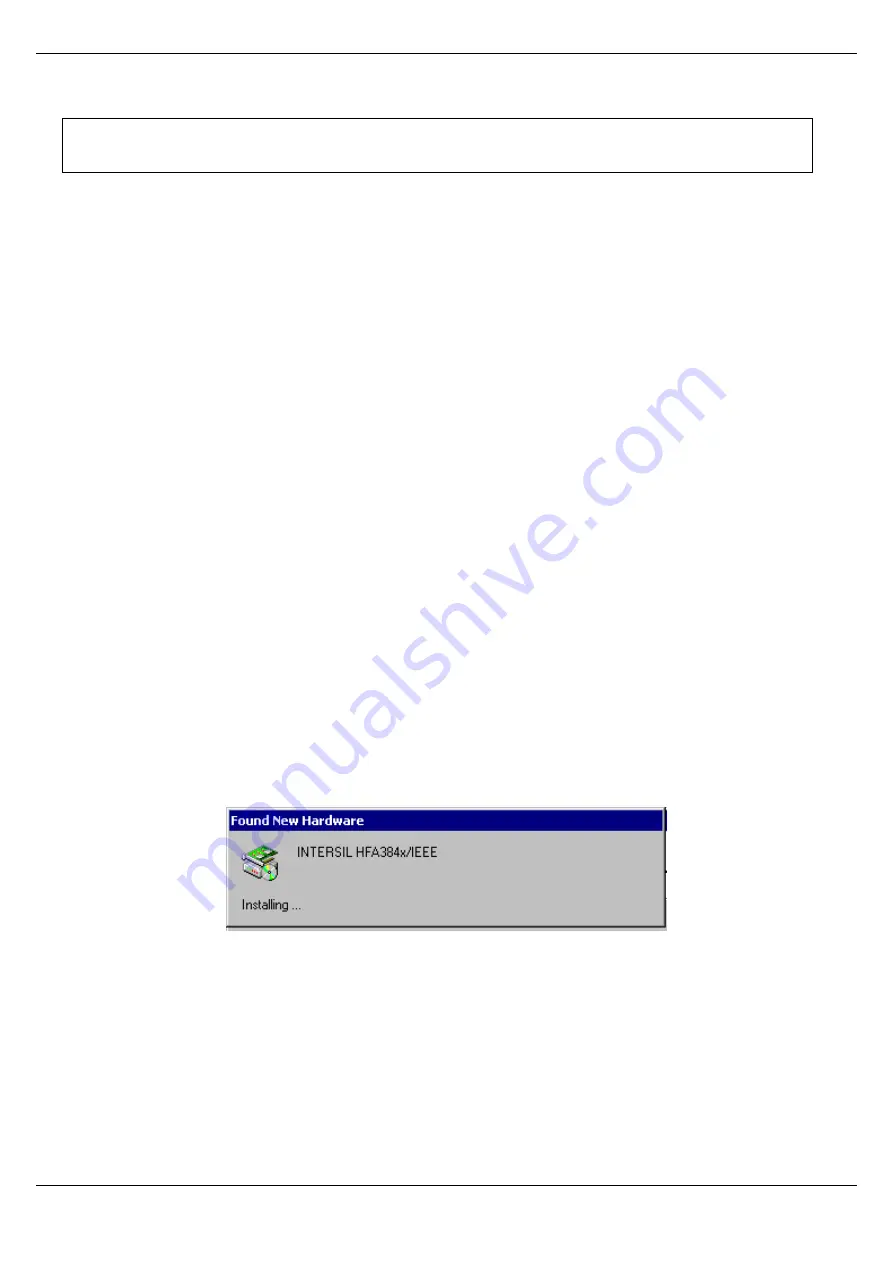
into the slot, wizard will found new
hardware “
11Mbps Wireless LAN Mini-PCI Card Card”,
click on
Next
.
11 Choose “
Search for a suitable driver for my device
”, and then click on
Next
.
12 Select CD-ROM drives to locate driver files. And click on
Next.
Note: Do not insert the
Mini-PCI
card until you are asked to do so, failure of which may result in unsuccessful installation
of your
11Mbps Wireless LAN Mini-PCI Card
card


