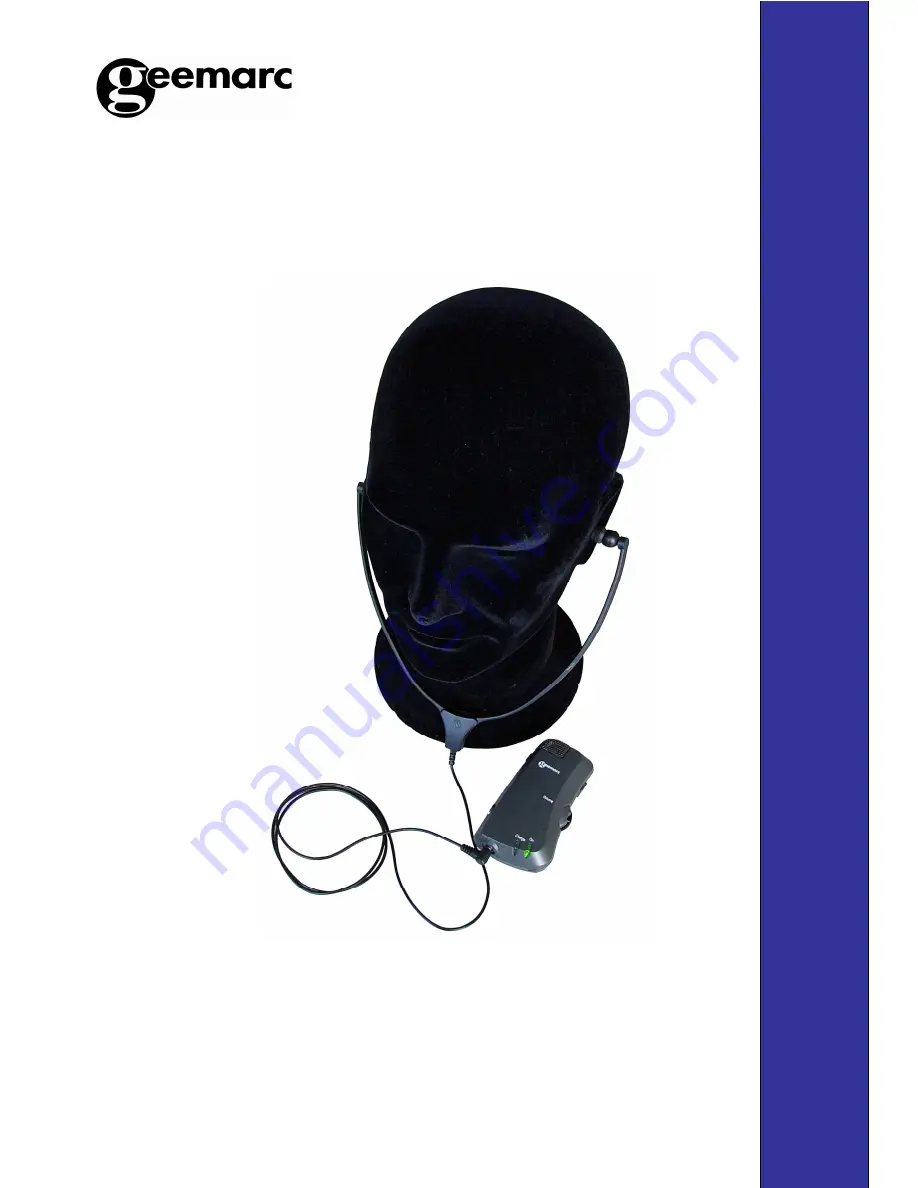
CL A9 - CL A9 T
A m p l i f i e d h e a r i n g a s s i s t a n t
A m p l i f i c a t e u r p o r t a t i f
T r a g b a r e r H ö v e r s t ä k e r
User Guide p. 1
Notice d'utilisation p.13
Gebrauchsanleitung S.24
C
L
A
9
(
T
)
Page 1: ...A9T Am p l i f i e d h e a r i n g a s s i s t a n t Am p l i f i c a t e u r p o r t a t i f T r a g b a r e r H ö v e r s t ä k e r User Guide p 1 Notice d utilisation p 13 Gebrauchsanleitung S 24 C L A 9 T ...
Page 2: ... CLA9T 3 DESCRIPTION 4 General Description 4 INSTALLATION 6 Setting Up 6 USING THE CLA9 CLA9T 7 Turning the CLA9 CLA9T On and Off 7 Tone and Balance Setting 7 TROUBLESHOOTING 8 SAFETY INFORMATION 9 GUARANTEE 10 RECYCLING DIRECTIVES 12 1 CONTENTS ...
Page 3: ... using the headphones If you use an inductive neck loop instead of the headset the built in T coil in the CLA9T enables the device to act as a complement to your Hearing Aid Its is important that you read the instructions below in order to use your Geemarc CLA9 or CLA9T to their full potential Keep this user guide in a safe place for future reference 2 Note users of digital hearing aids must make ...
Page 4: ... Piece Headset with rubber ear cushions 18mm diameter A pair of rubber ear cushions 12mm diameter 2 4V 4 5 AAA Rechargeable Battery Travel charger Black velvet carrying case for either the heaset and CLA9 CLA9T Conversation Piece A microphone with holder and 3m lead CLA9T only A lanyard A belt clip 1 User Guide 3 INTRODUCTION ...
Page 5: ...4 Battery Compartment Cover Belt Clip On Off Volume control wheel Charge and On LED Charging Port Microphone Port Mode Switch MIC or T CLA9T only CLA9 CLA9T Communication Piece Headset port Internal Microphone DESCRIPTION ...
Page 6: ...5 Space for Battery pack or batteries Tone Balance Setting DESCRIPTION Plug for the battery pack ...
Page 7: ...he battery charger into the mains supply and plug the other end of the lead into the charging port on the left hand side of the CLA9 CLA9T Communication Piece Switch the mains supply on If the On LED turns red when in use the CLA9 CLA9T needs recharging or replace new batteries if standard AAA are installed During charging the LED turns on green when fully charged the LED is off Headset Insert the...
Page 8: ...pped with a magnetic loop conference etc due to its built in T coil Simply by setting the mode switch to T the CLA9T will receive the emitted magnetic waves then amplify them to your headset You will receive all the benefits of the built in T coil An external microphone is supplied and can be connected in the socket Mic option for the CLA9 then set the switch to Mic position in this case the built...
Page 9: ... correctly adjusted Make sure that the battery is fully charged or use good batteries Make sure the mode switch is set to MIC if using headset earpiece or T if using an induction loop CLA9T The CLA9 CLA9T Is not charging Make sure that the power supply cord is plugged in correctly i e into a working wall socket and into the CLA9 CLA9T Communication Piece Make sure that the battery is inserted corr...
Page 10: ...ntal Do not expose to direct sunlight Always ensure there is a free flow of air over the surfaces of the CLA9 CLA9T Do not place any part of your product in water and do not use it in damp or humid conditions e g bathrooms Do not expose your product to fire or other hazardous conditions Avoid touching the CLA9 CLA9T Communication Piece with clothing or hands as this can create excessive noise SAFE...
Page 11: ...uct must not be tampered with or taken apart by anyone who is not an authorised Geemarc representative The Geemarc guarantee in no way limits your legal rights IMPORTANT YOUR RECEIPT IS PART OF YOUR GUARANTEE AND MUST BE RETAINED AND PRODUCED IN THE EVENT OF A WARRANTY CLAIM DECLARATION Geemarc Telecom SA hereby declares that this product is in compliance with the essential requirements and other ...
Page 12: ...Electrical connection The apparatus is designed to operate from a 230V 50Hz supply only Classified as hazardous voltage according to EN60950 standard 11 GUARANTEE ...
Page 13: ...e following disposal options Remove the batteries and deposit them in an appropriate WEEE skip Deposit the product in an appropriate WEEE skip Or hand the old product to the retailer If you purchase a new one they should accept it Thus if you respect these instructions you ensure human health and environmental protection For product support and help visit our website at www geemarc com Telephone 0...
Page 14: ...Contenu du CLA9 CLA9T 15 DESCRIPTION 16 General 16 INSTALLATION 18 Batteries 18 UTILISATION 19 Marche Arrêt Volume 19 Ajustement tonalité balance 19 EN CAS DE PROBLEME 20 SECURITE 21 GARANTIE 22 REGLES DE RECYCLAGE 23 13 SOMMAIRE ...
Page 15: ...LA9T peut aussi être utilisé avec un appareil auditif Si vous utilisez une boucle magnétique à la place du casque la caractéristique bobine T du CLA9T permet d être complémentaire à votre appareil Veuillez lire attentivement cette notice avant d utiliser le Geemarc CLA9 ou CLA9T Gardez la soigneusement pour un usage futur 14 Note Assurez vous que votre appareil auditif possède bien la position T I...
Page 16: ...que à 2 oreillettes 18mm de diamètre 1 casque sup à 2 oreillettes 12mm de diamètre 1 Batterie 2 4V 4 5 rechargeable 1 Chargeur secteur 1 Pochette tissu pour le transport du CLA9 CLA9T 1 Tour de cou 1 clip de ceinture 1 Micro avec attache cordon 3m CLA9T seulement 1 Notice d utisation INTRODUCTION ...
Page 17: ...rtiment Batterie Clip ceinture Molette Marche Arrêt Volume Prise chargeur Prise Microphone Position MIC ou T CLA9T seulement UnitéCLA9 CLA9T Prise casque Microphone interne Témoins de charge et Marche Arrêt DESCRIPTION 15 ...
Page 18: ...17 Emplacement batterie ou piles Réglage Balance Tonalité DESCRIPTION Connecteur bloc batterie ...
Page 19: ...polarités comme indiqué dans le fond Branchez le chargeur sur le secteur Insérez l autre connecteur dans la prise chargeur du CLA9 CLA9T Si le témoin de charge est rouge durant l utilisation cela signifie que votre batterie doit être mise en charge ou remplacer les piles si utilisées Ce témoin passe au vert en charge puis est éteint en fin de charge ou si les piles sont correctes Casque Connectez ...
Page 20: ...a les ondes de la pièce qui seront amplifiées et émises vers le casque Basculez simplement le commutateur du CLA9T sur la position T Microphone Les CLA9 CLA9T sont équipés d un microphone interne pouvant capter le son ambiant d une salle Le CLA9T est fourni avec un micro externe muni d un câble de 3m En option pour le CLA9 pouvant se connecter dans la prise Mic ne pas oublier de positionner le com...
Page 21: ...les connections Le volume est il suffisant les batteries sont peut être faibles rechargez Vérifiez la position du commutateur MIC T suivant ce que vous utilisez Pas de charge Vérifier la bonne connection du chargeur Essayez avec une autre prise de courant Vérifiez la position de la batterie polarité 20 EN CAS DE PROBLEME ...
Page 22: ... produits de nettoyage sont déconseillés ils risquent d endommager l intérieur de l appareil et ainsi entraîner une défaillance de votre CLA9 Environnement Ne pas exposer aux rayons directs du soleil Ne pas placer l appareil dans un endroit à forte humidité salle de bains evier piscine etc ni d un endroit trop chaud feu Respecter les conditions normales de fonctionnement à savoir entre 5 C et 45 C...
Page 23: ...oblème fonctionnel et avant de nous retourner votre appareil contactez notre service après vente de 8h30 à 12h30 et de 14h00 à 17h00 du Lundi au Jeudi et de 8h30 à 12h30 et de 14h00 à 16h30 le Vendredi TEL SERVICE APRES VENTE 03 28 58 75 99 NTIE Parc d Activités du Basroch 2 rue Galilée 59760 Grande Synthe Pour tout renseignement technique ou toute commande visitez notre site web sur www geemarc c...
Page 24: ...nne plus ne le jetez pas dans votre poubelle ménagère Suivez l une des procédures décrites ci dessous Déposez les batteries et votre ancien appareil dans un lieu de collecte approprié Ou rapportez votre ancien appareil au magasin ou vous achèterez le nouveau Il devra l accepter Ainsi si vous respectez ces instructions vous faites un geste pour l environnement et vous contribuez à la préservation d...
Page 25: ...ESCHREIBUNG 27 Allgemeine Beschreibung INSTALLATION 29 Einrichtung GEBRAUCH DES CLA9 CLA9T 30 An und Ausschalten des CLA9 CLA9T Einstellung von Klang und Balance PROBLEMBEHANDLUNG 31 SICHERHEITSINFORMATIONEN 32 GARANTIE 34 RECYCLING HINWEISE 35 24 INHALTSÜBERSICHT ...
Page 26: ... anstatt den Kopfhörer zu verwenden ermöglicht die im CLA9T eingebaute T Magnetspule dem Gerät als ein Zusatz zu Ihrem Hörgerät zu funktionieren Es ist wichtig dass Sie die folgenden Bedienungsanweisungen gründlich durchlesen um das volle Potential Ihres Geemarc CLA9 oder CLA9T zu nutzen Bewahren Sie diese Gebrauchsanleitung gut auf um später darauf zurückgreifen zu können Hinweis Nutzer von digit...
Page 27: ... Kopfhörer mit Gummiohrpolster 18 mm Durchmesser Zusätzlicher Kopfhörer mit Gummiohrpolster 12 mm Durchmesser Wiederaufladbarer Akku mit 2 4V 4 5 Reiseladegerät Schwarze Samthülle für Kopfhörer und Kommunikationseinheit CLA9 CLA9T Halsschleife Gürtel Clip Mikrofon mit einem Kabel von 3 m Länge nur CLA9T Gebrauchsanleitung EINLEITUNG 26 ...
Page 28: ...chreibung BESCHREIBUNG Batteriefachabdeckung Gürtel Clip An Aus Volumenregler LED für Lade und Betriebs anzeige Ladebuchse Moduswahlschalter MIC oder T CLA9T CLA9 CLA9T Kommunikationseinheit Interne Mikrofon Steckdose Kopfhörer 27 ...
Page 29: ...28 Akkufach Batterien nicht wiederaufladbar Regler für Klang Balance BESCHREIBUNG Akkuanschlussstecker ...
Page 30: ... passenden Stecker an das Ladegerät an d h entweder GB oder EU Version Schließen Sie das Ladegerät an die Stromversorgung an und das andere Ende der Leitung in die Ladebuchse auf der linken Seite der Kommunikationseinheit CLA9 CLA9T Schalten Sie die Stromversorgung ein Wenn die On LED während des Betriebs auf rot schaltet muss das CLA9 CLA9T wieder aufgeladen werden Für den Fall dass jedoch Standa...
Page 31: ...raum zum Beispiel Dank sein internes T Spule System empfängt das CLA9T die Raumstrahlungen die verstärkt werden und nach dem Headset gesendet werden Schalten Sie einfach den Schalter vom CLA9T auf T Position Mikrophone Die CLA9 CLA9T sind mit einer internen Mikrophone gestattet die das Ambientelärm eines Raums bekommen kann Das CLA9T ist mit einer externen Mikrophone mit einem 3 Millimeter Kabeln ...
Page 32: ...t ist Vergewissern Sie sich dass die Akkus vollständig aufgeladen sind Vergewissern Sie sich dass der Modusschalter auf MIC gestellt ist wenn Sie ein Kopfhörer verwenden oder auf T wenn Sie eine Induktionsschleife verwenden CLA9T Das CLA9 CLA9T lädt nicht Vergewissern Sie sich dass das Stromkabel sowohl richtig in eine funktionierende Steckdose als auch in die Kommunikationseinheit des CLA9 CLA9T ...
Page 33: ...llen Sie stets sicher dass die Oberflächen des CLA9 CLA9T nicht abgedeckt sind und die Luft darum herum frei zirkulieren kann Tauchen Sie Ihr Produkt bzw Teile desselben niemals in Wasser und verwenden Sie es nicht in feuchter oder dampfender Umgebung wie zum Beispiel in Badezimmern Setzen Sie Ihr Produkt niemals offenem Feuer oder anderen Gefährdungen aus Vermeiden Sie die Kommunikationseinheit C...
Page 34: ...r Beschädigung von Teilen aus Das Produkt darf nur von autorisierten Geemarc Vertretern geöffnet bzw repariert werden Die Geemarc Telecom Ltd Garantie schränkt Ihre gesetzlichen Rechtsansprüche in keiner Weise ein WICHTIG IHR KAUFBELEG IST TEIL DER GARANTIE UND MUSS IM GARANTIEFALL VORGELEGT WERDEN KONFORMITÄTSERKLÄRUNG Geemarc Telecom Ltd erklärt hiermit dass dieses Telefon die grundlegenden Anfo...
Page 35: ...Stromanschluss Der Apparat ist auf eine Stromversorgung von 230V 50Hz ausgelegt Gemäß DIN EN60950 als Gefahrenspannung klassifiziert GARANTIE 34 ...
Page 36: ...en Sie die Batterien und geben Sie diese bei einer geeigneten Batteriesammelstelle ab Geben Sie das Produkt bei einer geeigneten Geräteentsorgungsstelle ab Andernfalls geben Sie das alte Produkt dem Händler zurück Wenn Sie ein neues kaufen sollte dieser es entgegennehmen Wenn Sie diese Empfehlungen berücksichtigen tragen Sie zum Schutz von Gesundheit und Umwelt bei Für Hilfe zum Produkt besuchen S...