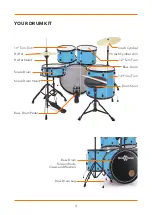
HI-HAT ASSEMBLY
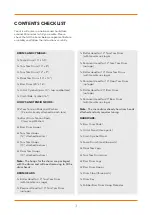
ITEMS REQUIRED:
1x Hi-Hat Stand (three parts)
1x Hi-Hat Cymbals (Pair, 14” – top and bottom)
1x Drum Key
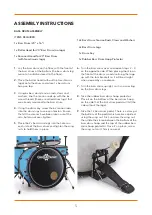
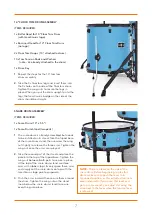
1.
Take the tripod base of the hi-hat stand and
spread the legs out by unscrewing the wingnut.
The pedal attachment is connected to two rods.
Place the two rods into the base of the tripod
stand to secure it into place.
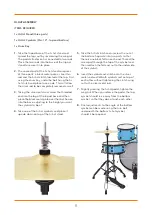
2.
The second part of the hi-hat stand comprises
of three parts: a black metal pole, a silver thin
rod and the hi-hat clutch located at the top. First,
using the drum key, undo the bolt fi xing the hi-
hat clutch and place to one side. This will allow
the silver rod to be completely removed as well.
3.
Taking the silver metal rod, screw the threaded
end into the top of the tripod base and then
place the black metal pole over the rod. Secure
into the base, adjusting to the height you want
the cymbals to be at.
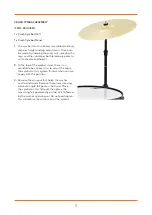
4.
Take one of the hi-hat cymbals and place it
upside down on top of the hi-hat stand.
5.
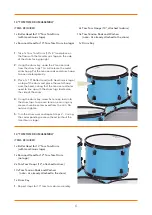
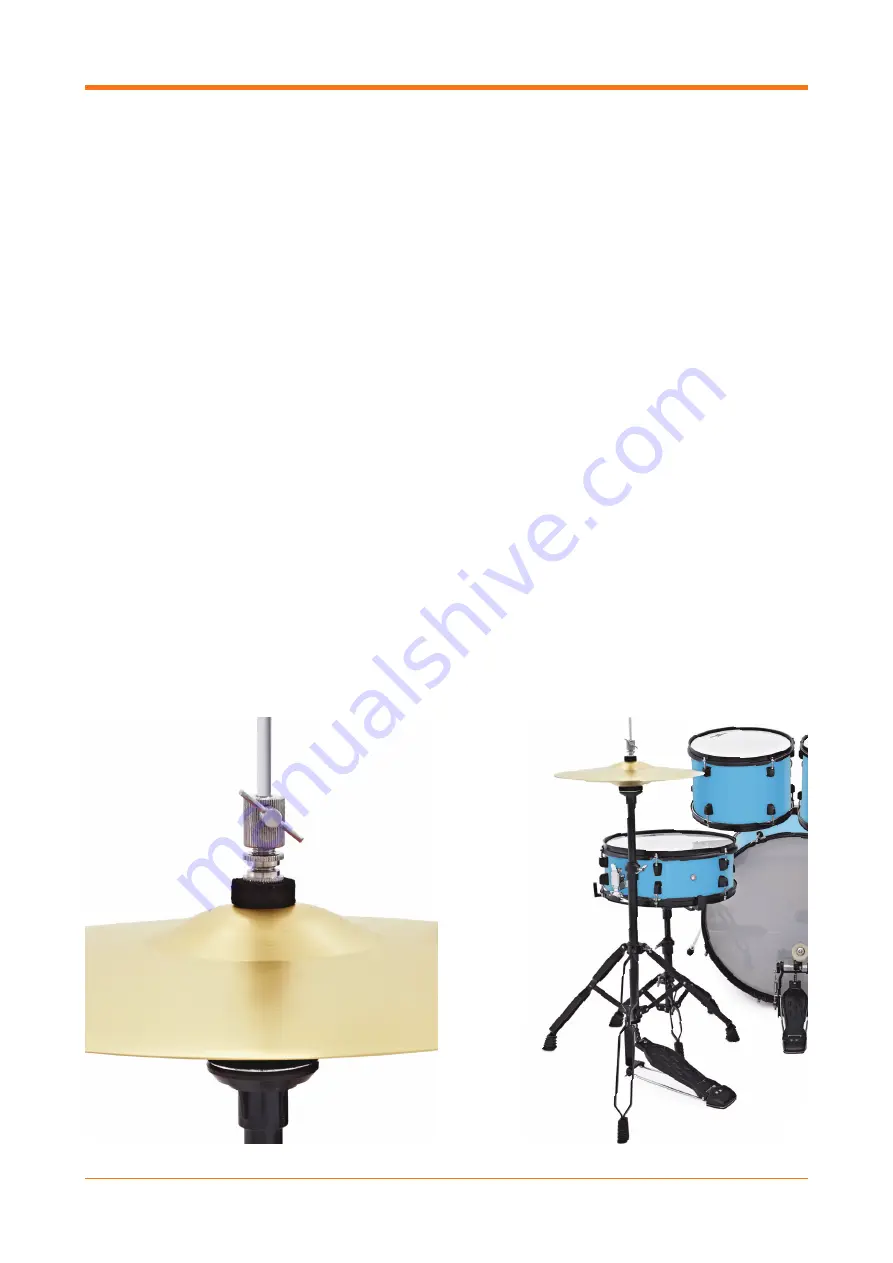
Take the hi-hat clutch and unscrew the nut at
the bottom. Separate into two parts so that
there is one black felt on each end. Thread the
screw part through the top of the cymbal and
then reattach the felt and nut to the underside
of the cymbal.
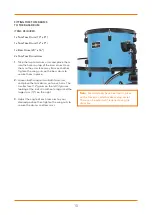
6.
Insert the cymbal and clutch onto the silver
metal rod and let both cymbals rest on top of
each other without tightening the clutch wing
nut to the silver metal rod.
7.
Slightly pressing the hi-hat pedal, tighten the
wing nut. When you release the pedal, the top
cymbal should raise away from the bottom
cymbal, so that they do no touch each other.
8.
Final adjustments to the angle of the bottom
cymbal can be made using the turn bolt
underneath the bottom hi-hat cymbal,
should it be required.
8
Summary of Contents for FUSION DRUM KIT
Page 1: ...FUSIONDRUMKIT SETUPGUIDE ...
Page 2: ...FUSION DRUM KIT ...


