background image


U sing the U SB H ub: 

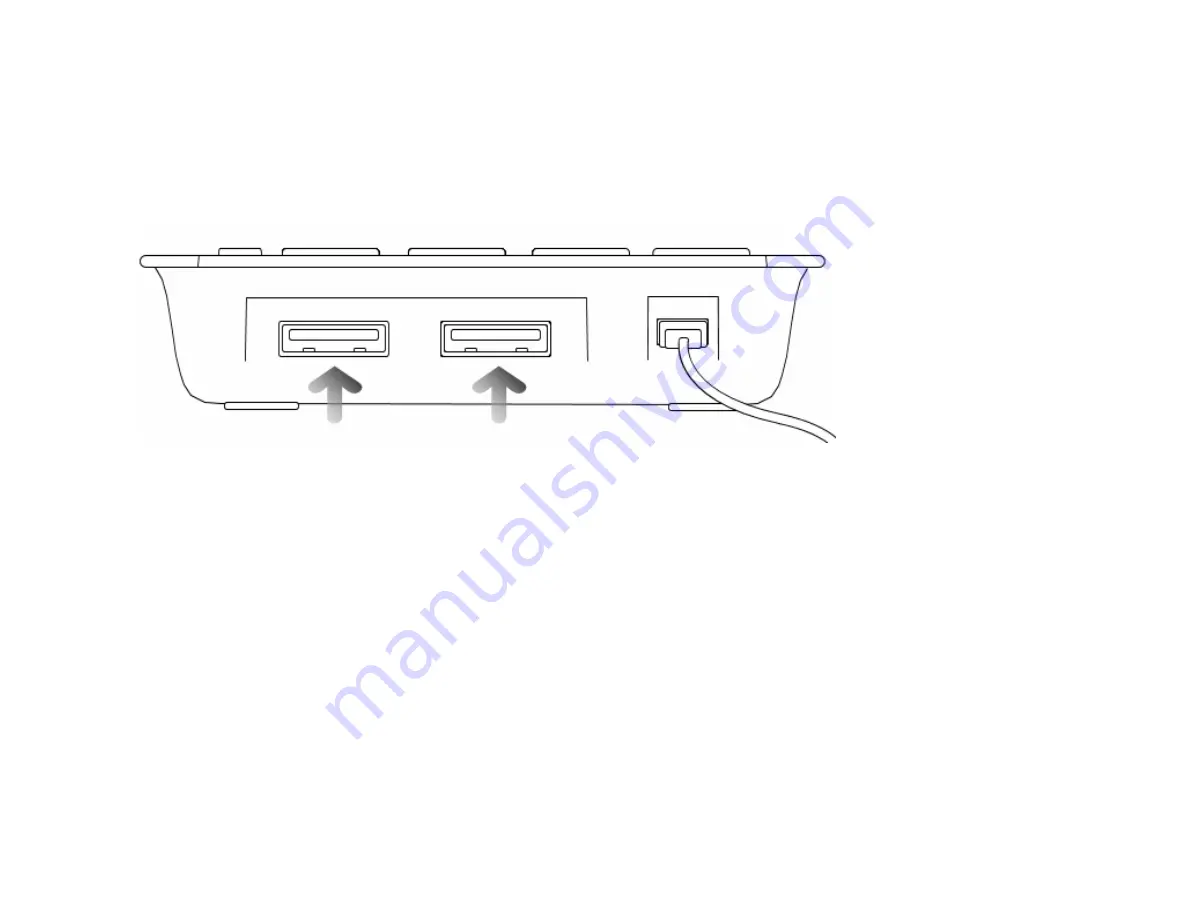
There is a built-in USB hub on your Keypad that gives you two additional USB ports. To use the USB hub on your Keypad, please follow the 
instructions below: 

1.


Make sure your computer is turned on and you have properly installed your Keypad following the 

Installation 

section in this manual. 

2.


Connect a USB device into one of the USB ports on the top of your Keypad. 


3.


Your computer will detect the USB device connected to your Keypad. 

4.


D epending on the USB device you are connecting to your Keypad, please refer to your USB device user’s manual to complete the 
installation. 

N O T E: 

The built in 2 port USB Hub can support a combined power consumption of approximately 300mA to the device(s) connected to the 

Keypad.  It is recommended to connect only low power consumption devices such as a flash drive, mouse, keyboard, or any other low power 
USB devices to the USB Hub.  USB powered enclosures or USB hard drives might experience read/write errors if connected to the USB Hub. 

Summary of Contents for KP2700USBHUB

Page 1: ...USB Numeric Calculator Keypad Model KP2700USBHUB User sManual Rev 060801...

Page 2: ...lowing information aswell asyour store receipt and this user smanual Date of Purchase __________________________________ Model Number __________________________________ Serial Number _________________...

Page 3: ...le 1 AAA Alkaline Battery User s Manual W arranty Information System Requirements Please be sure that you meet all of the system requirements below to avoid difficulties during installation IBM PCs or...

Page 4: ...ency Function 1 Press and hold the CUR button for about 3 seconds and then the CUR icon will blink on the top row in the LCD screen 2 Input the currency exchange rate for example if the exchange rate...

Page 5: ...Cable pull both ends of the cable by approximately to unlock the cable and slowly retract it back into the cable retractor 3 Turn on your computer and wait for it to load 4 Connect the Retractable USB...

Page 6: ...following the battery orientation guide in the battery bay and then slide the cover back onto your Keypad until it securely locks 2 Turn on the Power Switch on the back of your Keypad 3 Your Keypad is...

Page 7: ...mputer will detect the USB device connected to your Keypad 4 Depending on the USB device you are connecting to your Keypad please refer to your USB device user s manual to complete the installation NO...

Page 8: ...ommunication However there is no guarantee that interference will not occur in television reception which can be determined by turning the equipment off and on The user is encouraged to try and correc...

Page 9: ...for any loss or damages and claims or damages related to loss of or damage to your records or data This warranty does not apply to any product the exterior of which has been damaged or defaced This wa...

Reviews: