background image

49-2000782 Rev. 0

Special Features

USING THE RANGE: 

Special Features

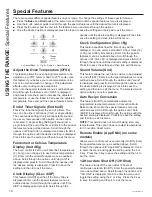
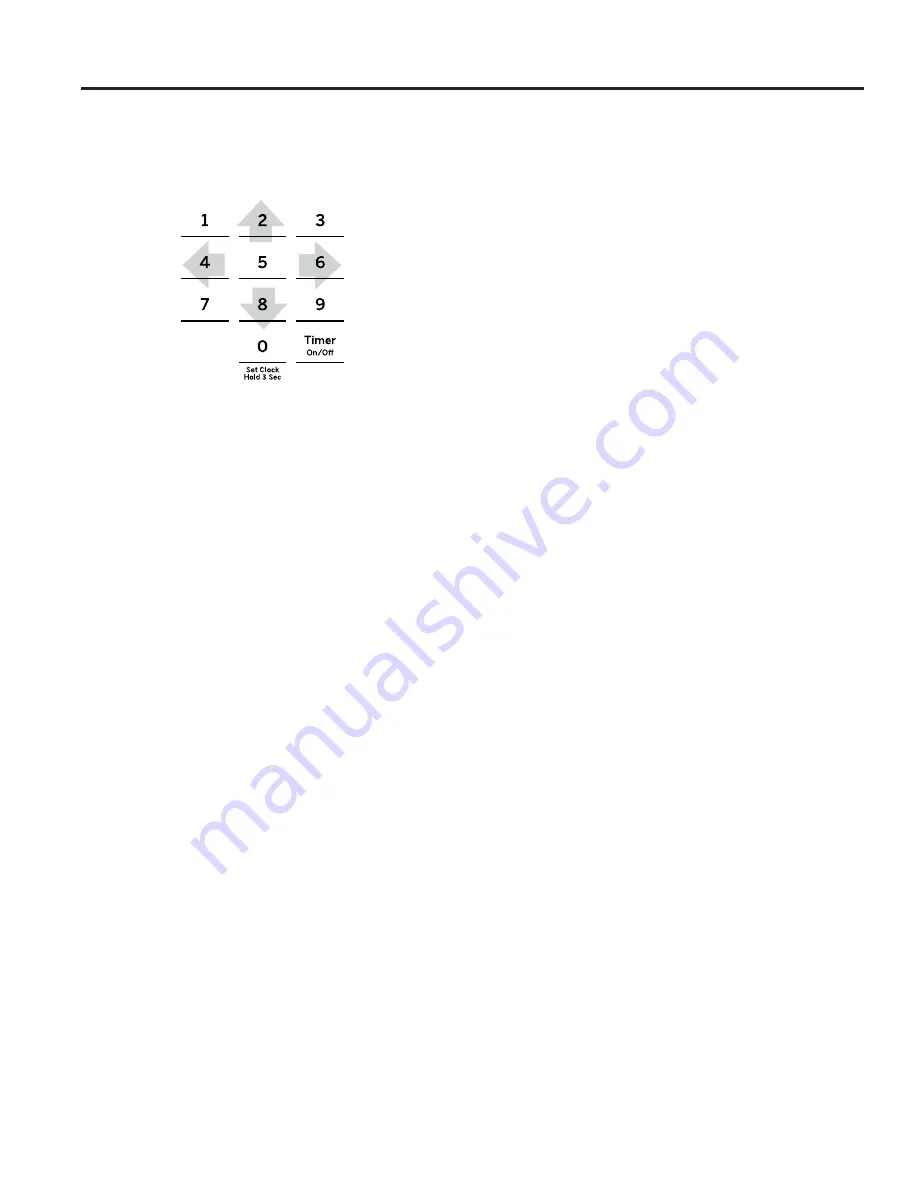
There are several different special features on your range. To change the settings of these special features:

Ŷ 3UHVVWKH

Bake

 and 

Broil

 pads at the same time and hold until the special features menu is displayed.

Ŷ 8VHWKH

2

 or 

8

 number pads to scroll through the special features until the desired feature is displayed.

Ŷ 3UHVVWKH

6

 number pad to enter into the feature’s menu and scroll through the options.

Ŷ 2QFHWKHGHVLUHGRSWLRQLVGLVSOD\HGSUHVVWKH

6

 pad to save the setting and the 

4

 pad to exit the menu.

Adjust the Oven Temperature (OFSt)

This feature allows the oven baking temperature to be 

DGMXVWHGXSWRž)KRWWHURUGRZQWRž)FRROHU8VH

this feature if you believe your oven temperature is too 
hot or too cold and wish to change it. This adjustment 
affects every cooking mode except broil.

Enter into the special features menu as outlined above. 
Scroll through the features until “OFSt” is displayed 
and press 

6

8VHWKH

2

 pad to increase the adjusted 

temperature or use the 

8

 pad to decrease the adjusted 

temperature. Save and exit the special features menu.

End of Timer Signals (End tonE)

This is the tone that signals the end of a timer. The 

WRQHFDQEHHLWKHUFRQWLQXRXV&RQWRUVLQJOHE((S
7KHFRQWLQXRXVVHWWLQJ&RQWZLOOUHSHDWHGO\VRXQGD

tone every few seconds until a button on the control 

LVSUHVVHG$VLQJOHVHWWLQJE((SZLOOVRXQGMXVWD

single tone at the end of the timer. Enter into the special 
features menu as outlined above. Scroll through the 
options until “End tonE” is displayed and press 

6.

 Scroll 

through the options until the desired setting is displayed. 

3UHVV

6

 to save the setting and then 

4

 to exit the menu.

Fahrenheit or Celsius Temperature 
Display (Unit dEg)

The oven control is set to use Fahrenheit temperatures 

)EXW\RXFDQFKDQJHLWWRXVH&HOVLXVWHPSHUDWXUHV
&(QWHULQWRWKHVSHFLDOIHDWXUHVPHQXDVRXWOLQHG
DERYH6FUROOWKURXJKWKHRSWLRQVXQWLO³GHJ8QLW´LV

displayed and press 

6.

 Scroll through the options until 

WKHGHVLUHGVHWWLQJLVGLVSOD\HG3UHVV

6

 to save the 

setting and then 

4

 to exit the menu.

Clock Display (CLoc diSP)

7KLVIHDWXUH2Q2IIVSHFLILHVLIWKHWLPHRIGD\LV

displayed. Enter into the special features menu as 
outlined above. Scroll through the options until “Cloc 

GL63´LVGLVSOD\HGDQGSUHVV

6.

 Scroll through the 

RSWLRQVXQWLOWKHGHVLUHGVHWWLQJLVGLVSOD\HG3UHVV

6

 to 

save the setting and then 

4

 to exit the menu.

Clock Configuration (Cloc cFg)

This feature specifies how the time of day will be 

GLVSOD\HG<RXFDQVHOHFWDVWDQGDUGKRXUFORFN

or 24-hour military time display. Enter into the special 
features menu as outlined above. Scroll through the 
options until “Cloc cFg” is displayed and press 

6.

 Scroll 

through the options until the desired setting is displayed. 

3UHVV

6

 to save the setting and then 

4

 to exit the menu.

Sound Volume (Snd)

This feature allows the oven tone volume to be adjusted 

RQDQGRIIR))(QWHULQWRWKHVSHFLDOIHDWXUHVPHQXDV

outlined above. Scroll through the options until “sound” 
is displayed and press 

6.

 Scroll through the options until 

WKHGHVLUHGVHWWLQJLVGLVSOD\HG3UHVV

6

 to save the 

setting and then 

4

 to exit the menu. The selected sound 

option will play once 

6

 is pressed.

Auto Recipe Conversion

7KLVIHDWXUH2Q2IIDXWRPDWLFDOO\DGMXVWVWKH

programmed recipe temperature in Convection Multi-
Bake mode. Enter into the special features menu as 
outlined above. Scroll through the options until “Auto 

U(FL3(´LVGLVSOD\HG6FUROOWKURXJKWKHRSWLRQVXQWLOWKH
GHVLUHGVHWWLQJLVGLVSOD\HG3UHVV

6

 to save the setting 

and then 

4

 to exit the menu.

NOTE:

 This option does not convert baking time, only 

temperatures. This option does not adjust temperatures 
for Convection Roast mode.

Remote Enable (App ENbl) (on some 
models) 

$OORZV\RXWRFRQWURO\RXURYHQUHPRWHO\2Q2II(QWHU

the special features menu as outlined above. Scroll 

WKURXJKWKHRSWLRQVXQWLO$SS(1EOLVGLVSOD\HG8VH

to enter the menu and toggle the setting using the 2 or 

NH\3UHVVWKHNH\WRVDYHWKHVHWWLQJDQGWKHQWR

exit the menu.

12-Hour Auto Shut Off (12H Shut)

7KLVIHDWXUHWXUQVRIIWKHRYHQDIWHUKRXUVRI
FRQWLQXRXVRSHUDWLRQ2Q2II(QWHUWKH VSHFLDOIHDWXUHV

menu as outlined above. Scroll through the options until 

+6KXWLVGLVSOD\HG8VHWRHQWHUWKHPHQXDQG
WRJJOHWKHVHWWLQJXVLQJWKHRUNH\3UHVVWKHNH\

to save the setting and then 4 to exit the menu.

 &DQFHO%DFN 8S 'RZQ 6DYH)RUZDUG

Summary of Contents for PGB935

Page 1: ...he General Electric Company Manufactured under trademark license JGB660 JGB735 PGB935 SAFETY INFORMATION 3 USING THE RANGE In Case of a Power Failure 8 Surface Burners 8 Griddle 10 Oven Controls 12 Wi...

Page 2: ...s into every GE Appliances product and we think you will too Among other things registration of your appliance ensures that we can deliver important product information and warranty details when you n...

Page 3: ...t be secured to the anti tip device properly WARNING If the information in this manual is not followed exactly a fire or explosion may result causing property damage personal injury or death Do not st...

Page 4: ...VFUDWFKLQJ RU LPSDFWLQJ JODVV GRRUV cooktops or control panels Doing so may lead to glass breakage Do not cook on a product with broken glass Shock fire or cuts may occur R QRW OHDYH FKLOGUHQ DORQH R...

Page 5: ...could spread to surrounding cabinets 1HYHU OHDYH RLO XQDWWHQGHG ZKLOH IU LQJ I DOORZHG to heat beyond its smoking point oil may ignite resulting in fire that may spread to surrounding FDELQHWV 8VH D...

Page 6: ...given off during the self cleaning cycle of any range Move birds to another well ventilated room SAFETY INFORMATION IMPORTANT SAFETY INFORMATION READ ALL INSTRUCTIONS BEFORE USING THE APPLIANCE READ A...

Page 7: ...equipment off and on the user is encouraged to try to correct the interference by one or more of the following measures 5HRULHQW RU UHORFDWH WKH UHFHLYLQJ DQWHQQD QFUHDVH WKH VHSDUDWLRQ EHWZHHQ WKH H...

Page 8: ...LITE all burners will spark Sparking will continue as long as the knob remains at LITE Once gas is ignited turn the knob to adjust the flame size Using the Surface Burners NOTES R QRW RSHUDWH WKH EXUQ...

Page 9: ...RWWRPHG ZRN Do not use stove top grills Top of Range Cookware Aluminum Medium weight cookware is recommended because it heats quickly and evenly Most foods brown HYHQO LQ DQ DOXPLQXP VNLOOHW 8VH VDXFH...

Page 10: ...JULGGOH UHPRYH WKH FHQWHU JUDWH LI SUHVHQW DQG UHSODFH LW ZLWK WKH JULGGOH R QRW WXUQ RQ WKH FHQWHU EXUQHU V XQWLO RX DUH FHUWDLQ WKH griddle has been positioned correctly Preheating Your Griddle LWK...

Page 11: ...prevent baked on food soil R QRW DOORZ JUHDVH WR DFFXPXODWH XQGHU WKH JULGGOH as it can be a fire hazard Clean under the griddle with hot soapy water as soon as it is cool R QRW FOHDQ RXU JULGGOH LQ...

Page 12: ...ly be used with Bake Convection Bake Convection Roast and Air Fry 8 Delay Time Delays when the oven will turn RQ 8VH WKLV WR VHW D WLPH ZKHQ RX ZDQW WKH RYHQ WR VWDUW 6HOHFW D GHVLUHG FRRNLQJ PRGH 8VH...

Page 13: ...Appliances oven display will stay on solid and the app will confirm you are connected 4 If the connection light does not turn on or is blinking follow the instructions on the app to reconnect If issue...

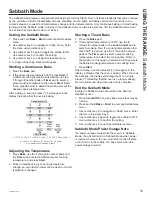
Page 14: ...menu Clock Display CLoc diSP 7KLV IHDWXUH 2Q 2II VSHFLILHV LI WKH WLPH RI GD LV displayed Enter into the special features menu as outlined above Scroll through the options until Cloc GL63 LV GLVSOD HG...

Page 15: ...ess Start 2 Since no feedback is given during temperature change an oven thermometer can be used to confirm temperature changes Starting a Timed Bake 3UHVV WKH Bake pad I WKH GHVLUHG WHPSHUDWXUH LV XV...

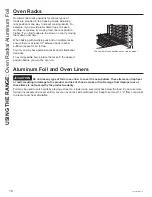
Page 16: ...ow RXU 2YHQ PD KDYH H WHQVLRQ UDFNV DQG RU WUDGLWLRQDO flat racks To avoid possible burns place the racks in the desired position before you turn the oven on CAUTION Do not use any type of foil or ove...

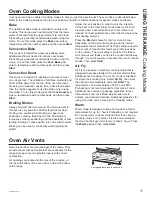
Page 17: ...order to vary the intensity RI WKH KHDW WR WKH IRRG 3ODFH IRRGV FORVHU WR WKH EURLO element when a seared surface and rare interior are desired For best performance center the food below the broil he...

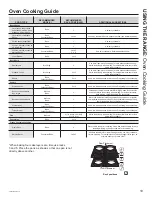
Page 18: ...d thicker crust If using dark and coated cookware check food earlier than minimum cook time If undesirable results are obtained with this type of cookware consider reducing RYHQ WHPSHUDWXUH E QH W WLP...

Page 19: ...one in chicken breasts legs thighs Broil Low Bake 3 If breaded or coated in sauce avoid Broil High modes Broil skin side down first Watch food closely when broiling For best performance when broiling...

Page 20: ...necessary to flip or stir food during cooking Arrange food in a single layer on the pan do not overload the pan Always check internal food temperature to confirm minimum safe temperatures have been re...

Page 21: ...r and water solution Rinse with clean water and dry with a soft cloth When cleaning surfaces make sure that they are at room temperature and not in direct sunlight If stain on the door vent trim is pe...

Page 22: ...using the Self Clean Mode Self Clean uses very high temperatures to clean the oven interior For a moderately soiled oven run a 3 hour self clean cycle For a heavily soiled oven run D KRXU VHOI FOHDQ F...

Page 23: ...l wool or scouring pads to clean the burner parts as these may clog the openings Never wash burner heads in your dishwasher as dishwasher Doing so may cause them to discolor The ports in the burner he...

Page 24: ...estroy the rubber bumpers and may affect the function of your surface burners 3RUFHODLQ FRDWHG JUDWHV PD JUDGXDOO GXOO LI FRQWLQXDOO exposed to self clean temperatures I RXU RYHQ LV HTXLSSHG ZLWK VHOI...

Page 25: ...OHDQ LW RII 7KHQ wipe over the glass with a soapy cloth to remove any residue and dry off The area outside the gasket can be cleaned with a soap filled plastic scouring pad Do not rub or clean the doo...

Page 26: ...breaker panel Failure to do so may result in electric shock or burn CAUTION BURN HAZARD The glass cover and bulb should be removed when cool Touching hot glass with bare hands or a damp cloth can cau...

Page 27: ...2 With the door at the same angle as the removal position rest the notch on the underside of the left hinge arm on the bottom edge of the left hinge slot The notch in the hinge arm must be fully seat...

Page 28: ...uminum foil on broil pan wrap tightly and add slits conforming to those in the pan to allow grease to drain Oven temperature too hot or too cold Oven temperature needs adjustment See the Oven Controls...

Page 29: ...the oven to cool below the locking temperature LOCK DOOR flashes in the display The self clean cycle has been selected but the door is not closed Close the oven door F and a number or letter flash in...

Page 30: ...ot Gas to the oven burners may have been shut off The oven gas shut off is located on the gas regulator near the gas line attachment to your range Locate it and flip the lever My oven door glass appea...

Page 31: ...49 2000782 Rev 0 Notes...

Page 32: ...32 49 2000782 Rev 0 Notes...

Page 33: ...49 2000782 Rev 0 33 Notes...

Page 34: ...d warranties including the implied warranties of merchantability or fitness for a particular purpose are limited to one year or the shortest period allowed by law This limited warranty is extended to...

Page 35: ...bsite information The following products and more are available Accessories Accessories Nickel Flat Rack Reinforced Nickel Flat Rack Self Clean Flat Rack Nickel Extension Rack Self Clean Extension Rac...

Page 36: ...FLDO GLVFRXQWV WKDW DUH DYDLODEOH ZKLOH RXU warranty is still in effect You can purchase it on line anytime GE Appliances Services will still be there after your ZDUUDQW H SLUHV Q WKH 86 GEAppliances...

Reviews: