Maintenance
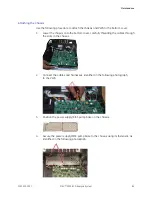
2.
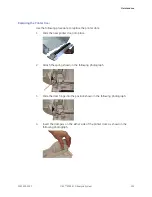
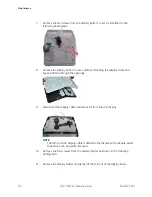
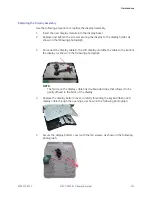
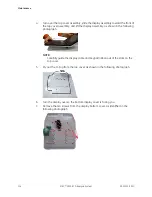
Holding each end of the printer module assembly, gently push out the end
pieces and use your thumbs to slide the crossbar into position, as shown in the
following photograph.
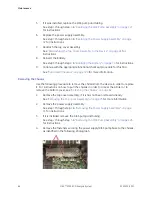
3.
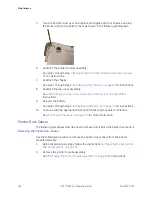
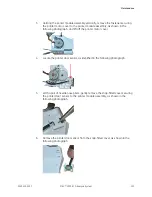
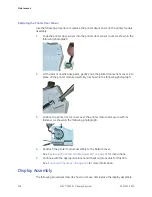
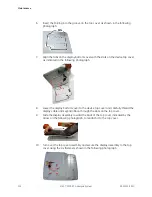
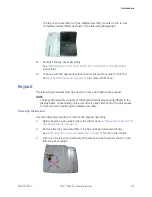
Snap the two end pieces back into place and secure them to the printer
module assembly with two fasteners on each end, as shown in the following
photographs.
4.
Reattach the printer motor and gear assembly.
See
“Replacing the Printer Motor and Gear Assembly” on page 96
for instructions.
5.
Continue with the appropriate functional checkout procedure for this FRU.
See
“Functional Checkout” on page 129
for more information.
Printhead
The following procedures describe how to clean, remove, and replace the printhead.
Cleaning the Printhead
If the printer does not function, you may need to clean dust and foreign particles
from the printhead.
2053535-003C
MAC™ 2000 ECG Analysis System
99
Summary of Contents for MAC 2000
Page 41: ...Product Overview 2053535 003C MAC 2000 ECG Analysis System 41 ...
Page 134: ...Maintenance 134 MAC 2000 ECG Analysis System 2053535 003C ...
Page 160: ...Parts List 160 MAC 2000 ECG Analysis System 2053535 003C ...
Page 182: ...182 MAC 2000 ECG Analysis System 2053535 003C ...
Page 183: ......

