background image

Page 3 

Page 4 

1.


Package Contents 

    Mini Wireless Optical Mouse   

    Mini USB Receiver 

    Mini Software CD             

    Mini Instruction Manual 

    2 AAA Batteries               

   Travel Bag 


2.


System Requirements 

    Windows® 98 SE or higher     

   Available USB Port 

   CD-ROM drive 


3.


Special Mouse Functions 


To turn your mouse off while traveling, press and hold the 

scroll wheel button. While pressing the scroll wheel button, 

press the link button on the bottom of the mouse. To turn the 

mouse on repeat this process. 


The mouse will go to sleep when idle for a long period of time 

to save batteries. To wake the mouse, press any mouse button.  


When the Low Battery LED (located near the scroll wheel) is 

illuminated, change the batteries. See Section 4. 

You will need 

to re-link your mouse

. See Section 5. 

4.


Battery Installation 


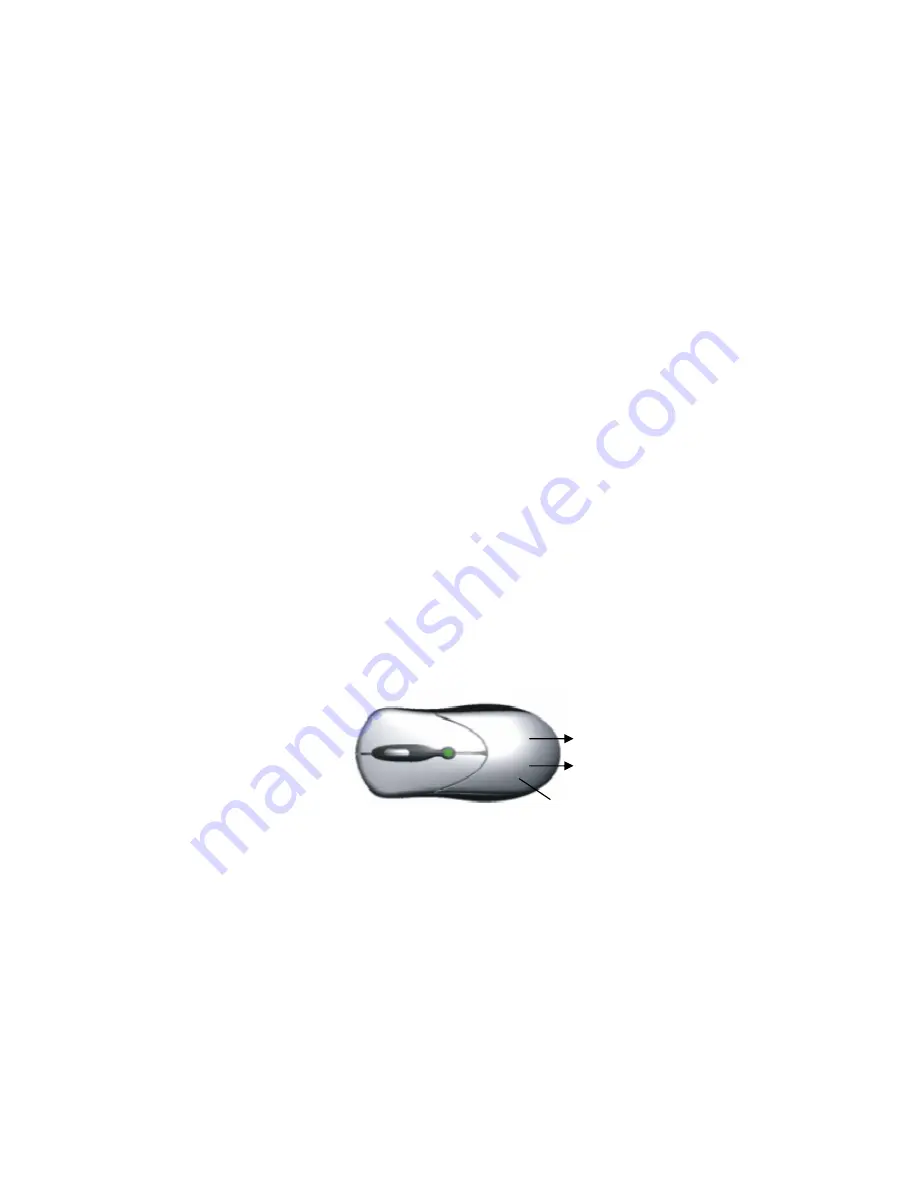
Battery Compartment Cover 

1)


Grip the front of the mouse (the end with the buttons) with 

your left hand. 

2)


With your right hand hold the back of the mouse (end opposite 

the buttons) with your thumb on the bottom, and your index 

finger and middle finger resting on top. 

3)


Grip the mouse firmly, pressing down slightly on the GE logo 

on top of the mouse with the index and middle finger of your 

right hand, then pull back to release the battery cover. 

4)


Set the battery compartment cover aside. Insert 2 AAA 

batteries, being sure to match the polarity of the batteries with 

the polarity markings inside the battery compartment.  

5)


Replace the battery compartment cover.  

6)


Re-link your mouse. See Section 5. 

FRONT                  BACK 

PRESS 

HERE 

PULL 

Summary of Contents for HO97985

Page 1: ...TABLE OF CONTENTS 1 PACKAGE CONTENTS 3 2 SYSTEM REQUIREMENTS 3 3 SPECIAL MOUSE FUNCTIONS 3 4 BATTERY INSTALLATION 4 5 HARDWARE INSTALLATION 5 6 SOFTWARE INSTALLATION 6 7 UNINSTALL MOUSE SOFTWARE 15 8 TROUBLE SHOOTING 17 9 FIVE YEAR LIMITED WARRANTY 19 10 FCC STATEMENT 20 Page 2 ...

Page 2: ...is illuminated change the batteries See Section 4 You will need to re link your mouse See Section 5 4 Battery Installation Battery Compartment Cover 1 Grip the front of the mouse the end with the buttons with your left hand 2 With your right hand hold the back of the mouse end opposite the buttons with your thumb on the bottom and your index finger and middle finger resting on top 3 Grip the mouse...

Page 3: ... button on the bottom of your mouse 6 Your mouse should now function normally Move your mouse to test functionality 6 Software Installation The mouse will function normally without the included software The software is only necessary to program the function of the scroll wheel It is always a good idea to back up your system before adding any new software to your computer 1 Uninstall any previously...

Page 4: ...open My Computer Double click on your CD Drive Double click on Setup The CD should run 4 Follow the on screen instructions to complete the software installation Page 7 a Select English and click Next Page 8 b Click Next on the Welcome Screen ...

Page 5: ...Page 9 c Click Next to select the default destination directory Page 10 d Click Next to select the default program folder ...

Page 6: ...Page 11 e Click Next to start copying files f Wait while files are copied to your computer Page 12 g When prompted click Finish to restart your computer ...

Page 7: ... right corner of the screen From this menu you can a Change the scroll settings Page 13 b Program the function of the scroll button Select a function from the drop down menu Click Apply followed by OK 6 You can change the standard mouse functions by double clicking on the Mouse icon in the Control Panel Page 14 ...

Page 8: ...o Method 2 6 Click on Uninstall Browser Mouse 7 Follow the on screen instructions 8 Click Next to continue 9 Click Finish to restart your computer Page 15 Method 2 1 Right click on the mouse icon in the system tray lower right corner of the screen and click Exit 2 Close all open applications 3 Open the Start Menu by clicking on Start in lower left corner of the screen 4 Open the Control Panel some...

Page 9: ...ctions in Section 7 Reinstall the mouse software following the directions in Section 6 Page 17 Page 18 Other application software will not install properly This may be due to the Mini Optical Mouse Software Remove the software as described in Section 7 Install the other application Reinstall the Mini Optical Mouse Software as described in Section 6 Scrolling left right does not work smoothly Your ...

Page 10: ...y period return prepaid with dated proof of purchase to Jasco Products Company 311 N W 122nd Oklahoma City OK 73114 Page 19 Page 20 10 FCC Statement Notice Federal Communications Commission FCC requirements Part 15 This equipment has been tested and found to comply with the limits for a class B digital device pursuant to part 15 of the FCC Rules These limits are designed to provide reasonable prot...

Page 11: ...ions not expressly approved by the grantee of this device could void the users authority to operate the equipment This device complies with Part 15 of the FCC Rules Operation is subject to the following two conditions 1 this device may not cause harmful interference and 2 this device must accept any interference received including interference that may cause undesired operation Distributed for THO...

Reviews: