background image


INSTALLATION 

Because the XC-NT200 requires no configuration, it can be installed and made 
operational quickly. Installation takes place as follows: 

1.  Connecting the ADSL line (refer to section titled, “Connecting the ADSL Line 
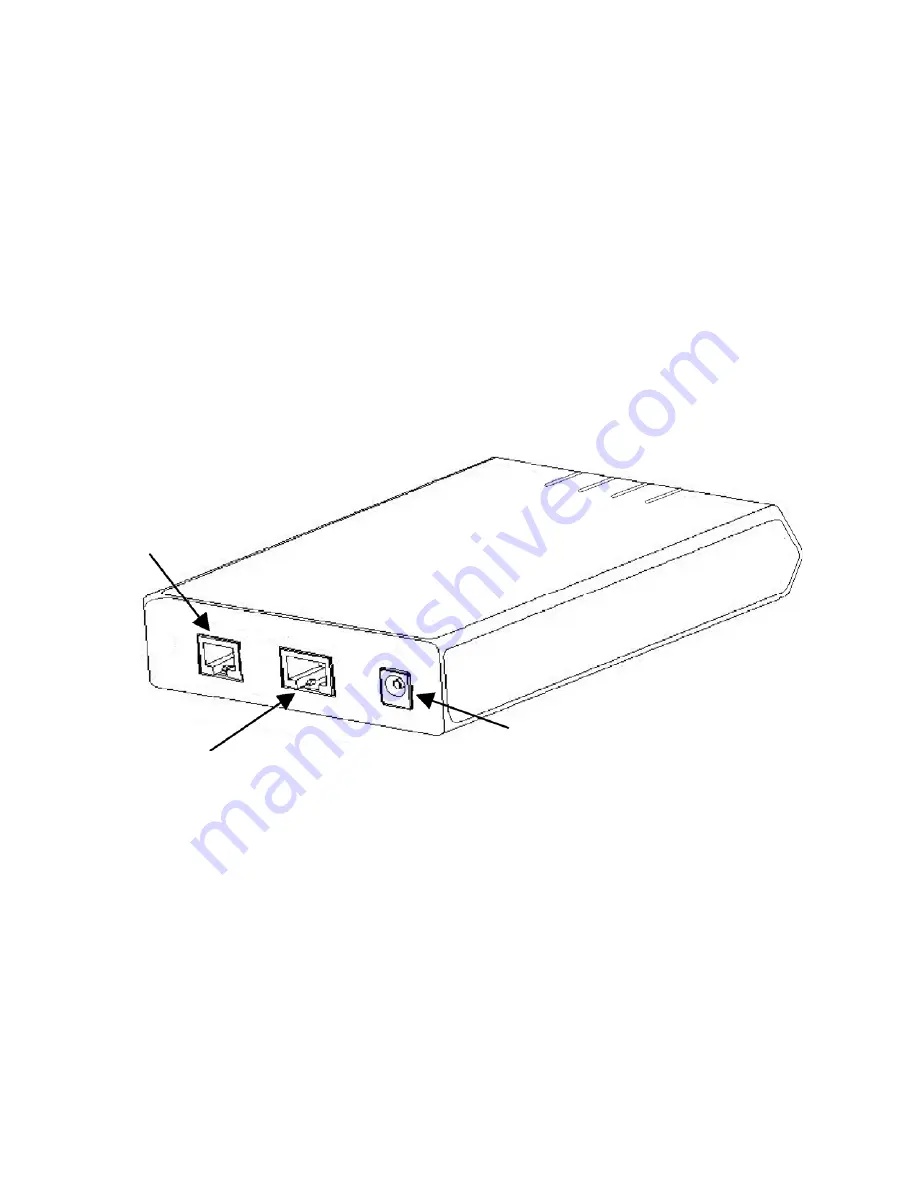
Interface” on page 6) See Figure 4 for the rear panel connector arrangements. 

2.  Connecting the Ethernet interface (refer to section titled, “Connecting the LAN 
(10/100Base-T) Ethernet Interface” on page 7). 

3. Connecting the power plug (refer to section titled, “Connecting Power” on 
page 8). 

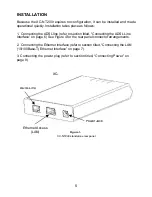
Ethernet Access 

(LAN) 

Figure 1. 

XC-NT200 standalone rear panel 

5

XC-

ADSL Line 

Power Jack

Summary of Contents for XC-NT200

Page 1: ...XC NT200 ADSL Modem Owners Manual GDI COMMUNICATIONS LLC PO Box 1330 Verdi NV 89439 ...

Page 2: ...ations LLC computer product or component thereof resulting from accident abuse or misapplication of the product and GDI Communications LLC assumes no liability as a consequence of such events under the terms of this Warranty GDI Communications LLC does not warrant the merchantability or fitness of this product for any particular purpose This limited warranty is in lieu of any and all other warrant...

Page 3: ... CONNECTING THE LAN ETHERNET INTERFACE 7 CONNECTING POWER 8 OPERATION 9 POWER UP 9 FRONT PANEL LED STATUS MONITORS 9 CUSTOMER SERVICE 11 SERVICE AND UNRESOLVED PROBLEMS 11 APPENDIX A 12 SPECIFICATIONS 12 APPENDIX B 14 FACTORY REPLACEMENT PARTS AND ACCESSORIES 14 APPENDIX C 15 INTERFACE PIN ASSIGNMENT 15 3 ...

Page 4: ...terminals or curb side distribution vaults Installation is easy no tools no headaches Simply connect the hardware apply power and perform the simple software configuration for your Modem Designed to operate in the harshest environments the XC NT200H has an operating temperature range of 37 C to 74 C in non condensing humidity of up to 95 It can be set up at altitudes of up to 10 000 feet This manu...

Page 5: ...itled Connecting the ADSL Line Interface on page 6 See Figure 4 for the rear panel connector arrangements 2 Connecting the Ethernet interface refer to section titled Connecting the LAN 10 100Base T Ethernet Interface on page 7 3 Connecting the power plug refer to section titled Connecting Power on page 8 Ethernet Access LAN Figure 1 XC NT200 standalone rear panel 5 XC ADSL Line Power Jack ...

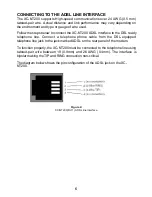
Page 6: ...e to the DSL ready telephone line Connect a telephone phone cable from the DSL equipped telephone line jack to the jack marked ADSL on the rear panel of the modem To function properly the XC NT200 must be connected to the telephone line using twisted pair wire between 19 0 9mm and 26 AWG 0 4mm The interface is bipolar making the TIP and RING connection non critical The diagram below shows the pin ...

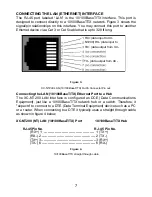
Page 7: ...10 100BaseT TX Ethernet Port to a Hub The XC NT200 LAN interface is configured as DCE Data Communications Equipment just like a 10 100BaseT TX network hub or a switch Therefore it expects to connect to a DTE Data Terminal Equipment device such as a PC or a router When connecting to a DTE it typically uses a straight through cable as shown in figure 4 below XC NT200 NT LAN 10 100BaseT TX Port 10 10...

Page 8: ...sing the barrel jack on the rear panel No configuration is necessary for the power supply AC power supplied must meet the following requirements 12VAC The barrel type plug has a 2 5 5 5 10mm I D O D Shaft Length dimensions The XC NT200 does not have a power switch it powers up as soon as it is plugged in 8 ...

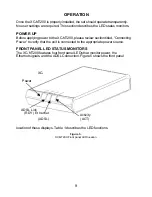
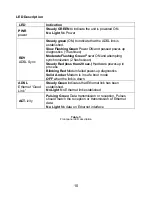
Page 9: ...ection titled Connecting Power to verify that the unit is connected to the appropriate power source FRONT PANEL LED STATUS MONITORS The XC NT200 features four front panel LEDs that monitor power the Ethernet signals and the ADSL Connection Figure 5 shows the front panel location of these displays Table 1 describes the LED functions Figure 5 XC NT200 Front panel LED location 9 XC Power ADSL Link RD...

Page 10: ...zation 2 flashes sec Steady Red less than 20 sec Hardware power up in process Blinking Red Modem failed power up diagnostics Solid Amber Modem is in safe boot mode OFF when the link is down ADSL Ethernet Good Link Steady Green indicates that Ethernet link has been established No Light No Ethernet link established ACT ivity Pulsing Green Data transmission or reception Pulses should match the recept...

Page 11: ...y name mailing address telephone number RMA number and any special instructions During the first year after the date of purchase all labor and materials will be provided without charge There shall be no warranty for either parts or labor after the expiration of one year from the date of purchase or if in GDI Communications sole discretion the product has been deemed to be modified or abused Units ...

Page 12: ...ICATORS PWR Power Green RDY ADSL Sync Green ADSL Ethernet Good Link Green Red Amber ACT Ethernet Activity Green POWER SUPPLY External AC power cube input 112 VAC 47 to 63Hz 6 Watt 12 0 VAC Output OPERATING ENVIRONMENT TEMPERATURE RANGE 37 C to 74 C HUMIDITY Up to 95 non condensing DIMENSIONS 1 25H x 3 98W x 3 87D in 3 175H x 10 12W x 9 83D cm MOUNTING Standalone metal enclosure 12 ...

Page 13: ...th the manufacturer s instructions it may cause interference to radio and television reception The XC NT200 has been tested and found to comply with Class B computing device in accordance with specifications in Subpart B of Part 15 of FCC rules However there is no guarantee that interference will not occur in a particular installation 13 ...

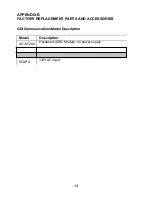
Page 14: ...APPENDIX B FACTORY REPLACEMENT PARTS AND ACCESSORIES GDI Communications Model Description Model Description XC NT200 Hardened ADSL Modem no power supply NTAPS 112VAC input 14 ...

Page 15: ...N ASSIGNMENT LAN ETHERNET 10 100BASET TX INTERFACE RJ 45 UTP STP Pin 1 RX Pin 2 RX Pin 3 TX Pin 6 TX Pins 4 5 7 8 no connection Shield Bat Com STP only ADSL LINE INTERFACE RJ 11 Pin 2 RING Pin 3 TIP Pins 1 4 no connection 15 ...

Page 16: ...Copyright 2003 GDI Communications LLC All Rights Reserved 16 ...

Reviews: