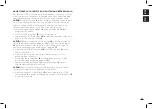
18
NOTE!
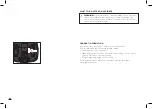
By folding in the ISOFIX Connect locking arms
10
, you are
not just protecting the vehicle seat but also the ISOFIX Connect
locking arms of the ISOFIX Connect system from dirt and damage.
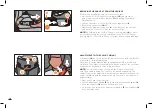
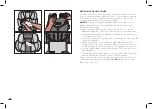
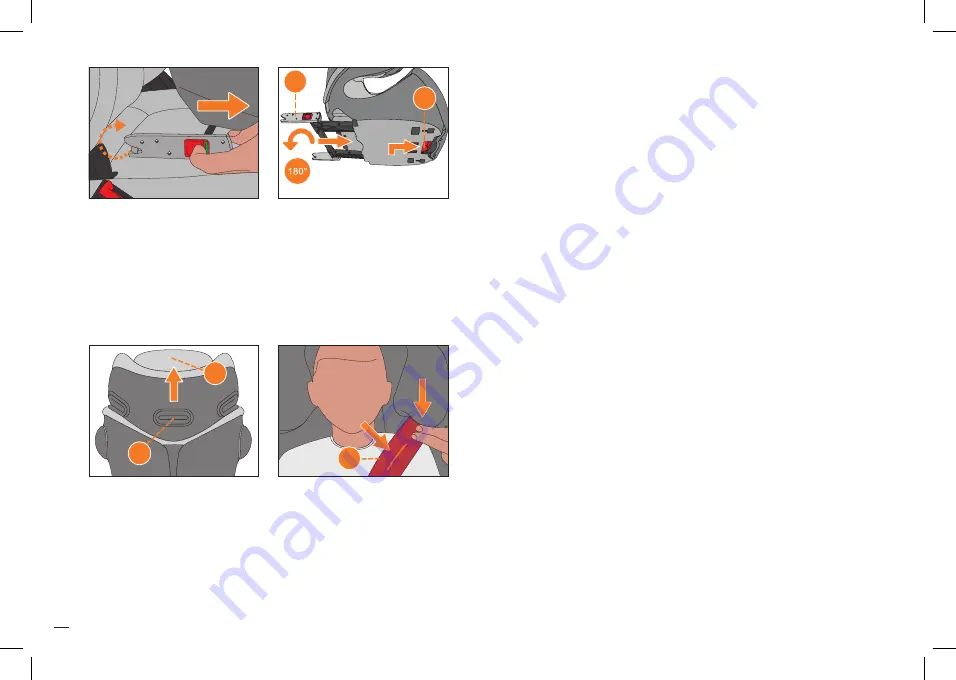
REMOVING THE CAR SEAT FROM THE VEHICLE
Perform the installation steps in the reverse order:
•
Unlock the ISOFIX Connect locking arms
10
on both sides
by pushing the red release buttons
11
and pulling them back
simultaneously.
•
Pull the car seat out of the ISOFIX anchorage points
8
.
•
Rotate the connectors
10
180°.
•
Operate the adjustment button
9
on the frame of the car seat
and push the connectors in as far as they will go.
10
9
7
14
15
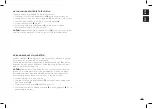
NOTE!
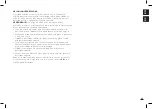
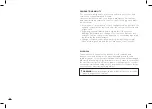
The shoulder wings of the gb Elian-Fix are connected
with the headrest and do not have to be moved separately. The
headrest has to be adjusted in a way that the distance between the
child‘s shoulders and the headrest doesn‘t exceed 2 cm (approx. 2
fingers width).
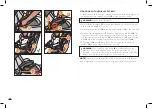
ADJUSTMENT TO THE CHILD`S HEIGHT
A headrest
14
can only provide the best protection and comfort for
your child if optimally adjusted.
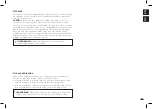
Only then it can guarantee that the diagonal belt
7
is positioned
optimally. The height of the headrest and the width of the shoulder
wings can be adjusted in 12 possible positions.
•
Place your child in the car seat.
•
Pull the adjustment handle
15
up in order to unlock the headrest
14
.
•
Push the headrest
14
into the desired position.
•
As soon as you release the adjustment handle
15
, the headrest
14
locks automatically.


