


Gato Audio DIA-250S - Integrated Amplifier/DAC
Page 8
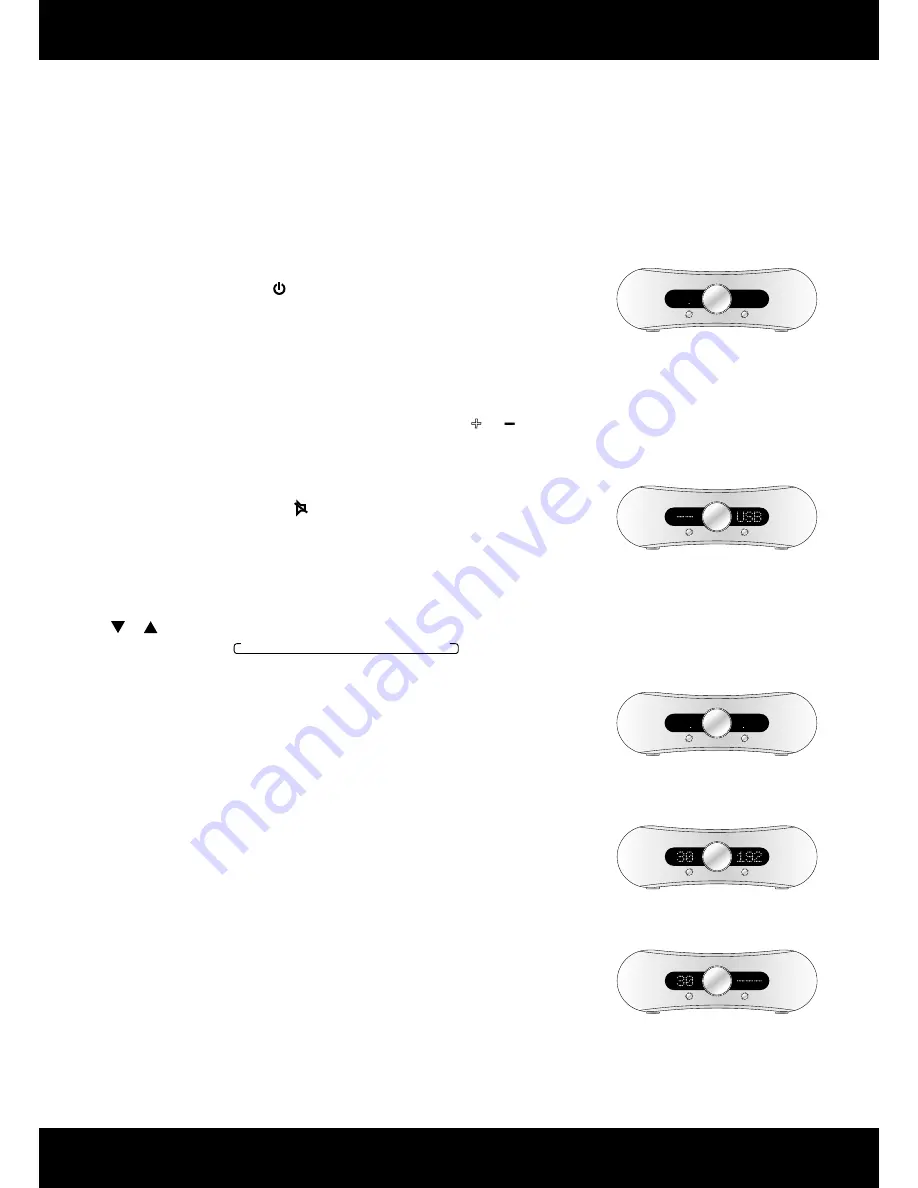
How does it work?
Power on
Use the mains switch on the back of the amplifi er to turn it on. The amplifi er is now in standby
mode. Only the microprocessor and the standby LED are powered during standby. Therefore, the
DIA-250S has an ultra-low standby power consumption of less than 1W.
Standby
Activate the amplifi er by pressing on the remote control or the Standby button on the front
panel. When the amplifi er enters standby mode again it will remember the selected input
channel and volume level. If the volume level is higher than 50, it will be reduced to 50 when the
amplifi er exits standby mode.
Adjusting the volume
Turning the volume control knob clockwise increases the volume. Turn it counter-clockwise to
decrease the volume. The volume can also be adjusted by pressing the or button on the
remote control.
Muting
For complete silence simply press the button on the remote control. Press the mute button
once more to return to the previous volume level.
Input selection
Use the Input button on the front panel to select between the diff erent input channels.
Inputs can also be selected with the remote by pressing the direct input selection buttons or
the or buttons. The input will switch the channels in this order:
IN1
IN2
BAL
USB
RCA
OPT
BT
Display dimming
The display can be dimmed by a pressing the Display button on the RC-3 remote control or
the Dim button on the back of the amplifi er. The display is now turned off except for two LEDs
indicating the dimmed display state. Whenever a change is made to the settings of the amplifi er,
such as adjusting volume or changing input, the display will light up for 4 seconds, showing the
change that is being made. Press either of the buttons again to exit display dimming mode.
Sample rate read-out
The DIA-250S can read and display the sample rate of the USB, RCA, OPT and BT digital input
channels. The DIA-250S can be set to display this in two diff erent ways:
1.
The display on the right shows the selected input channel, eg. USB. Press the USB button on
the RC-3 remote control, and the sample rate will be shown in kHz instead of selected input
channel name for 4 seconds.
2.
The display on the right only shows the sample rate. When changing input channels the
channel name will be shown for 4 seconds, and then return to display the sample rate.
To switch between the two read-out modes, press and hold the Dim button on the back of the
amplifi er for 2 seconds.
+
DIA-250S
Input
Standby
DIA-250S
Input
Standby
DIA-250S
Input
Standby
DIA-250S
Input
Standby
DIA-250S
Input
Standby
Standby
Mute
Display dim
Sample rate read-out
No sample rate available


