


32 Using Your Gateway Solo™ 9100 Multimedia Notebook
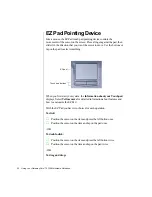
Using PC Cards
Your notebook’s PC Card slots (also known as PCMCIA card slots) are
located behind the PC Card doors. These slots accept PC Card 16, PC Card
32 (CardBus), or Zoomed Video cards.
Your notebook is configured to automatically accept most PC Cards. If you
ordered your notebook with a modem, then the modem drivers are already
installed.
You do not need to restart your notebook when changing most cards
because your notebook supports “hot-swapping.” This means that you can
usually insert a PC Card, and the system recognizes it without shutting
down the notebook. If your PC Card does not work when hot-swapping,
refer to the PC Card manufacturer’s documentation for further information.
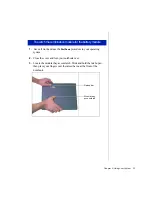
1.
Insert the PC Card with the label face up.
2.
Slide the card firmly into the PC Card slot. When the card is installed
correctly, the computer emits a two-toned beep.
3.
Follow the Windows Setup Wizard installation steps the first time you
insert a PC Card. Operate the device as recommended in the PC Card
manufacturer’s manual.
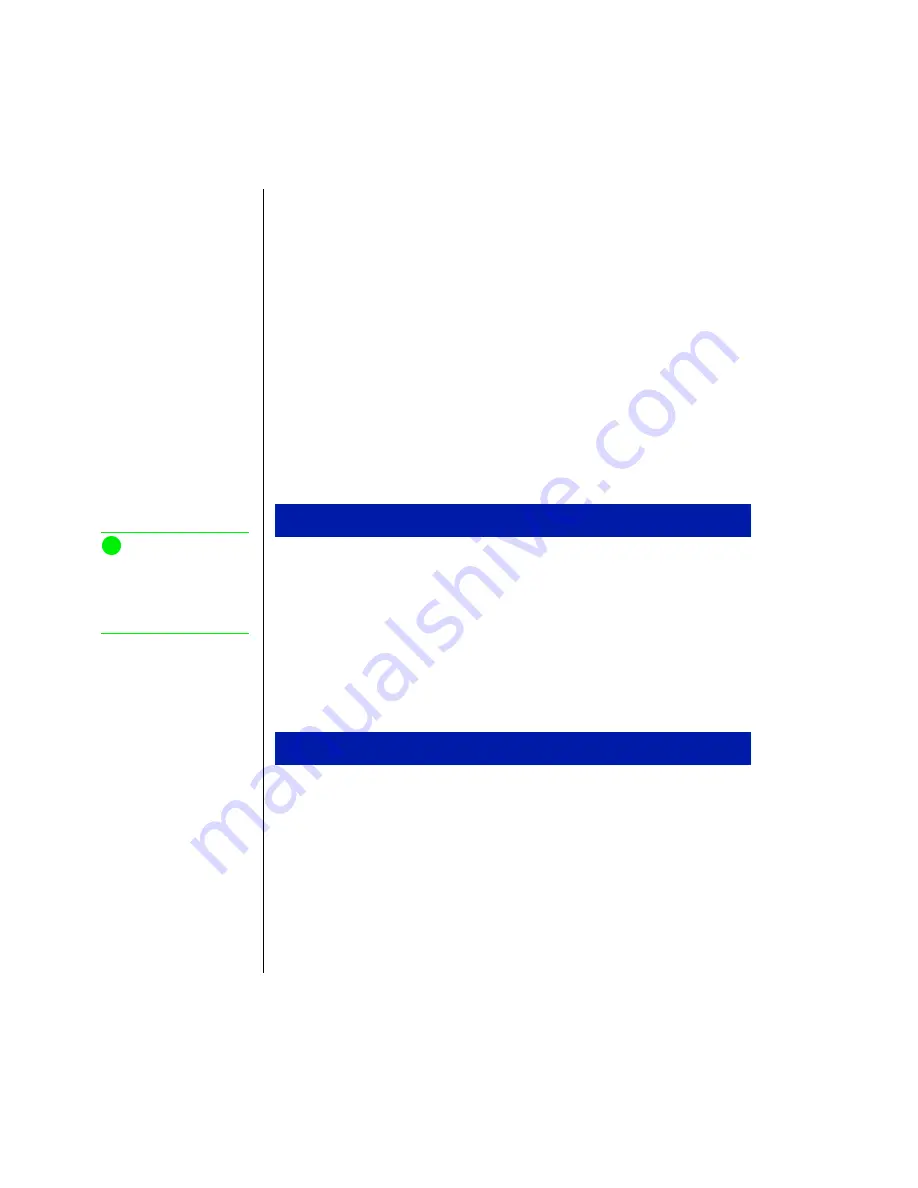
1.
Click the
PC Card
icon in the taskbar.
2.
Click the card that you want remove.
3.
Click
Stop
. A screen appears stating that you may safely remove the
device.
4.
Click
OK
.
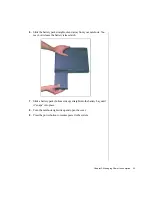
5.
Press the PC Card eject button, located to the left of the PC Card slot,
to release the eject button.
To insert a PC Card
To remove a PC Card
Note:
If you are using a Type III
PC Card or Zoomed Video
card, it must be inserted
into the bottom slot.
Summary of Contents for Solo 9100
Page 13: ...10 Using Your Gateway Solo 9100 Multimedia Notebook ...
Page 41: ...38 Using Your Gateway Solo 9100 Multimedia Notebook ...
Page 56: ...Appendix A Solo Notebook Accessories ...
Page 58: ...Appendix B Contacting Gateway Contacting Gateway 56 Calling Gateway 56 ...
Page 64: ...Index 61 ...


