57
4
Press
or
to highlight
Yes
, then press
to start copying the files
to your jukebox. Copying may take several minutes.
5
After the copying is complete, unplug your jukebox and camera from
the USB cable.
After verifying that the files have been copied to your jukebox, you
can erase them from your camera.
Important
■
To determine whether a camera is supported for direct file
copying to your jukebox, see
www.gateway.com/photojukebox
. If your camera is not
listed, use a memory card reader to transfer images to the
jukebox. For more information, see “Copying photos from
your card reader” on page 58.
■
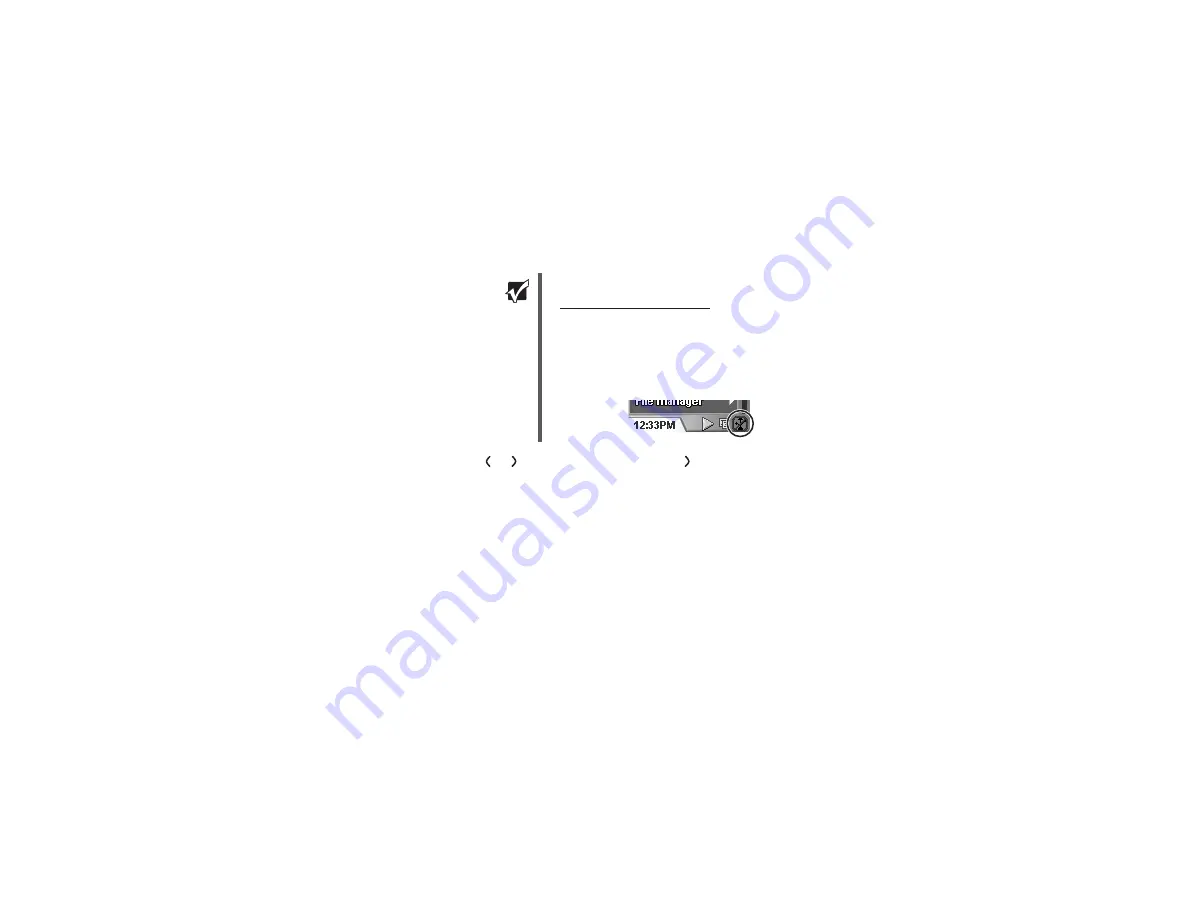
If your jukebox battery is low, the jukebox cannot copy files
from your camera and a USB Disabled icon appears in the
lower right corner of the screen.
Summary of Contents for MP3 Photo Jukebox
Page 1: ...User Guide MP3 Photo Jukebox ...
Page 2: ......
Page 7: ...v Updating the firmware 84 Backing up your files 86 Chapter 7 Safety and Legal Notices 87 ...
Page 8: ...vi ...
Page 11: ...3 Front Playback control buttons LCD panel Menu control button Option menu button ...
Page 16: ...8 Back Battery cover ...
Page 18: ...10 ...
Page 60: ...52 5 To return to the Main Menu press several times until the Main Menu opens ...
Page 78: ...70 ...
Page 82: ...74 ...
Page 112: ...MAN GCM MP3 USR GDE R3 04 05 ...


