58
Replacing and Adding System Components
6
Hold the new processor over the empty processor socket and verify that
pin 1 on both the processor and the socket are aligned. Pin 1 is near the
marked corner.
7
Gently place the new processor into the socket.
8
Secure the processor by lowering the locking lever until the lever latches
into place. The processor will slip into place without pressure when
aligned correctly.
9
Install the heatsink as described in “To Replace the Heatsink” on page 57.
10
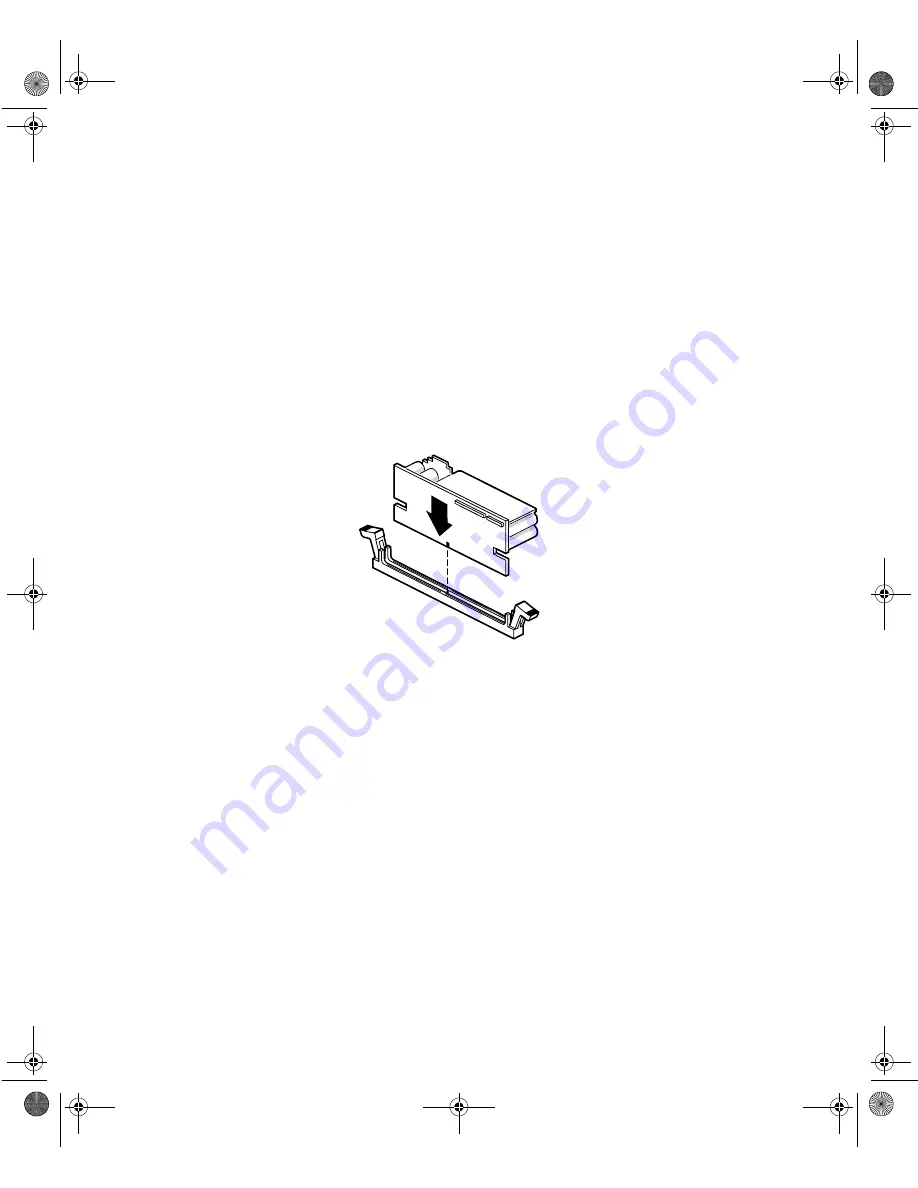
Install the VRM that came with the processor upgrade kit into the VRM
socket (refer to “System board” on page 8 for location). Push down firmly
until the retention tabs engage the edges of the VRM.
11
Connect the power supply cable of the processor fan to the second CPU
fan connector on the system board (See “System board” on page 8 for
location).
12
Replace the bezel. (See “Replacing the bezel” on page 28.)
13
Close the case by following the instructions on page 27.
14
Reconnect the power cord, modem cord, and all other external peripheral
devices, then turn on the system.
15
When you restart your server, you must get an indication that the AP
and BSP microcode is okay (during the boot sequence). If not, the BIOS
must be updated to be compatible with your new processor.
8508088.book Page 58 Thursday, November 1, 2001 9:35 AM
Summary of Contents for 930 series
Page 6: ...iv Gateway 930 Series System Manual 8508088 book Page iv Thursday November 1 2001 9 35 AM ...
Page 22: ...14 System Features 8508088 book Page 14 Thursday November 1 2001 9 35 AM ...
Page 96: ...88 Using the BIOS Setup Utility 8508088 book Page 88 Thursday November 1 2001 9 35 AM ...
Page 136: ...128 Troubleshooting 8508088 book Page 128 Thursday November 1 2001 9 35 AM ...
Page 152: ...144 System Specifications 8508088 book Page 144 Thursday November 1 2001 9 35 AM ...
Page 160: ...152 Gateway 930 Series System Manual 8508088 book Page 152 Thursday November 1 2001 9 35 AM ...


