background image

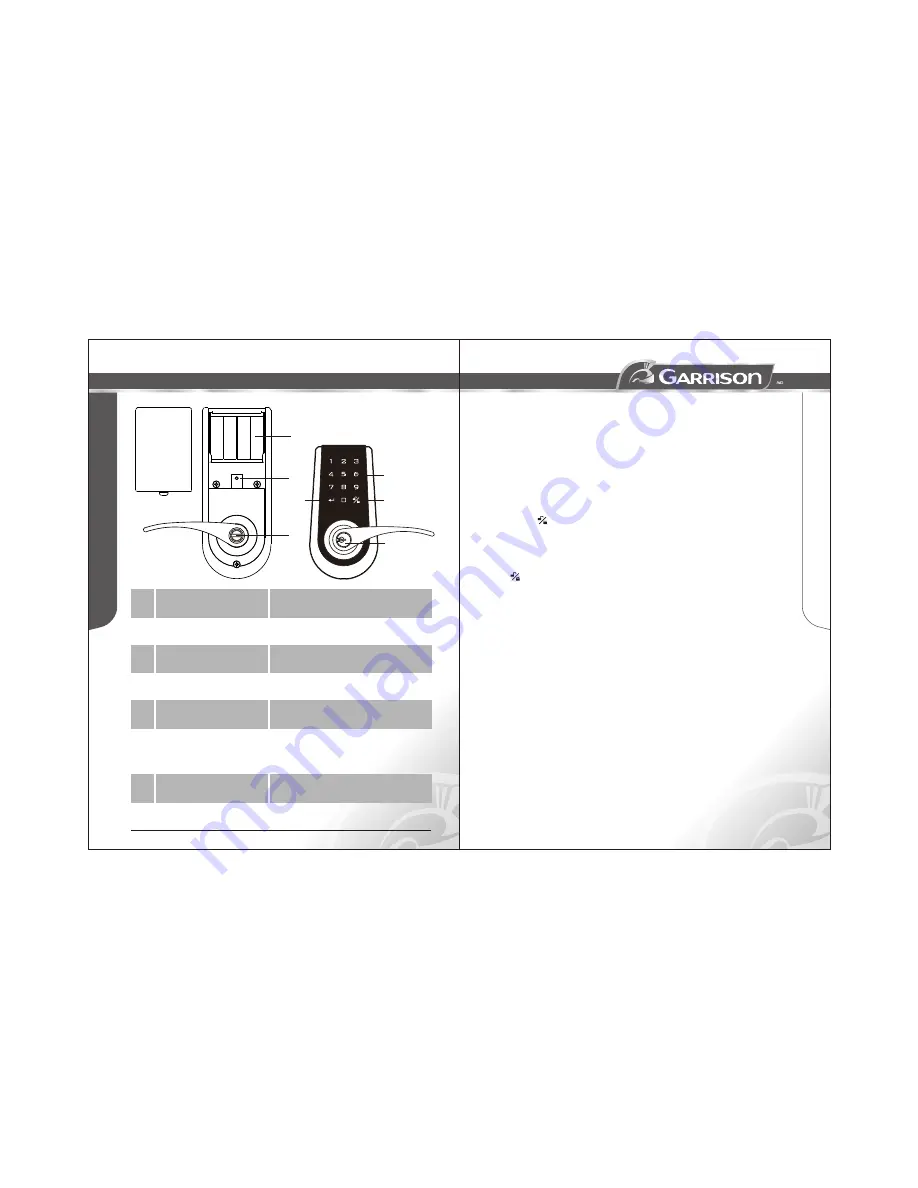
Operational interface

®

Operating instructions

11

12

model no.: 046-7247-4

1

2

3

4

5

6

7

8

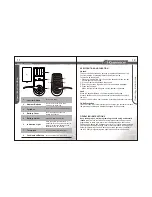
Cylinder

Confirm Button

For function setup.

Number Buttons

To enter user codes. Each code
must be 4 10 digits long.

To be locked and unlocked with the key.

Battery Cover

Push it upward and outward to
replace the batteries.

Battery Holder

Uses 4 AA alkaline batteries.

Indication Light

When the light is lit continuously, it
means the unit is in operation. When it's
blinking, it means low battery and the
batteries need to be replaced.

Turn-piece

Lock and unlock from the interior.

Lock/unlock Button 

Lock and unlock from the exterior.

SPECIFICATION AND FUNCTION

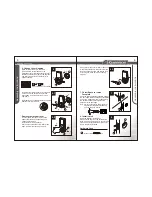
Unlock

a registered

To unlock with the keypad:
1. Place your hand within 3/4" (2 cm) of the keypad or press any key
    once to light up the keypad.
2. 2 to 4 numbers will appear on the keypad. 
3. Enter the user code digits in order until the numbers disappear.
4.

Lock

The door can be locked from the inside

Code Protection

If the user code is entered incorrectly over 5 times, the system will initiate
the protective function and disable the keypad for 45 seconds.


The door can be unlocked by entering 

 user code or the

key from outside, or pressing the lever down from inside.

 Press the     button.

    When the light for the key goes out, the system is unlocked.

When the keypad lights up, the user may press the keypad.
Press     button or use the key and automatic lockup function to lock
the door.

 by turning the interior turn-piece.

Keep the door open while programming to avoid being 
locked out

. The lock contains one factory-preset user code but can be

programmed to store up to a total of six additional unique user codes.
Codes can be added and deleted at any time. For first-time programming,
use factory default programming code. It’s recommended to change the
default programming code and default user code right after you install
the lock. 

accidentally

Every programming step should be done within 6 seconds.

OPERATING INSTRUCTIONS

Summary of Contents for 046-7247-4

Page 1: ...nual carefully before installing this deadbolt lock and save it for reference ELECTRONIC LEVER WITH TOUCH SCREEN TEMPLATE Fit here on door edge 85x165mm Mark 1 25 4 mm hole at centre of door edge FOR...

Page 2: ...e cam all the way to the right to adjust backset to 2 3 4 70 mm c To restore back to 2 3 8 60 mm push the adjustable sleeve all the way to the left 2 3 8 60 mm Installation Screws Qty 3 M L P Part Des...

Page 3: ...ock with this product on the same door please confirm the backset for the latch and that the specifications for the face plate match Please also refer to the following instructions to adjust the backs...

Page 4: ...de of the lever press down and the lever can be pulled out Use the thumb and index finger to push lever removal tool K L Switch interior and exterior levers then push in and fasten the levers Make sur...

Page 5: ...centre of faceplate a guide 10 Chisel Space for Strike Drill a 1 25 4 mm hole with 1 2 13 mm depth on the centre of strike outline Then use the chisel to out the door frame 1 16 1 6 mm deep within th...

Page 6: ...Used O Wood screw Self tapping screw x1 x1 or 14 2 Install 4 AA alkaline batteries and close the battery cover J Installation is complete Remarks 1 Alkaline batteries are recommended in order to stabi...

Page 7: ...mbers disappear 4 Lock The door can be locked from the inside Code Protection If the user code is entered incorrectly over 5 times the system will initiate the protective function and disable the keyp...

Page 8: ...e is set During this time the door must be locked or unlocked manually with a key 3 Enter PC 5 Automatic lockup Instruction The default setup for the automatic lockup timer is 30 seconds To modify the...

Page 9: ...sponsive No sound and no backlight Issues with batteries or the wiring Replace the batteries or make sure the batteries are installed correctly Please check whether the cable from the interior lock un...

Page 10: ...s PCB board are guaranteed for a period of one 1 year Trileaf Distribution agrees to repair or replace a defective product free of charge within the stated warranty period when returned by the origina...

Reviews: