iQue M5 Que Applications Guide
31
D
ETAILED
O
PERATION
>
R
OUTING
TO
A
PPOINTMENTS
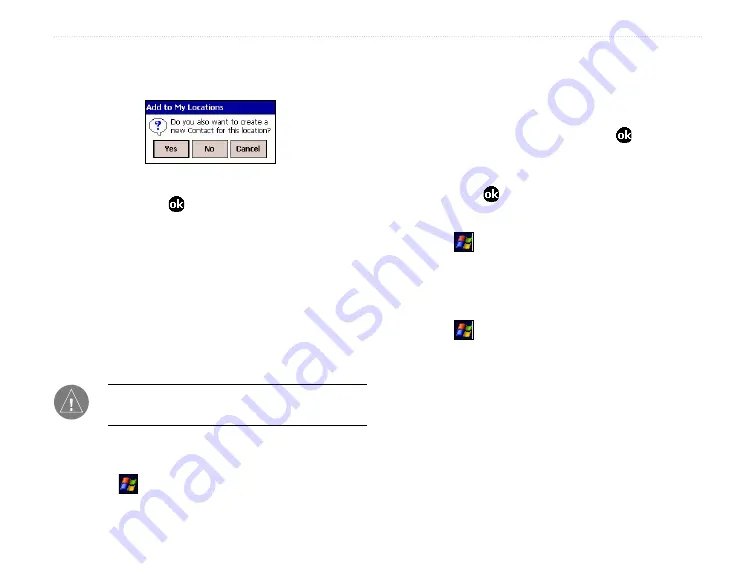
3. A popup message asks, “Do you want to create
a new Contact for this Location?” Tap
Yes
.
4. Enter a new name for the Contact, if desired,
and then tap .
Routing to Appointments
The iQue M5 has integrated GPS functions with
the Calendar so that you can create routes to your
appointments. For each appointment, you can create
a special Location, just as you can in Contacts. Then
create a route to your appointment from within
Calendar.
NOTE:
Locations you create for appointments do
not appear in My Locations.
To create a Location for an appointment:
1. Tap and then
Calendar
, or press the
Calendar
button.
2. Tap and hold on an appointment. Tap
Que
and
then
Set Location Point
.
3. Enter a name for the Location and then tap
Set
from Map
or
Set from Find
. Then search for a
point. When you find a point, tap .
4. A message may appear asking if you want to
change the Location name. Tap
Yes
or
No
.
Then tap .
To route to an appointment:
1. Tap and then
Calendar
.
2. Tap and hold on the appointment you want to
route to. Tap
Que
and select
Route to It
.
To edit a Location for an appointment:
1. Tap and then
Calendar
.
2. Tap and hold on the appointment you want to
change. Tap
Que
and select
Change Location
Point
.
3. Follow the steps in the previous procedure to
select a new Location for the appointment.
Summary of Contents for iQUE M5
Page 1: ...iQue M5 integrated handheld Que applications guide ...
Page 69: ......


