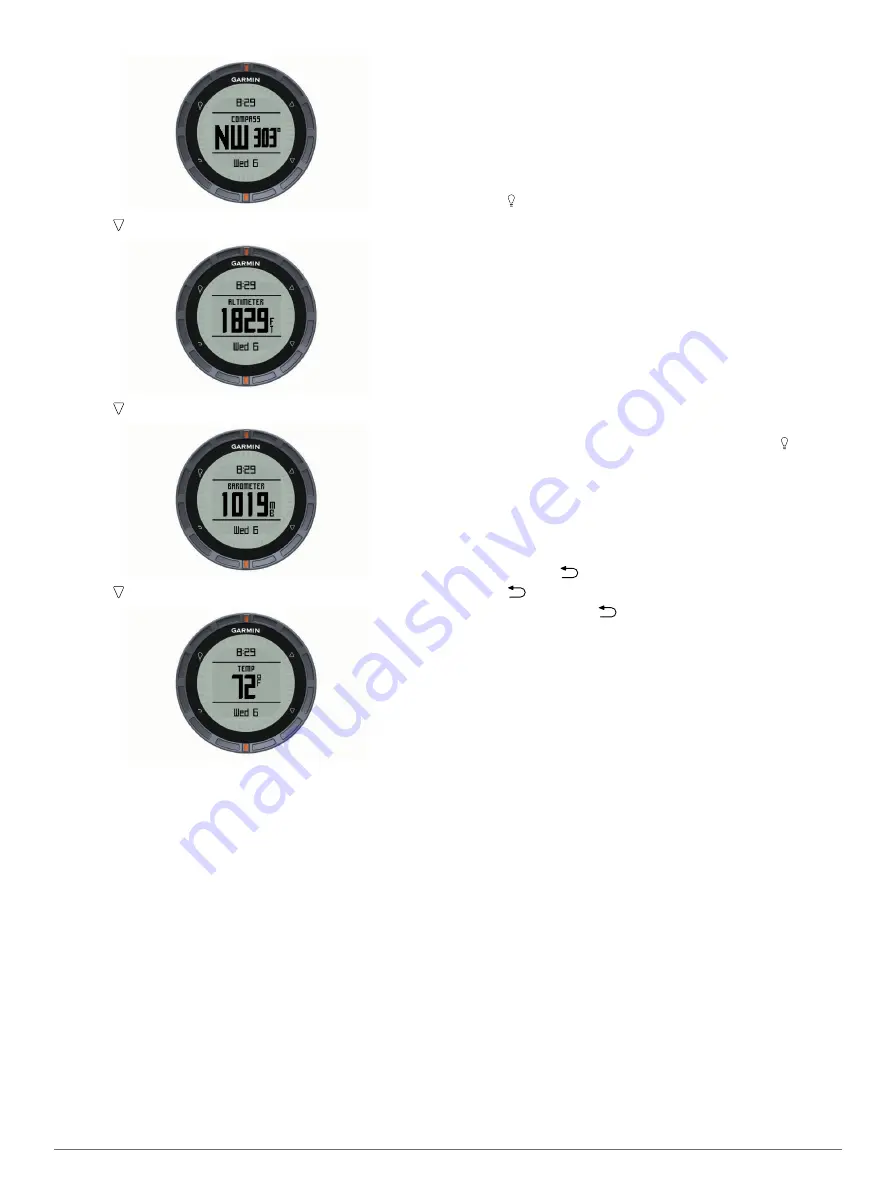
2
Select .
3
Select .
4
Select .
NOTE:
Your body temperature affects the temperature
sensor. To get the most accurate temperature reading,
remove the device from your wrist and wait 20–30 minutes.
TIP:
To purchase a tempe™ wireless temperature sensor, go
. When you have the tempe paired with
the fēnix (
), you automatically get accurate
temperature readings without having to remove the device
from your wrist.
Turning On a Sensor Mode
The default sensor mode is
On Demand
mode, which offers
you quick access to compass, altimeter, barometer, or
temperature data. You can also put the device in
Always On
mode to display continuous sensor data. For example, you can
put the device in altimeter mode and continuously monitor
elevation data.
NOTE:
If you have an optional heart rate monitor or speed and
cadence sensor paired with the device, your device can display
continuous heart rate or speed and cadence data.
1
Select the
Orange
key.
2
Select
Setup
>
Sensors
>
Mode
>
Always On
.
Acquiring Satellites
Before you can use the GPS navigation features, such as
recording a track, you must acquire satellite signals.
The device may need a clear view of the sky to acquire satellite
signals. The time and date are set automatically based on the
GPS position. To adjust the time settings, see
For more information about GPS, go to
.
1
Hold to turn on the device.
2
Select your language (first time only).
3
Select the
Orange
key.
4
Select
Start GPS
.
5
Wait while the device locates satellites.
Stopping GPS
1
Select the
Orange
key.
2
Select
Stop GPS
.
Going for a Hike
Before you go for a hike, you should charge the device
).
NOTE:
The device turns on automatically while charging. If you
do not charge the device before going for a hike, hold to turn
on the device.
1
Select the
Orange
key.
2
Select
Start GPS
.
3
Wait while the device locates satellites.
4
Start hiking.
5
When you want to take a break or pause the device from
tracking, hold
>
Pause Track
.
6
Hold
>
Resume Track
, and continue hiking.
7
When finished, hold
>
Save Track
to save your hiking
data.
8
If necessary, select
Yes
to stop GPS.
Sending Your Hike to BaseCamp™
Before you can send data to BaseCamp, you must download
BaseCamp to your computer (
You can view your hike, other tracks, and waypoints on your
computer.
1
Connect your device to your computer using the USB cable
(
).
Your device appears as a removable drive in My Computer
on Windows® computers and as a mounted volume on
Mac® computers.
2
Start BaseCamp.
3
Follow the on-screen instructions.
Profiles
Profiles are a collection of settings that optimize your device
based on how you are using it. For example, the settings and
views are different when you are using the device when hiking
than when mountain biking.
When you are using a profile and you change settings such as
data fields or units of measurement, the changes are saved
automatically as part of the profile.
Changing Profiles
When you change activities, you can quickly change the setup
of the handheld to suit the activity by changing the profile.
1
Select the
Orange
key.
2
Select
Profiles
.
2
Introduction
Summary of Contents for fenix
Page 1: ...fēnix Owner s Manual August 2012 190 01507 00_0A Printed in Taiwan ...
Page 6: ......
Page 19: ...æ ßQ í â píˆ ÏeÆW 0ìy ãñj...
Page 20: ...ît ß The two pointer marks à ˇ ã ÍNÞ...
Page 21: ...æ ß Œí3 Ôâ p ˆÌ ÖeÉW cì üñb...
Page 22: ...çt ßYª 5 5 ú2 êG 3 orange mark Ä ˇ à ÍUÞ æ ßG í ıâVpüˆÆ ê ÖeÕW ì úñd...
Page 23: ...çtüßEªC n ˆ µúw ò êK ÏŒk À Žé 9 ˇ Ñ ÍUÞ æ ß í âVpøˆÁ fl ÚeÕW ì8 áñ ...
Page 25: ... t ßRª...
Page 30: ...ìt ß ª...
Page 31: ... y M 5 ú ú ...
Page 35: ...çt ßHª n 0 ú9 ç EÊ Map ˇ ÍYÞ æ ßQ í ıâ pûˆ Ł Íe W7 ì òñ ...
Page 36: ...àt ßRª...
Page 37: ... t V ú2 êI 3ÏÖK ÀÙ r iÄ ÜDö åÞŠ ÕŽZã7 ...
Page 38: ... R uxG ˇ ý ÍJÞ æ ß Œí âVpäˆË Ìe W cì áñj...
Page 39: ...êt ß ª t _ q ú õ êD jÏÖK ÀÙ r iÄ uÜD åÉŠƒÕ Z 7 â ˇ ã ÍQÞ æ ßX í Łâ pøˆË À ÐeÉW 7ì1 öñ ...
Page 40: ...ät ßLª 1 µú9 êG 6ÏØkzÀ h c pÄ ÉDð åÆŠ ÕÕZ 7J ˇ ô ÍOÞ æ ßZ Œí4 šâˇpæˆ H ÊeÕW 1ì6 æñ ...
Page 44: ...ët ß ªD T ú ê ÏŒk À 6 k hĈ ÑDë åÚŠËÕ Z 7 O µRüucG ˇ ó ÍQÞ æíß í â píˆ ÖeËW ì òño...
Page 47: ...æ ß ží ıâVpìˆÏ Î Navigation 5 ...
Page 56: ...ÃàÀfl ÅeœI 4ö AÝ cÒ Ü DÞÈ âÂ...
Page 74: ...Àã hK PZ ÙÄÒ Å ævQ Ùû ü æ Ï y0Ê ê óÚ Žr 7 b4Ù Å A6Rº Q Àè 1d_ÄŒ Ýg Ê Ñ ...
Page 80: ...Öã H Device Care NOTICE Ï 0 ˇê6 µÚ rÞ 7h 8 b3Ù Å A Rô _ HÀç 9 31i_ŠŒ qÝ Ô ...
Page 85: ...Q d1 _ÑŒ 0ý Ê X...
Page 90: ...Q p1M_ÒŒX Ýb ƒ ˇ...


