background image

2

Select an option:
• To install on a Windows computer, select 

Download for 

Windows

.

• To install on a Mac computer, select 

Download for Mac

.

3

Open the downloaded file, and follow the on-screen 

instructions to complete the installation.

4

Start Garmin Express.
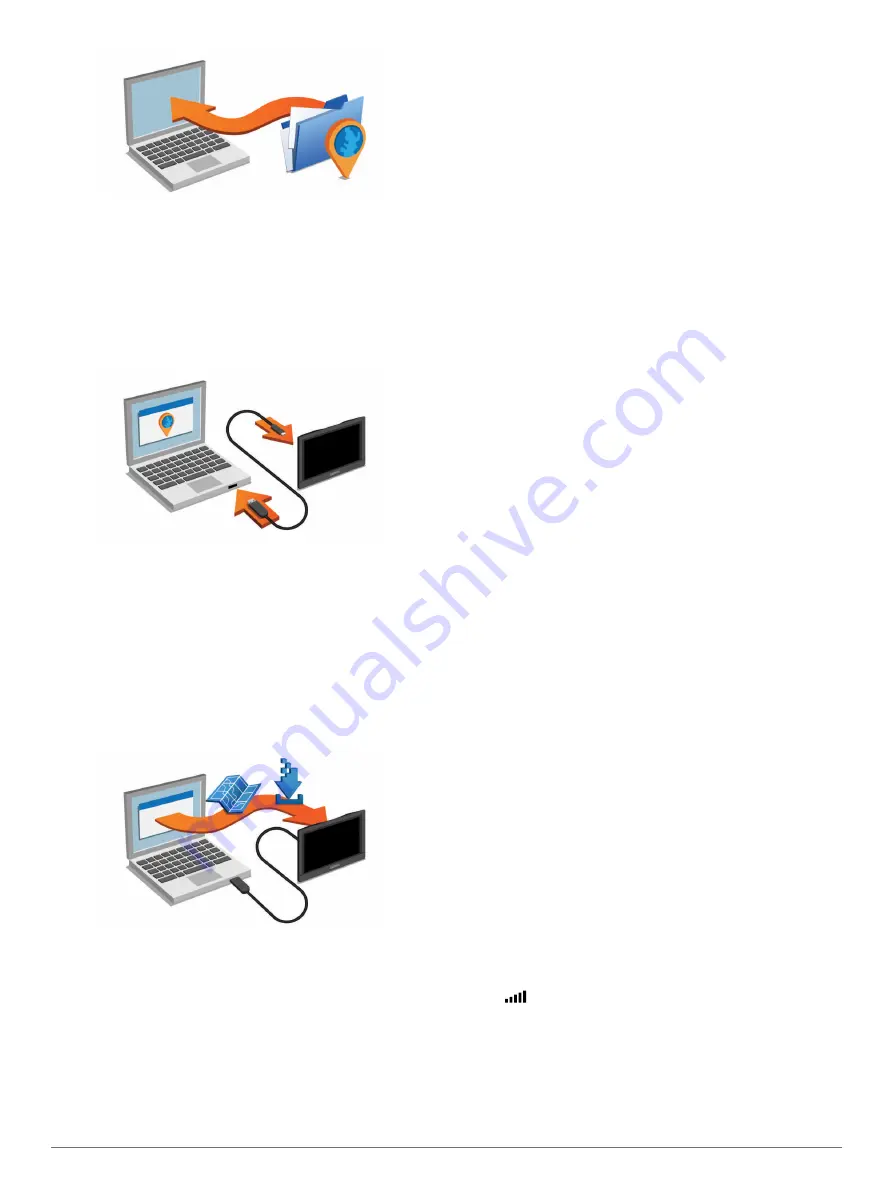
5

Connect your Garmin device to your computer using a USB 

cable.

6

Click 

Add a Device

.

The Garmin Express software detects your device.

7

Click 

Add Device

.

8

Follow the on-screen instructions to add your device to the 

Garmin Express software.
When setup is complete, the Garmin Express software 

searches for map and software updates for your device.

9

Select an option:
• To install all available updates, click 

Install All

.

• To install a single update, click 

View Details

 and select an 

update.

The Garmin Express software downloads and installs the 

updates onto your device. Map updates are very large, and this 

process may take a long time on slower Internet connections.

Data Management

You can store files on your device. The device has a memory 

card slot for additional data storage.

NOTE: 

The device is not compatible with Windows 95, 98, Me, 

Windows NT

®

, and Mac OS 10.3 and earlier.

File Types

The device supports these file types.

• Maps and GPX waypoint files from myGarmin mapping 

software, including MapSource

®

, BaseCamp

, and 

HomePort

 (

Custom Points of Interest

, page 7

).

• GPI custom POI files from Garmin POI Loader (

Installing POI 

Loader

, page 7

).

About Memory Cards

You can purchase memory cards from an electronics supplier, 

or purchase pre-loaded Garmin mapping software 

(

www.garmin.com

). In addition to map and data storage, the 

memory card can be used to store files such as maps, images, 

geocaches, routes, waypoints, and custom POIs.

Installing a Memory Card

The device supports microSD

 and microSDHC memory cards.

1

Insert a memory card into the slot on the device.

2

Press it in until it clicks.

Connecting the Device to Your Computer

You can connect the device to your computer using a USB 

cable.

1

Plug the small end of the USB cable into the port on the 

device.

2

Plug the larger end of the USB cable into a port on your 

computer.
A picture of your device connected to a computer appears on 

the device screen.
Depending on your computer operating system, the device 

appears as either a portable device, a removable drive, or a 

removable volume.

Transferring Data From Your Computer

1

Connect the device to your computer (

Connecting the Device 

to Your Computer

, page 19

).

Depending on your computer operating system, the device 

appears as either a portable device, a removable drive, or a 

removable volume.

2

On your computer, open the file browser.

3

Select a file.

4

Select 

Edit

 > 

Copy

.

5

Browse to a folder on the device.

NOTE: 

For a removable drive or volume, you should not 

place files in the Garmin folder.

6

Select 

Edit

 > 

Paste

.

Disconnecting the USB Cable

If your device is connected to your computer as a removable 

drive or volume, you must safely disconnect your device from 

your computer to avoid data loss. If your device is connected to 

your Windows computer as a portable device, it is not necessary 

to safely disconnect.

1

Complete an action:
• For Windows computers, select the 

Safely Remove 

Hardware

 icon in the system tray, and select your device.

• For Mac computers, drag the volume icon to the trash.

2

Disconnect the cable from your computer.

Viewing GPS Signal Status

Hold 

 for three seconds.

Power Cables

Your device can be powered various ways.
• Vehicle power cable
• USB cable
• AC adapter (optional accessory)

Appendix

19

Summary of Contents for dezl 770 Series

Page 1: ...d zl 770 Series Owner s Manual July 2015 190 01805 00_0D...

Page 2: ...min Express HomePort MapSource myGarmin ecoRoute myTrends trafficTrends n Maps Guarantee and n Maps Lifetime are trademarks of Garmin Ltd or its subsidiaries These trademarks may not be used without t...

Page 3: ...on 7 Finding a City 7 Finding a Location Using Coordinates 7 Finding Recently Found Destinations 7 Clearing the List of Recently Found Locations 7 Finding Your Last Parking Spot 7 Viewing Current Loca...

Page 4: ...gs 17 Calculation Mode Settings 17 Setting a Simulated Location 17 Bluetooth Settings 17 Disabling Bluetooth 17 Display Settings 17 Traffic Settings 17 Units and Time Settings 17 Setting the Time 17 L...

Page 5: ...ice locates satellites 3 If necessary go outdoors to an open area away from tall buildings and trees Status Bar Icons The status bar is located at the top of the main menu The status bar icons display...

Page 6: ...onfiguration select a trailer configuration from the list To enter a new trailer configuration select New Configuration and enter the trailer information Editing a Vehicle Profile You can edit a vehic...

Page 7: ...To add the location to the end of your route select Add As Last Stop To add the location and adjust the order of locations in your route select Add to Active Route Your device re calculates the route...

Page 8: ...he selected location select To remove the location select Editing and Saving Your Active Route If a route is active you can use the trip planner to edit and save your route as a trip 1 Select Apps Tri...

Page 9: ...environmental zone select Always Ask To always avoid environmental zones select Avoid To always allow environmental zones select Allow 3 Select Save Custom Avoidances Avoiding a Road 1 Select Setting...

Page 10: ...Search 2 Select an option To search for the venue enter the name or address of the venue select and go to step 3 To search for the POI enter the name of the POI select and go to step 5 3 Select the ve...

Page 11: ...ghways or other roads 1 Select Where To Categories Intersections 2 Follow the on screen instructions to enter street information 3 Select the intersection Finding a City 1 Select Where To Categories C...

Page 12: ...ect 4 Select Edit Categories 5 Enter one or more category names separated by commas 6 If necessary select a suggested category 7 Select Done Deleting a Saved Location NOTE Deleted locations cannot be...

Page 13: ...et Trip B to reset the odometer Viewing Upcoming Traffic You can view traffic incidents coming up along your route or along the road on which you are traveling 1 While navigating a route select Traffi...

Page 14: ...device and is an optional accessory for all models Traffic alerts appear on the map when there are traffic incidents along your route or in your area You can receive traffic information through a traf...

Page 15: ...t be in Truck mode Entering Fuel Data 1 Select Apps IFTA Logging At the Pump 2 Enter the fuel price per gallon 3 Select the Fuel Used field 4 Enter the amount of fuel purchased 5 If necessary select a...

Page 16: ...s Hours of Service 2 Select 3 Follow the on screen instructions Managing Driver Information 1 Select Apps Hours of Service 2 Select a driver 3 Select Driver Info 4 Select an option To edit the informa...

Page 17: ...lace your headset and your Bluetooth device within 33 ft 10 m of each other 2 On your device enable Bluetooth wireless technology 3 On your headset enable Bluetooth wireless technology and make it vis...

Page 18: ...pps Using Help Select Apps Help to view information about using the device Searching Help Topics Select Apps Help Smartphone Link Smartphone Link is a phone application that allows you to synchronize...

Page 19: ...s you are using the ecoRoute HD accessory To receive more accurate fuel reports for your specific vehicle and driving habits calibrate the fuel economy Calibrating the Fuel Economy page 15 ecoRoute HD...

Page 20: ...necting to Smartphone Link page 14 This feature is not available in all areas 1 Select Apps Weather 2 Select a day The detailed forecast for that day appears Viewing Weather Near a Different City 1 Se...

Page 21: ...allow the device to automatically set day or night colors based on the time of day Brightness Adjusts the display brightness Display Timeout Sets the amount of idle time before your device enters sle...

Page 22: ...ithium ion Appendix Support and Updates Garmin Express provides easy access to these services for Garmin devices Product registration Product manuals Setting Up Garmin Express 1 Connect the device to...

Page 23: ...s geocaches routes waypoints and custom POIs Installing a Memory Card The device supports microSD and microSDHC memory cards 1 Insert a memory card into the slot on the device 2 Press it in until it c...

Page 24: ...release button on the bottom of the device 2 Tilt the device forward Removing the Mount from the Suction Cup 1 Turn the device mount to the right or left 2 Apply pressure until the socket on the mount...

Page 25: ...cable from your computer 2 Turn off the device 3 Plug the USB cable into a USB port on your computer and into your device TIP Your device should be connected directly to a USB port on your computer a...

Page 26: ...head 8 Foursquare 6 7 fuel prices 15 stations 7 fuel data entering 11 fuel economy 15 See also ecoRoute fuel logs 11 fuel price changing 15 fuse changing 20 G Garmin Express 18 registering the device...

Page 27: ...ettings 17 shaping a route 3 shipments 12 adding 12 hours of service 12 shortcuts adding 7 deleting 8 simulated locations 17 sleep mode 1 Smartphone Link 14 connecting 14 disabling calls 14 Garmin Liv...

Page 28: ...9 33 99 39 02 36 699699 52 001 855 792 7671 0800 0233937 47 815 69 555 00800 4412 454 44 2380 662 915 35 1214 447 460 386 4 27 92 500 0861 GARMIN 427 646 27 0 11 251 9999 34 93 275 44 97 46 7744 52020...

Reviews: