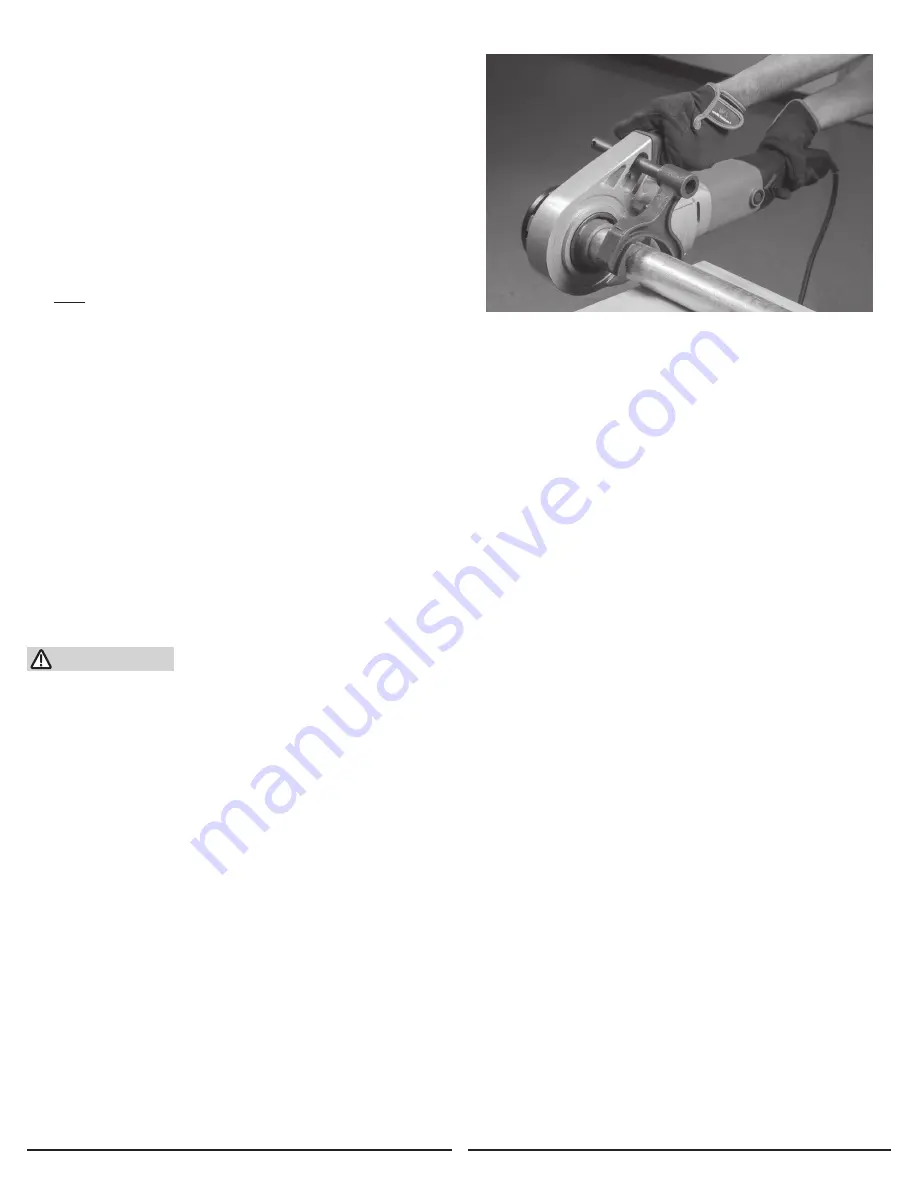
5
1. Make sure pipe end and threads of Die are sufficiently oiled at all times to extend the life of the Die Blades and ensure that the threads are not rough.
2. The Direction Switch determines the direction of the threading operation. Flip Rotating Direction Switch to right position for a clockwise rotation.
Flip Rotating Direction Switch to left position for a counter-clockwise rotation.
3. Make sure Trigger is in the off-position before plugging in the tool.
4. While holding Handle, press Trigger in to turn the threader.
5. If the Die does not engage the pipe, apply slight pressure on the end of the Die until it engages pipe.
6. The Die will automatically be drawn over the pipe and a standard taper thread will be cut.
7. To ensure a good, clean standard taper thread, stop Pipe Threader every few turns, reverse, oil pipe, and re-cut thread.
8. Stop threading when the end of the Die is flush with the end of the pipe. At this point, the correct thread length has
been reached to produce the proper joint. To continue beyond this point would make a straight or running thread.
9. To finish threading operation:
a. Release Trigger. Allow Pipe Threader to completely stop.
b. Reverse Direction Switch.
c. Squeeze Trigger to turn on Pipe Threader. Allow Die to reverse path of thread until it has fully expelled pipe.
d. Release Trigger. Avoid damaging newly cut threads when removing pipe from Pipe Threader.
10. IMPORTANT: Clean any oil spills on the ground. At the end of each job,
clean Pipe Threader and store in a clean, dry, safe location out of reach of children and unauthorized people.
11. To prevent accidents, turn off tool and unplug it after use. Clean, then store tool indoors out of children’s reach.
12. To lock the threader rotation, push down on the Locking Switch while the trigger is being squeezed.
The will allow the threader to continuously rotate without having to hold the trigger. Squeeze the trigger again to release the locking mechanism.
1. Keep work area clean and well lit. Do not allow children or
pets into the work area to prevent distraction and injury.
2. Route power cord along a safe route to reach the work area without
creating a tripping hazard or exposing the power cord to possible
damage. Power cord must reach the work area with enough extra length
to allow free movement while working.
3. There must not be objects, such as utility lines,
nearby that will present a hazard while working.
4. Use Clamp assembly to secure and support pipe during threading
operation. Screw Clamp Rod into Clamp. Make sure pipe is secured
to Clamp assembly and is supported during threading operation.
5. Install Clamp Rod into Clamp Rod Slot.
6. Insert pipe into toothless end of Die. Make sure inside diameter
of Die matches outside diameter of pipe. (See Figure B.)
Note: Pipe end to be threaded must be clean and chamfered.
Figure B
CAUTION!
Freshly cut threads may be hot and have sharp edges or sharp metal
turnings still attached. Clean pipe and allow it to cool before use.
6.2 Work Area Set Up
6.3 Operating Instructions


