123
4.
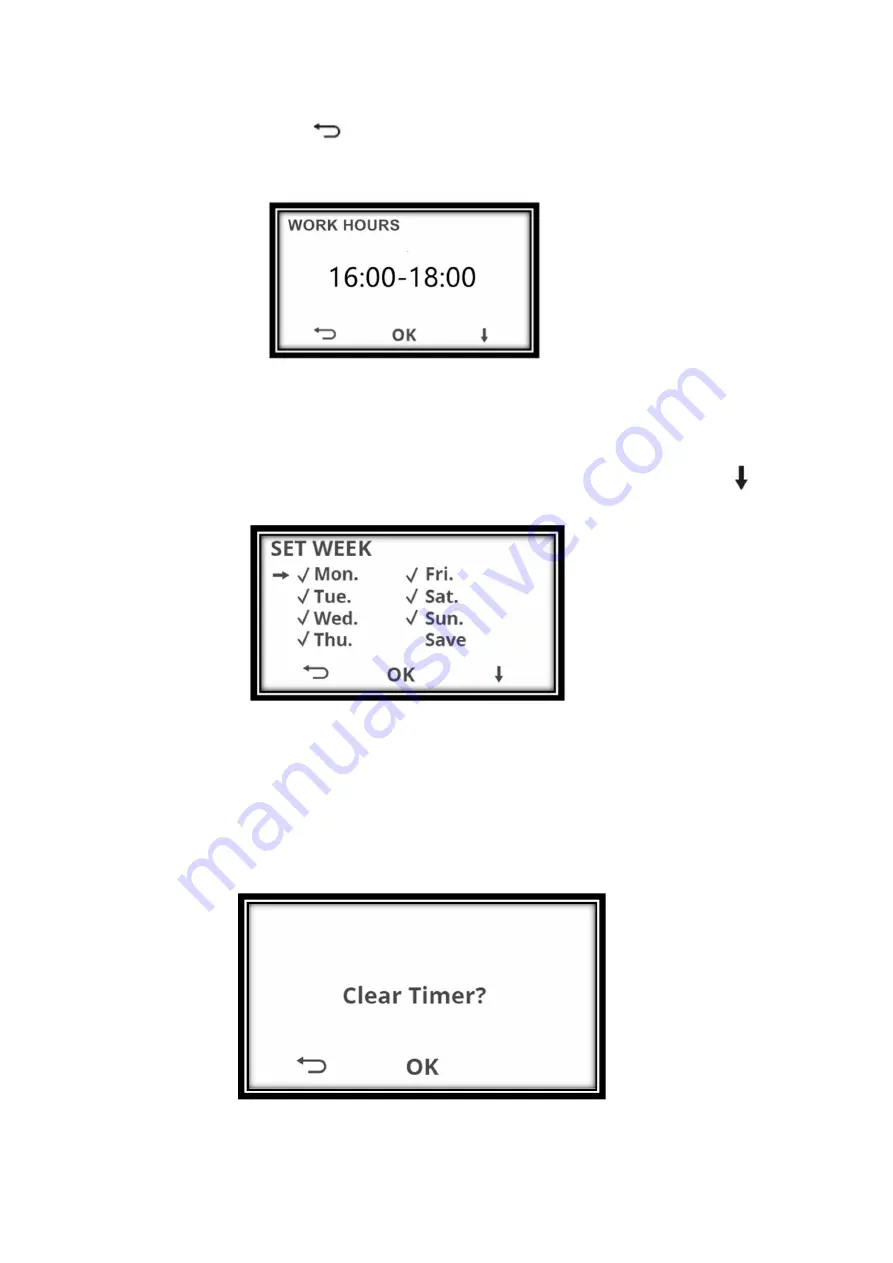
“Work Hours”: Press “OK” to set the desired work time. The work time can be set from 00:00
to 24:00.
Press “OK” to confirm.Press
, to return to the functional settings.
(Press "+/-" key to switch the number, press "ok" to confirm the number)
5.
“Work Days”: Press “OK” to set the desired work days. The work days can be set from
Monday to Sunday. Press “OK” to confirm.
All days are stored in the default factory settings. This means that there is a tick mark before
every day of the week. Now select the days on which the mower should work. Press
to
change the days. You can select or cancel some day by choosing “√” mark with OK button
ATTENTION:
The mower will mow only on those days which have a tick mark set before them.
Now choose "Save" to save the settings. If you forget to save, you will be asked once again
"Save or not?" Here, you can then choose between "Yes" or "No". Confirm with OK. The screen
shows you "Saved" and returns to selection in Schedule mode.
6.
Select " Reset timer ", you can reset the settings configured. To do this, select "Clear
timer" and confirm with OK. The following is displayed:
Summary of Contents for GRO20V20WIFI-2A
Page 16: ...16 ...
Page 37: ...37 ...
Page 41: ...41 GARDEO PRO ...
Page 43: ...43 GARDEO PRO GARDEO PRO ...
Page 88: ...88 10 Historiekregister controleer het werklogboek en het fouteninformatieregister ...
Page 134: ...134 10 History record check the work log fault information record ...
Page 143: ...143 SOFTWARE Lexique Lexicon ...
Page 144: ...144 ...
Page 145: ...145 ...
Page 146: ...146 ...
Page 149: ...149 SCHEMA ELECTRIQUE ELEKTRISCH SCHEMA ELECTRICAL DIAGRAM ...


